How to Turn On or Off Cellular Network in Windows 11
Turning the cellular network on or off in Windows 11 controls your PC’s mobile data connection.
This feature uses your computer’s built-in cellular modem, similar to how your phone connects to the internet with a SIM card or eSIM.
Connecting to a cellular network in Windows 11 provides internet access wherever you have a mobile signal. This is a handy backup when Wi-Fi isn’t an option, particularly for laptops and tablets with this capability.
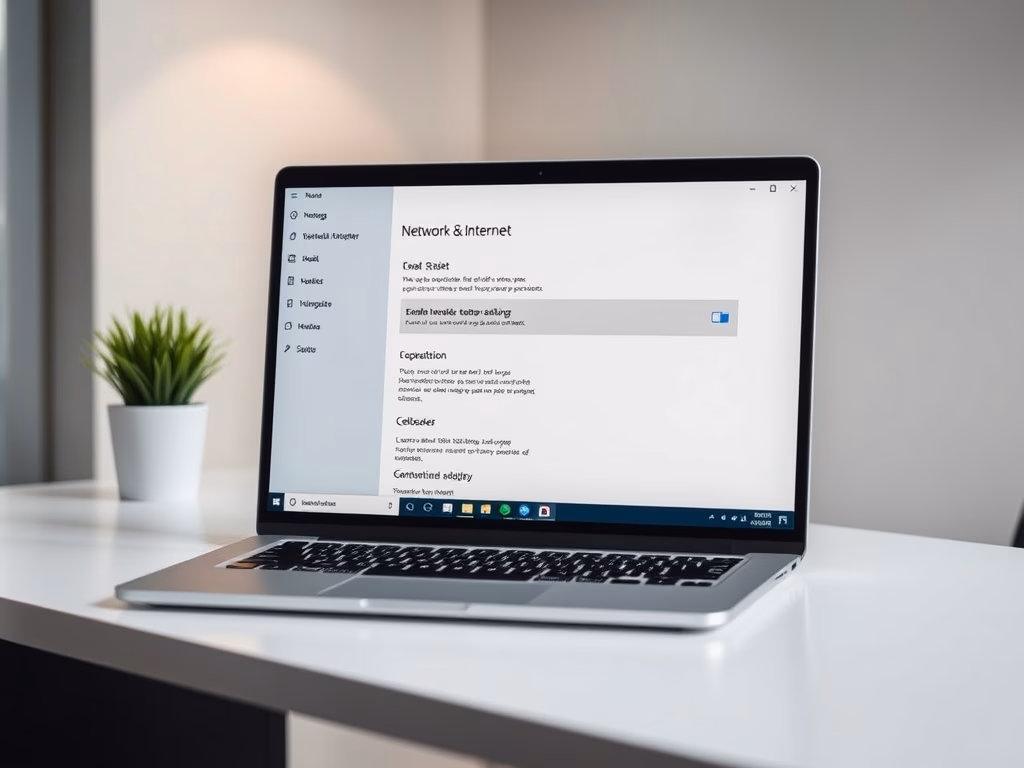
You can manage this setting easily within the Network & internet section of Windows 11.
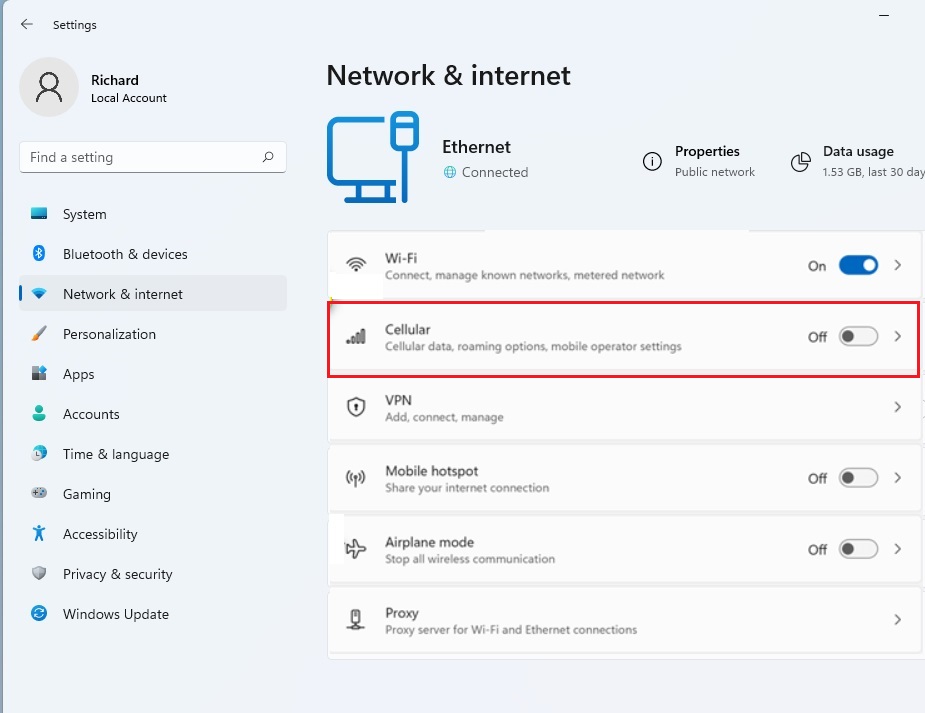
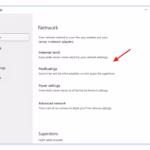
Navigate to Settings, then Network & internet, and select Cellular. Use the Cellular data toggle switch to turn the connection On or Off. This controls your device’s mobile broadband connection.
Why Use Cellular Data?
Cellular data lets your computer connect to the internet without Wi-Fi, which is really handy when you’re traveling or if Wi-Fi isn’t around. You might want to turn off your cellular network in Windows 11 to save money on your mobile plan or to conserve your laptop’s battery life. This action helps avoid extra charges and extends your device’s power.
How to Enable or Disable Cellular Network in 🪟 Windows 11
You can quickly turn your cellular network on or off in Windows 11 with a toggle switch in the settings. This makes managing your connection straightforward. If you need to disable all wireless connections at once, like when you’re on a plane, the Airplane mode toggle (Windows key + A) turns off both Wi-Fi and cellular.
1. Open the Settings app by pressing Windows key + I.

2. Click on Network & internet in the left sidebar.
3. Select the Cellular tile on the right.

4. Use the Cellular data toggle to switch the connection On or Off.
Managing eSIM and SIM Cards
Windows 11 allows you to manage both physical SIM cards and newer eSIMs for your cellular network connection.
Troubleshooting Cellular Connectivity
If you encounter issues with your cellular connection in Windows 11, such as a missing or grayed-out toggle, checking your network adapter settings first is recommended.
Data Usage and Metered Connections
To prevent your computer from using too much data, mark your connection as a metered connection. Navigate to Settings > Network & internet > Cellular. Then, click on Advanced network settings or the specific cellular profile and toggle Metered connection to On. This stops Windows from downloading large updates automatically.
Summary
This guide has shown you how to manage your cellular network connection in Windows 11, including turning it on or off via the settings.
Why is the cellular toggle missing in 🪟 Windows 11?
The cellular toggle might be missing if your laptop doesn’t have a built-in cellular modem. It can also disappear if the necessary drivers (software instructions for your hardware) aren’t installed or set up correctly.
The cellular toggle might be missing if your laptop doesn’t have a built-in cellular modem. It can also disappear if the necessary drivers (software instructions for your hardware) aren’t installed or set up correctly.
Does turning off cellular data save battery life?
Yes, turning off cellular data does help save your laptop’s battery life.
Yes, turning off cellular data does help save your laptop’s battery life.
Was this guide helpful?

About the Author
Richard
Tech Writer, IT Professional
Richard, a writer for Geek Rewind, is a tech enthusiast who loves breaking down complex IT topics into simple, easy-to-understand ideas. With years of hands-on experience in system administration and enterprise IT operations, he’s developed a knack for offering practical tips and solutions. Richard aims to make technology more accessible and actionable. He's deeply committed to the Geek Rewind community, always ready to answer questions and engage in discussions.

No comments yet — be the first to share your thoughts!