Why use Windows 11 Calculator always on top?

The Windows 11 Calculator’s “Always on Top” feature makes the calculator window stay visible no matter what other programs you have open.
This handy setting lets your calculator stay right in front, so you can do math without hiding your main task. It’s especially useful when you’re juggling different apps and need fast access to numbers, like when working on big spreadsheets or important documents.
Keeping the calculator pinned like this really speeds up how you work. Imagine you’re comparing numbers from one window to another, or following steps in a guide. This feature keeps the calculator visible, saving you from constantly clicking between apps.
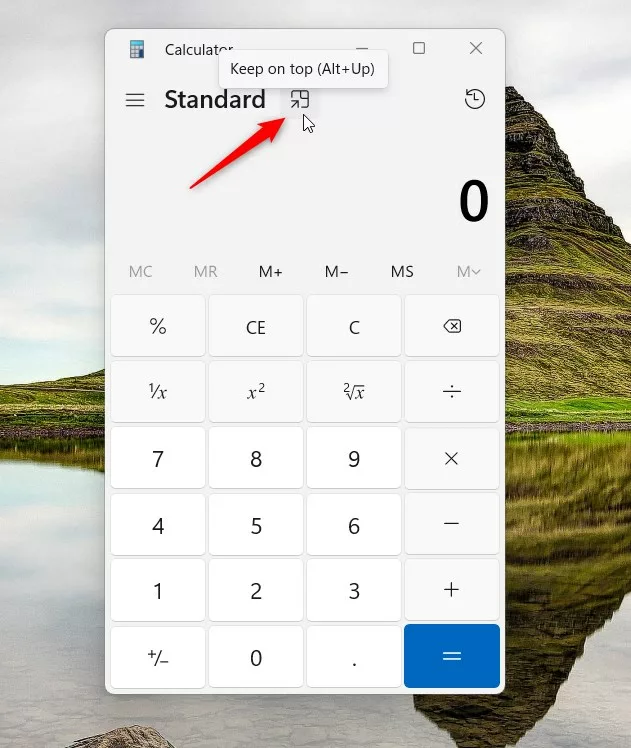
Keep the Windows 11 Calculator visible above other windows by clicking the “Keep on top” icon, resembling overlapping squares, in the top-right corner. This feature streamlines multitasking by preventing you from losing sight of calculations while working on other applications. You can also use Alt+↑ Arrow to enable and Alt+↓ Arrow to disable it.
How to keep the Calculator on top
You can make your Windows 11 Calculator stay on top of all other open windows with a simple click. This built-in feature means you don’t need to download anything extra. Open the Calculator app and find the ‘Keep on top’ button to start using this handy function.
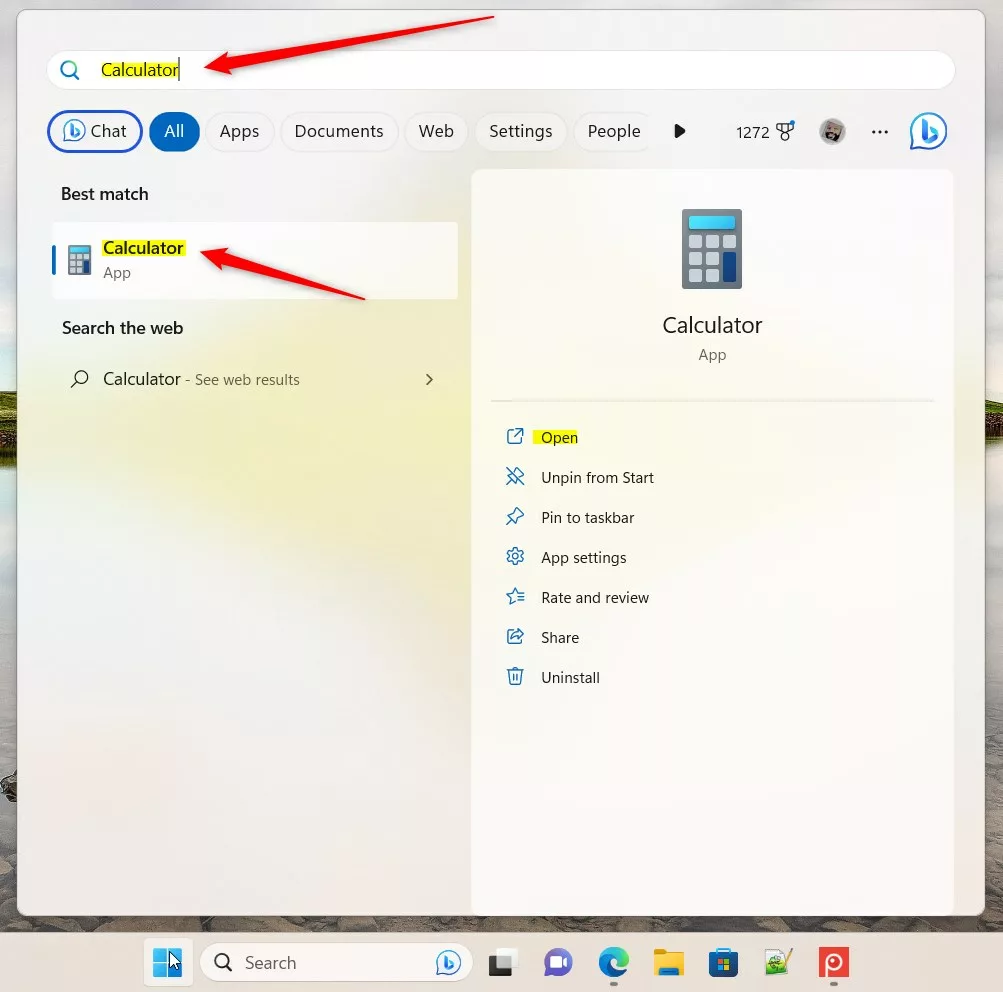
- Open the Start menu.
- Search for Calculator and click to open it.
The calculator will now stay visible over any other window you have open on your screen.
Calculator modes and UI behavior
The Windows 11 Calculator’s always on top feature works no matter which mode you’re using—whether it’s Standard, Scientific, or Graphing. It remains visible over other applications.
Troubleshooting missing features
If you do not see the Keep on top button, your app might be outdated. To fix this, open the Microsoft Store, search for Windows Calculator, and then update the app. You can also visit the official Microsoft Support page for more help.
How to return to normal mode
That’s it! You can now toggle this setting whenever you need it.
Summary
The Windows 11 Calculator always on top feature is a handy way to keep your calculations visible while you work on other tasks, making your work faster and more efficient.
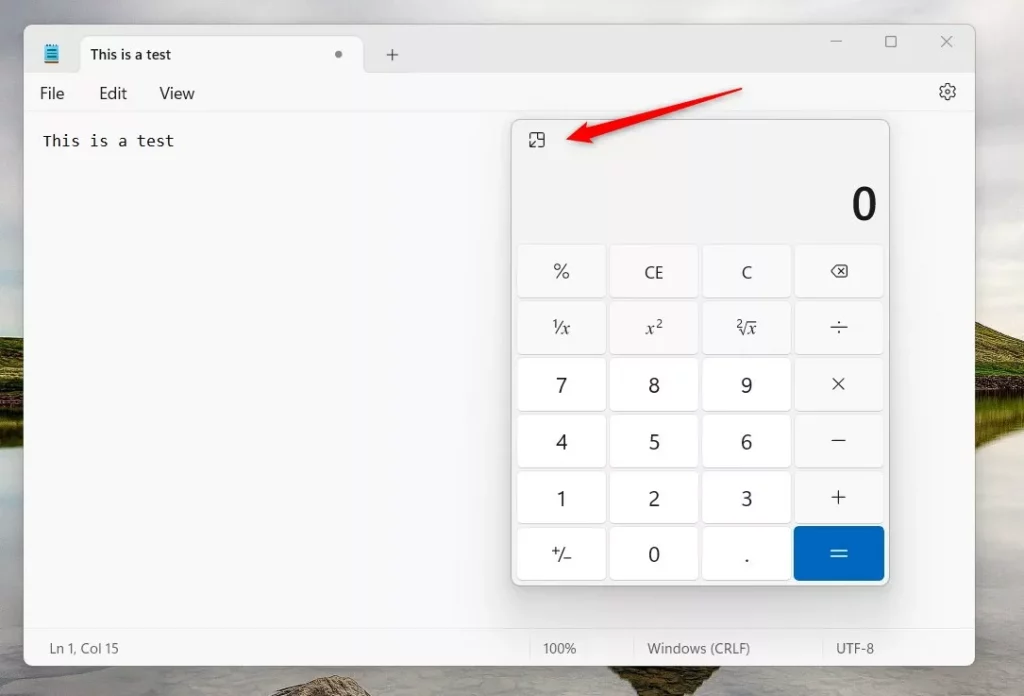
Why does the calculator jump to the corner when pinned?
When you enable the always on top feature, Windows automatically moves the calculator to a corner of your screen. This is a default UI behavior designed to prevent the calculator from blocking the center of your workspace, allowing you to continue typing or viewing your main documents without obstruction.
Can I use a keyboard shortcut to toggle Always on Top?
Yes, you can use keyboard shortcuts to manage the window. Press Alt+↑ Arrow to pin the calculator to the top of your other windows. To return the calculator to normal behavior, simply press Alt+↓ Arrow. These shortcuts work instantly in any calculator mode.
Was this guide helpful?

About the Author
Richard
Tech Writer, IT Professional
Richard, a writer for Geek Rewind, is a tech enthusiast who loves breaking down complex IT topics into simple, easy-to-understand ideas. With years of hands-on experience in system administration and enterprise IT operations, he’s developed a knack for offering practical tips and solutions. Richard aims to make technology more accessible and actionable. He's deeply committed to the Geek Rewind community, always ready to answer questions and engage in discussions.


No comments yet — be the first to share your thoughts!