How to Share a Link to a Website using Nearby Sharing in Windows 11
Nearby Sharing in Windows 11 lets you send a website link to another nearby PC without using email or extra apps.
This handy Windows feature uses Bluetooth or Wi-Fi to directly connect your computers, making it easy to share links quickly.
You can share links with computers running Windows 10 version 1809 or later, and Windows 11 devices.
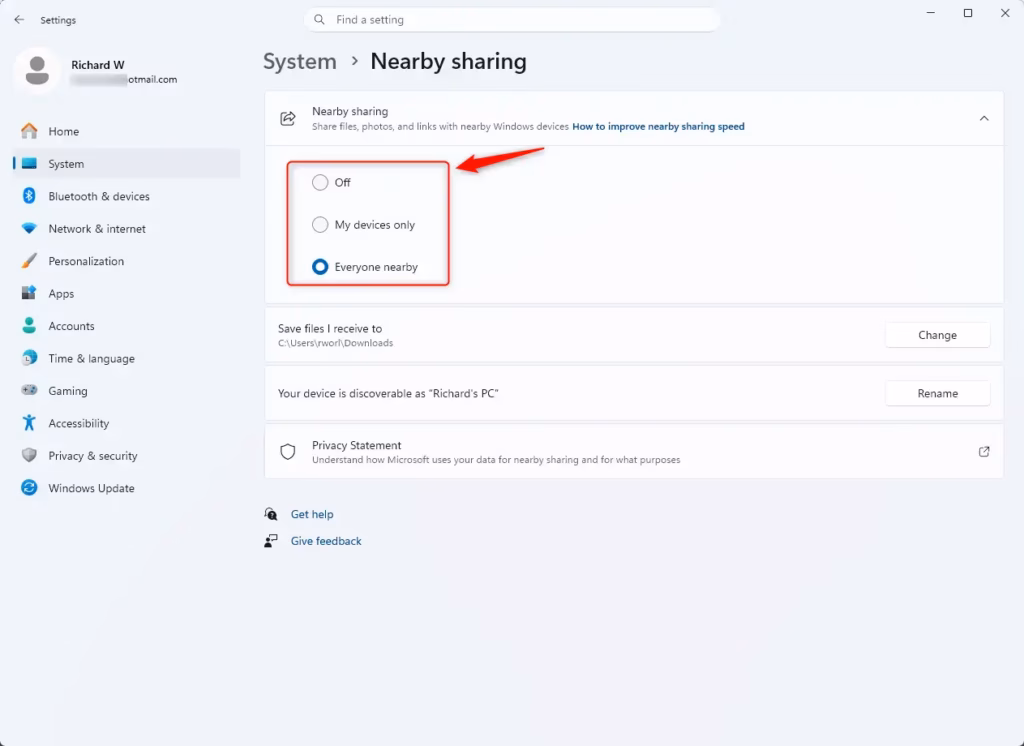
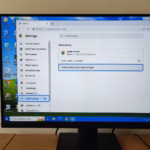
First, make sure Nearby Sharing is turned on for both computers you want to connect.
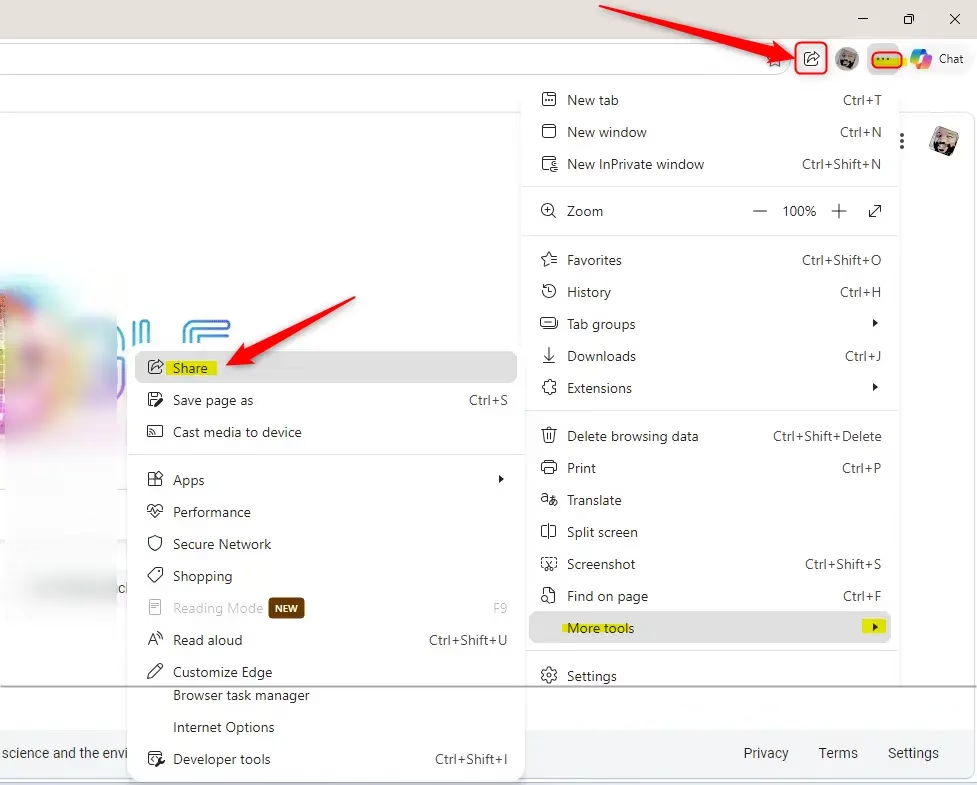
Open your web browser, click the share icon (usually three dots then “More tools” then “Share”), and select the nearby computer. A notification will appear on the receiving computer to access the link.
Sharing a Website Link: Step-by-Step
Once Nearby Sharing is ready on both PCs, sharing a website link is a matter of following a few steps. Open your web browser on the computer you want to send the link from, go to the specific webpage you want to share, and then use the sharing option.
- Open Your Web Browser
On the computer you want to share from, open your web browser. We’ll use Microsoft Edge as an example because it works well with Nearby Sharing. - Go to the Webpage
Visit the website, article, or video you want to share. Make sure the page has finished loading. - Find the Share Option
In Microsoft Edge, look for the three dots (...) in the top-right corner. Click it.
From the menu that appears, go to More tools, and then click Share.
Tip: Some websites have their own “Share” buttons. Using the browser’s share function is usually more reliable for Nearby Sharing. - Select the Other Computer
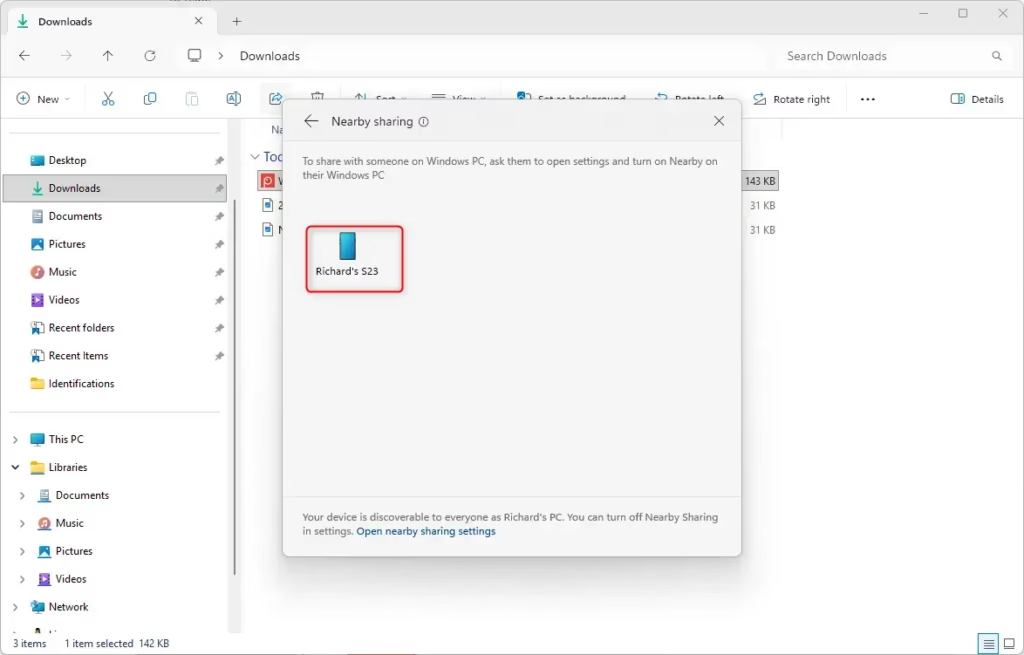
A “Share” window will pop up. You should see a list of computers that have Nearby Sharing turned on. Click the name of the computer you want to send the link to.
Need help? If you don’t see the other computer, check that Nearby Sharing is turned on for both devices. Make sure they are close to each other and that Bluetooth or Wi-Fi is enabled on both. Sometimes, restarting the browser or the computers can help them find each other. - Get the Link on the Other Computer
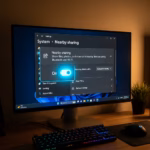
On the computer you sent the link to, a notification should pop up, usually in the bottom-right corner (near the clock). It will say a link has been shared with you.
Click the notification. You’ll probably see an option like “Open” or “Open link.” Click it, and the link will open in the default web browser on that second computer.
Warning: Make sure to open the notification quickly. If you close it, you might miss the link. If you set a specific folder earlier, the link might also be saved as a small file (like an .url file) in that folder. You can double-click it to open. - to be a simple way to send small pieces of information between your Windows devices when they are close.
Reference:
Summary
Nearby Sharing in Windows 11 makes sending website links between computers convenient. You need to turn it on in Settings > System > Nearby sharing on both devices, choose who you can share with, and then use your browser to send the link.
- Turn on Nearby Sharing on both the sending and receiving computers in Settings > System > Nearby sharing.
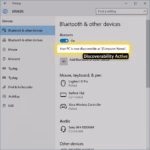
- Choose if you want to share with “My devices only” or “Everyone nearby.”
- On the sending PC, open the webpage in Microsoft Edge (or a similar browser) and use the Share option (
... > More tools > Share). - Pick the other computer from the list.
- Accept the notification on the receiving PC to open the link.
With a little setup, this can become a useful tool for moving information around your digital world. Try it out next time you find something online you want to share!
Is nearby share available in 🪟 Windows 11?
Yes, Nearby Sharing is available in Windows 11. It allows you to share links and files directly between nearby PCs using Bluetooth or Wi-Fi. Ensure the feature is enabled on both devices for it to function correctly.
Why is Nearby Sharing not showing up in Windows?
Nearby Sharing might not show up if it's disabled or if your devices are too far apart. Ensure Bluetooth and Wi-Fi are on, and that Nearby Sharing is enabled in Windows Settings under System > Shared experiences on both computers.
How do I turn off nearby share in 🪟 Windows 11?
To turn off Nearby Sharing in Windows 11, go to Settings > System > Shared experiences. Under 'Nearby sharing,' toggle the switch to 'Off.' This will disable the feature on your PC, preventing others from sharing content with you.
How do I enable nearby share?
To enable Nearby Sharing, open Windows Settings (Windows key + I), go to System, then Shared experiences. Under 'Nearby sharing,' select 'Everyone nearby' or 'My devices only' to turn it on. Ensure Bluetooth is enabled on both devices.
Was this guide helpful?

About the Author
Richard
Tech Writer, IT Professional
Richard, a writer for Geek Rewind, is a tech enthusiast who loves breaking down complex IT topics into simple, easy-to-understand ideas. With years of hands-on experience in system administration and enterprise IT operations, he’s developed a knack for offering practical tips and solutions. Richard aims to make technology more accessible and actionable. He's deeply committed to the Geek Rewind community, always ready to answer questions and engage in discussions.
No comments yet — be the first to share your thoughts!