How to Manually set the default printer in Windows 11
Manually setting the default printer in Windows 11 ensures that your documents always go to your preferred printing device. This simple setting change stops print jobs from accidentally going to the wrong machine, saving you time and frustration.
Your default printer is the one Windows automatically selects when you print something. Without setting it correctly, Windows might pick a printer you don’t use often, like one in another room or a shared office printer.
Windows 11 allows users to select a preferred printer as the default. This process requires administrative rights on the PC to change the default printer setting. Choosing the correct default printer ensures documents print correctly each time.
Open Settings, then go to Bluetooth & devices > Printers & scanners. Turn off “Let Windows manage my default printer,” select your desired printer from the list, and click “Set as default.
Manually Setting Your Default Printer
Sometimes, you want to tell Windows exactly which printer should be the main one. This is great if you have one printer you use for almost everything and you don’t want Windows changing that setting. Let’s do it!
Open Windows Settings
First, open your Windows 11 Settings. The fastest way is to click the Start button (it looks like the Windows logo, usually in the middle of your screen). When the Start menu appears, find the gear icon that says ‘Settings’ and click it.
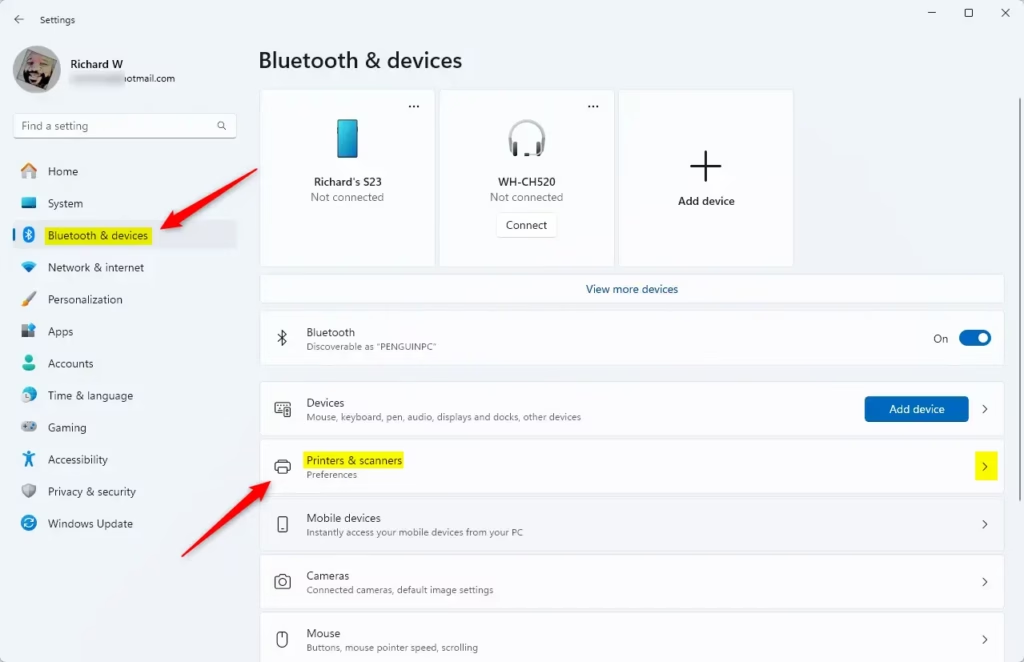
Go to Printers & Scanners
To manually set your default printer in Windows 11, first open the Settings app and click on ‘Bluetooth & devices’ from the left-hand menu.
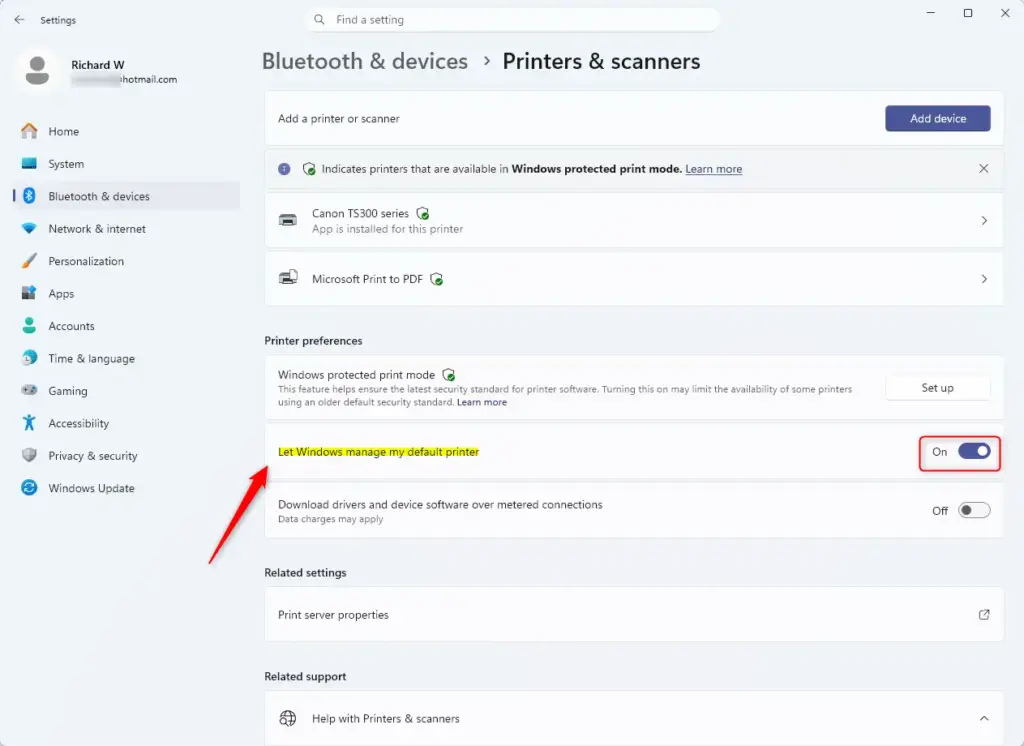
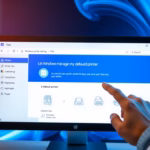
Turn Off Automatic Printer Management
Windows 11 often switches your default printer to the last one you printed from. To stop this, you need to turn off the setting ‘Let Windows manage my default printer’. This ensures your chosen printer stays the default, preventing accidental printing to the wrong machine.
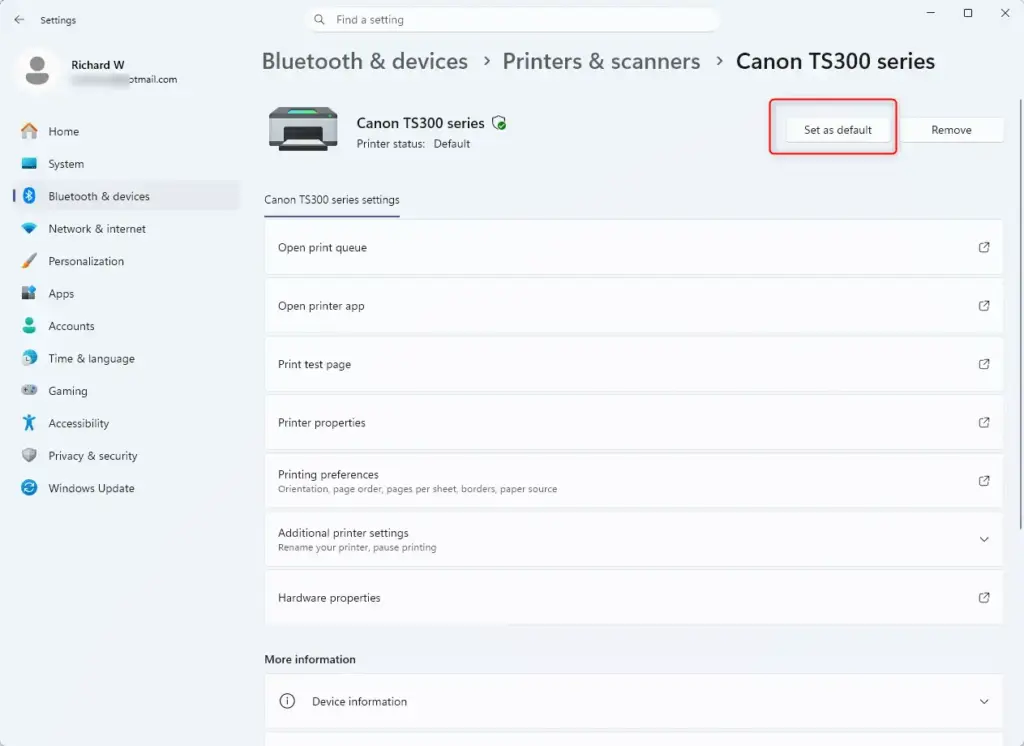
Choose Your Printer
Below the ‘Let Windows manage my default printer’ option, you’ll see a list of printers Windows knows about. Find the printer you want to set as default and click on its name. This will open a new screen with more details about that printer.
Set It as Default
Once you’ve stopped Windows 11 from automatically picking your default printer, you can easily choose your favorite one. Just find your preferred printer in the list and click the ‘Set as default’ button next to its name. This tells Windows 11 exactly which printer to use for all your documents from now on.
That’s it! You have now manually told Windows 11 which printer to use for all your printing jobs. No more sending important documents to the wrong printer!
Summary
Setting your default printer in Windows 11 is a quick way to prevent printing mistakes. By following these steps, you ensure that every time you print, your document goes to the correct printer. You’re in charge of how Windows manages your printers, so set it up to suit your workflow!
Was this guide helpful?

About the Author
Richard
Tech Writer, IT Professional
Richard, a writer for Geek Rewind, is a tech enthusiast who loves breaking down complex IT topics into simple, easy-to-understand ideas. With years of hands-on experience in system administration and enterprise IT operations, he’s developed a knack for offering practical tips and solutions. Richard aims to make technology more accessible and actionable. He's deeply committed to the Geek Rewind community, always ready to answer questions and engage in discussions.


No comments yet — be the first to share your thoughts!