How to Request (export) a copy of your Microsoft Teams data

Microsoft Teams lets you export a copy of your chat history, shared files, and pictures.
Microsoft Teams data export creates a backup of important conversations and files from a user's Teams account. This backup serves as a personal record for important discussions, ensuring data is preserved even if account access changes.
You can request this data export if you use Microsoft Teams Free and have a significant amount of chat history or shared files.
Requesting a copy of Microsoft Teams data is a smart step for organizing digital information. This process creates a backup of key discussions. Having this record helps you manage your online content and provides proof of important conversations.
Visit the Microsoft Teams data export page and sign in with your Microsoft account. Select “Chat history” and/or “Media” to download, then submit your request. Check the export page periodically until a download button appears for your files.
Why Export Your Microsoft Teams Data?
This process lets you download a record of your chats, along with any files or images sent. Think of it like making a personal backup of your Teams conversations.
How to Export Your Chats and Media
Go to the Export Page
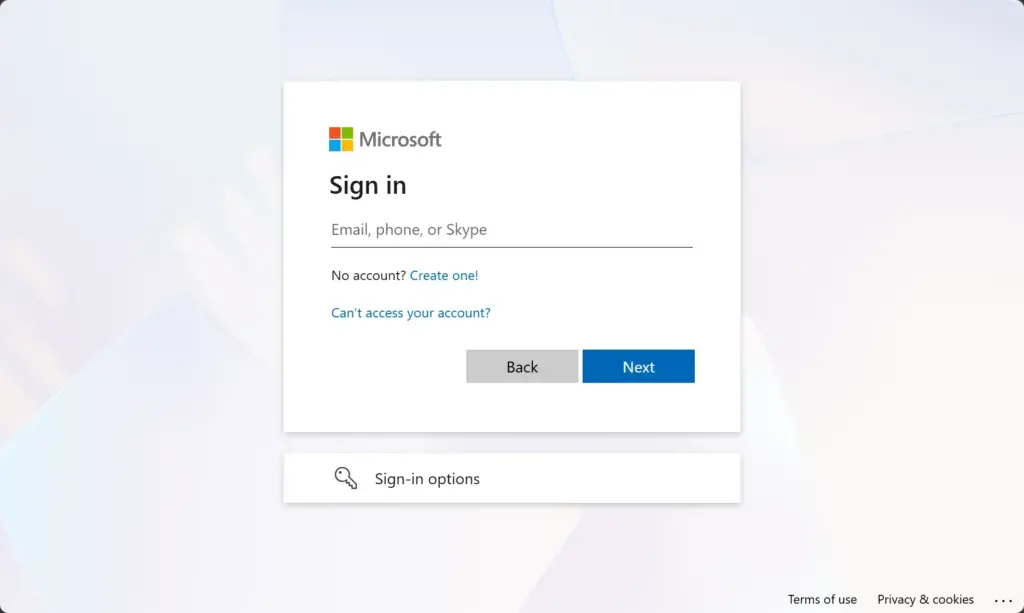
To export your Microsoft Teams data, start by visiting the dedicated Microsoft Teams export page. You’ll need to sign in with your Microsoft account, so have your password and any security codes ready. This page is the first step in getting a copy of all your Teams information.
Navigate to the Export page with your Microsoft Account.
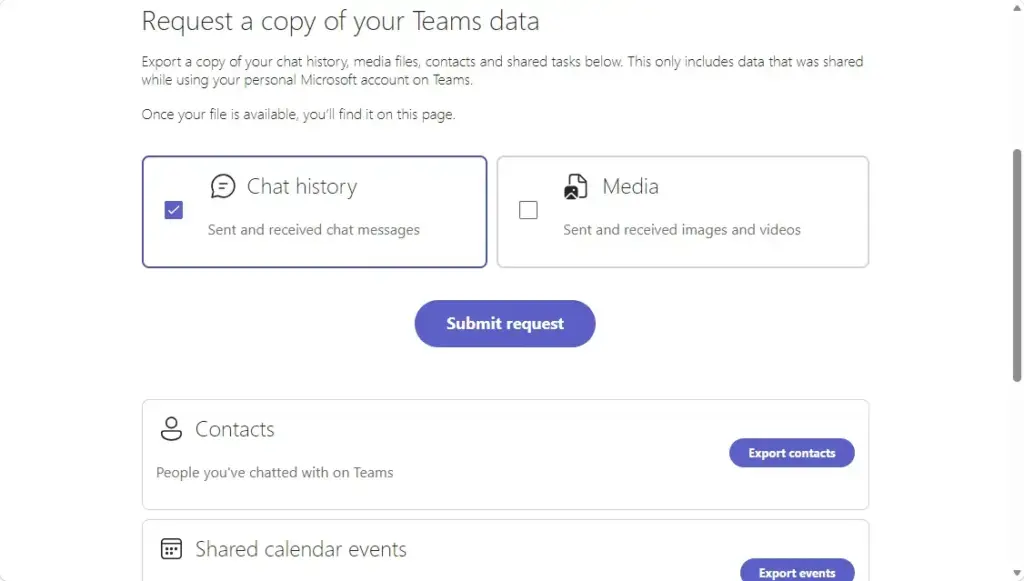
Choose What to Download
After signing in, you can choose exactly what Microsoft Teams data you want to download, like your chat history or media files.
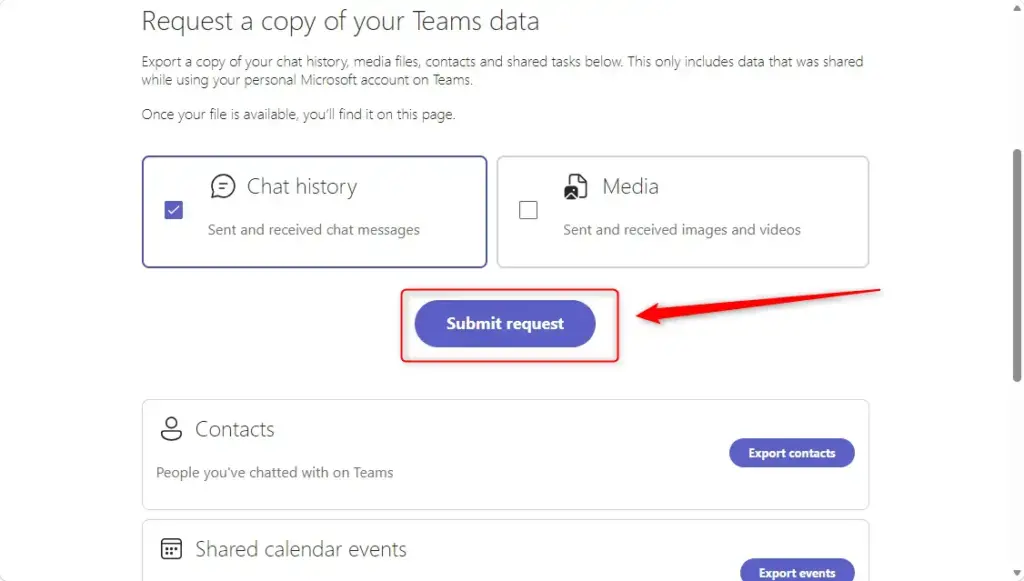
Submit Your Request
Microsoft Teams will usually show a "Submit request" button after you select the data to export. Clicking this button tells Microsoft to prepare your data for download. This preparation process takes time because Microsoft needs to collect all your requested information.
Be Patient and Check Back
Exporting your Microsoft Teams data isn’t instant, so patience is key. Your files won’t be ready immediately. It’s best to bookmark the export page or set a reminder to check back in a day or two to see if your download is ready.
The Microsoft Teams export page allows you to save the export page's address as a bookmark for easy access. You can also set a calendar reminder to check the export status in one or two days.
Download Your Files
Once your Microsoft Teams data export is ready, a download button will show up on the export page. Click this button to get your files. Be aware that the downloaded file is usually a .tar file, which Windows can’t open on its own, so you might need extra software.
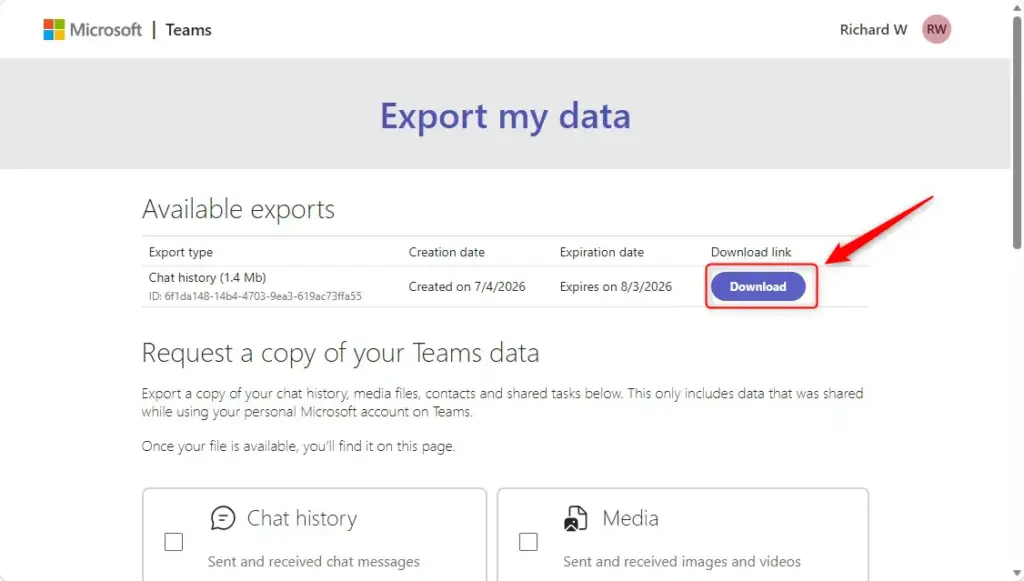
Warning: The file you download is often a .tar file. Windows can’t open this kind of file directly like a standard ZIP file. You might need a separate program to extract its contents.
Reference:
Summary
You can export your Microsoft Teams Free chats and media by visiting a specific export page, signing in with your Microsoft account, and selecting the data you want.
How do I get data from Teams file in Excel?
To get data from a Teams file into Excel, open Excel and go to the Data tab. Then, choose ‘Get Data,’ followed by ‘Legacy Wizards,’ and select ‘From Microsoft Query (Legacy).’ Next, choose the MSTeams DSN and pick the option to use the Query Wizard to create or edit queries.
Was this guide helpful?

About the Author
Richard
Tech Writer, IT Professional
Richard, a writer for Geek Rewind, is a tech enthusiast who loves breaking down complex IT topics into simple, easy-to-understand ideas. With years of hands-on experience in system administration and enterprise IT operations, he’s developed a knack for offering practical tips and solutions. Richard aims to make technology more accessible and actionable. He's deeply committed to the Geek Rewind community, always ready to answer questions and engage in discussions.


No comments yet — be the first to share your thoughts!