How to Open Folders in New Windows on Windows 11


You can make Windows 11 open every folder in its own window by changing one File Explorer setting. This guide covers that setting, a few shortcuts for one-off cases, and a Registry Editor tweak for advanced users.
Why Open Folders in New Windows?
Tabs in File Explorer keep things tidy, but separate windows are usually better when you move files around. You can put two windows side by side and drag items from one to the other without switching tabs. Snap Layouts also work better with separate windows, because each window snaps on its own.
What happens when you are done?
Once you make the change, File Explorer stops grouping folders into tabs when you open them. Each double-click on a folder opens a new window. This suits anyone who juggles a lot of files at once.
The trade-off is clutter. Open a dozen folders and you get a dozen windows on the taskbar . You can undo the change at any time, and the steps are below.
Quick Keyboard Shortcuts
Their behavior differs a little between Windows 11 builds, so test each one on your own PC.
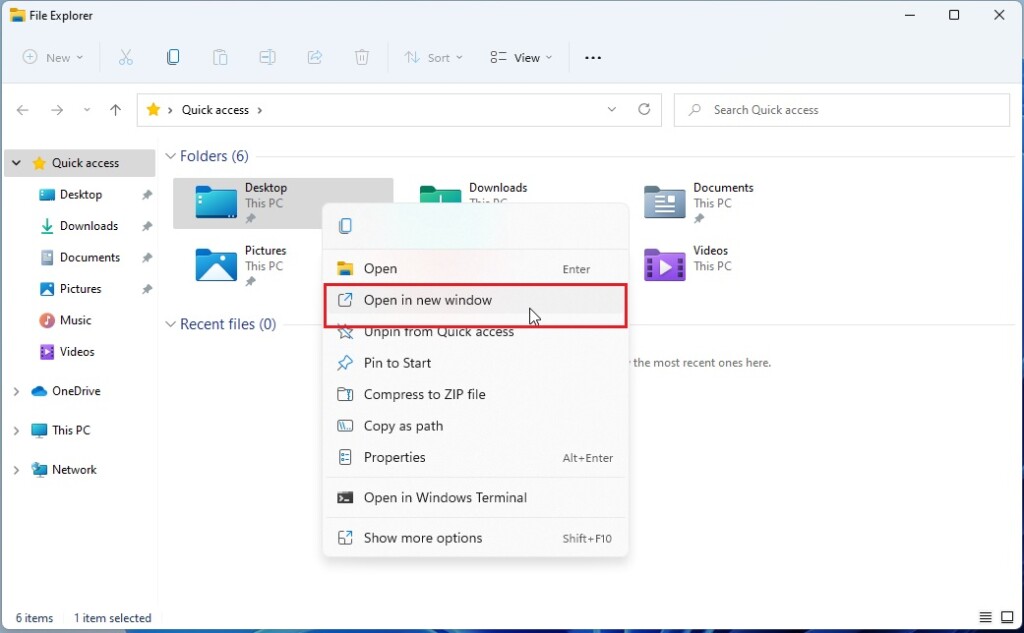
- Ctrl+N: Opens a new File Explorer window at the location you are currently viewing. It does not open a folder you have only selected. To open a specific folder in a new window, open the new window first, then browse to the folder.
- Middle-click (scroll wheel): Click a folder with the scroll wheel. On Windows 11 22H2 and later this normally opens the folder in a new tab, not a new window. If you get a tab, use the permanent setting below instead.
- Ctrl + Click: In many builds, Ctrl + click only adds the folder to your current selection, so it may not open anything. If that happens, skip it and use the setting below.
Because the shortcuts are inconsistent, the settings below are the dependable way to get a new window every time.
How to Open Folders in New Windows Automatically
This is the standard way to make separate windows the default. It works on both Windows 11 Home and Pro, and you do not need to restart.
- Open File Explorer. Press Windows key + E, or click its icon on the taskbar.
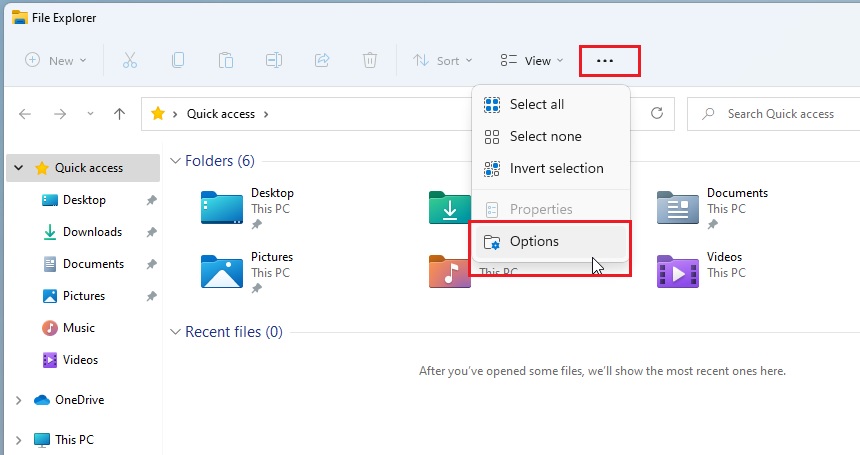
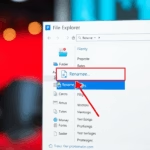
- Click the three dots (ellipses) in the top menu bar. In current builds the tooltip reads See more. A menu drops down.
- Select Options. The Folder Options dialog opens.
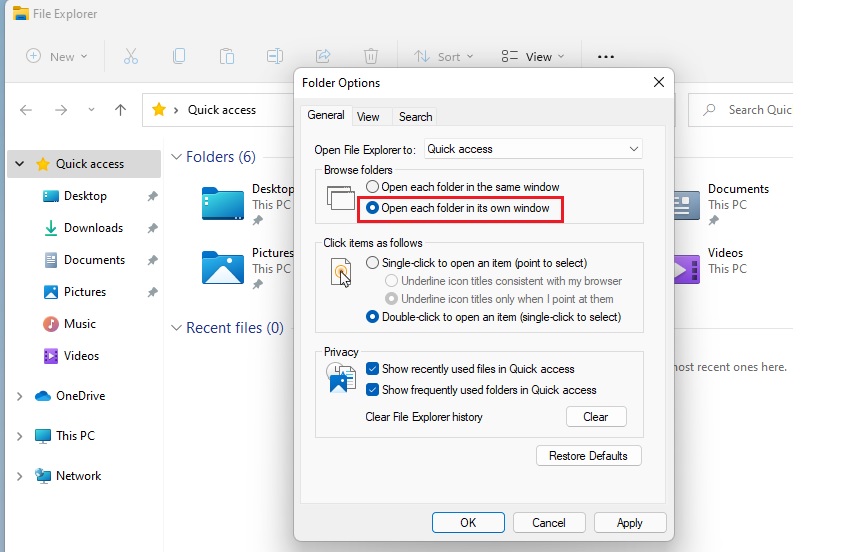
- On the General tab, find the Browse folders section.
- Select Open each folder in its own window.
- Click OK. The dialog closes and the setting applies straight away.
To check it, double-click any folder. It should open in a new window and leave the original where it was. To go back to the default, return to the same dialog, select Open each folder in the same window, and click OK.
If the three-dots menu looks different, you may be on an older Windows 11 build. Click View in the toolbar and look for Options at the bottom of the list.
Advanced: Registry Tweak for New Windows
The Registry Editor is the more advanced route. It edits a value stored in the registry, the database where Windows keeps its settings. For most people the Folder Options setting above is enough, so only use this if you want to go further or need to apply the setting by hand.
A wrong change in the registry can cause problems that are hard to trace.
- Press Windows key + R to open the Run box.
- Type `regedit` and press Enter. If User Account Control asks for permission, click Yes. Registry Editor opens.
- Navigate to: HKEY_CURRENT_USER\Software\Microsoft\Windows\CurrentVersion\Explorer\Advanced. You can expand the folders in the left pane, or paste the path into the address bar at the top of the window.
- Look in the right pane for a value named SeparateProcess.
- If you don't see it, right-click in the empty space and select New DWORD (32-bit) Value. Name it SeparateProcess.
- Double-click SeparateProcess, set Value data to 1, and click OK.
Sign out and back in, or restart your PC, so File Explorer picks up the change. This value makes folder windows run as separate processes, so one window crashing is less likely to take the others down. It works alongside the Open each folder in its own window option, so set that option as well.
To undo it, set SeparateProcess back to 0 or delete the value, then sign out and back in. Because this edit is per user, it only affects your account.
Summary
Windows 11 lets you choose between tabs and separate windows to suit how you work. Shortcuts like Ctrl + N are good for a quick one-off window. The Open each folder in its own window option is the permanent fix, and the registry value is an optional extra on top. Pick the approach that makes managing your files easiest, and switch back whenever you like.
Was this guide helpful?

About the Author
Richard
Tech Writer, IT Professional
Richard is a writer at Geek Rewind who turns complex IT tasks into clear, step-by-step guides. He draws on years of hands-on experience in system administration and enterprise IT operations, focusing on Windows, Linux and WordPress: the problems people actually run into, and the fixes that work. His server and WordPress guides come from systems he runs himself. Richard builds and maintains the platform behind Geek Rewind, from its Ubuntu servers and Nginx configuration to its custom WordPress plugins. Many new tutorials start with readers' questions, and he's always glad to answer them in the comments.


No comments yet — be the first to share your thoughts!