How to let Windows 11 Change Brightness Automatically when Lighting Changes
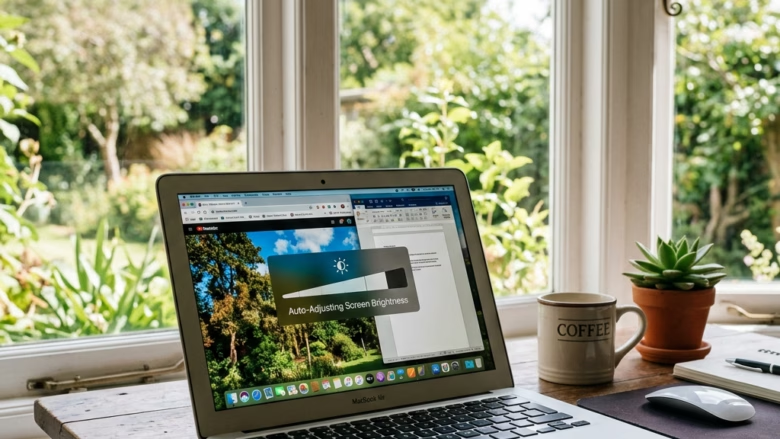
Windows 11 automatically changes your screen’s brightness to match the light around you. This feature, called adaptive brightness, helps you see your screen better and saves battery on laptops.
Adaptive brightness uses sensors in your laptop or monitor to detect the amount of light in the room. When the light gets brighter, Windows 11 makes your screen brighter. If the light gets dimmer, Windows 11 dims your screen.
This automatic adjustment is helpful if you move your computer between different lighting conditions, like going from a bright office to a dark room. Many newer laptops, including those with Intel 8th Gen Core processors, support this automatic brightness setting.
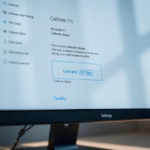
Go to Settings > System > Display and enable the “Change brightness automatically when lighting changes” option. Your computer will then use its sensors to adjust screen brightness based on ambient light. If the option is not visible, your hardware does not support automatic brightness.
Why Use Automatic Brightness?
Windows 11 auto brightness makes your screen easier to see in any light, saving battery on laptops and reducing eye strain.
Windows 11 automatically adjusts screen brightness based on room lighting. The operating system monitors ambient light conditions. Users will not need to manually change brightness settings.
How to Set Up Automatic Brightness
Step 1Go to Display Settings
You can find the display settings for Windows 11 in the main Settings app. To open it, click the Start button on your taskbar, then select the gear icon. In the Settings window, click ‘System’ on the left, and then choose ‘Display’.
- Click the Start button. It’s usually in the middle of your screen at the bottom.
- Click the Settings icon. It looks like a little gear.
- On the left side of the Settings window, click on System.
- In the System settings, click on Display.

Step 2Find the Brightness Control
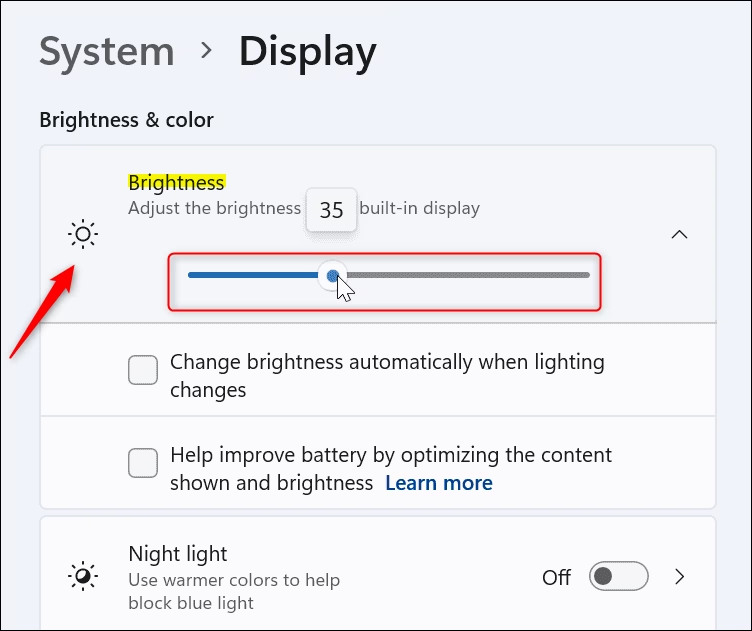
Once you are in the Display settings menu, look for the brightness control options. Windows 11 includes a ‘Brightness’ slider that lets you manually adjust your screen’s light. To get automatic brightness, find and turn on a specific setting that uses your computer’s light sensor.
Windows 11 has a ‘Brightness’ slider for manual adjustments. To enable automatic brightness control, locate and activate the specific setting. It uses light sensor data to adjust screen brightness based on surrounding light levels for a better viewing experience.
Step 3Turn On Automatic Brightness
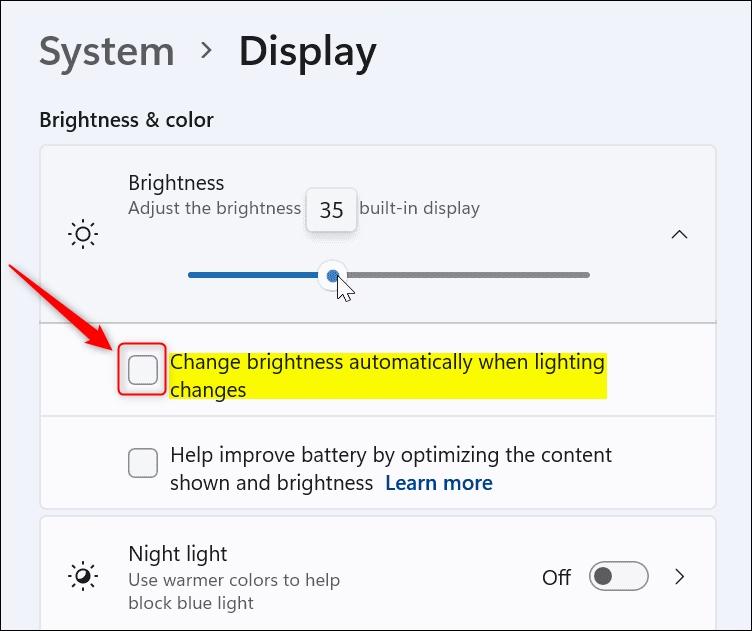
To let Windows 11 change brightness automatically when lighting changes, adjust one setting. Look for the option labeled ‘Change brightness automatically when lighting changes’ within the Display settings. Click the toggle switch next to it to turn it ‘On’, and your PC will then adjust the screen brightness based on the room’s light.
Look for a setting labeled “Change brightness automatically when lighting changes.” You’ll likely see this as a checkbox or a toggle switch.
If you see this option: That’s great! It means your computer has the necessary hardware, like a light sensor, and the right software.
Turn this setting on by clicking the checkbox or flipping the switch to ‘On.’ When enabled, Windows uses your computer’s sensors to monitor the surrounding light. Your screen will dim in darker conditions and brighten when it’s lighter, all working quietly in the background.
Step 4How it Works
Windows 11 auto brightness uses your computer’s light sensor to adjust the screen. This sensor detects the light in your room and changes the screen brightness so it’s comfortable to see. For regular screens, Windows finds a balance between too dim and too bright, while HDR screens get a different kind of adjustment.
For Normal Screens: Windows tries to make your screen easy to see no matter how bright or dark your room is. It finds a balance so it’s not too dim or too bright.
For HDR (High Dynamic Range) screens, Windows adjusts brightness to better match how human eyes perceive light changes. This HDR screen brightness adjustment may proceed slightly slower for a more natural viewing experience.
Reference:
Summary
Windows 11 auto brightness uses sensors to adjust your screen’s light automatically, making it easier to see and saving power.
How to fix 🪟 Windows 11's screen dimming issue?
Power Plan Settings (Desktop): Open Control Panel > Hardware and Sound > Power Options. Edit your current plan and disable any adaptive brightness or display dimming options (if visible).
Was this guide helpful?

About the Author
Richard
Tech Writer, IT Professional
Richard, a writer for Geek Rewind, is a tech enthusiast who loves breaking down complex IT topics into simple, easy-to-understand ideas. With years of hands-on experience in system administration and enterprise IT operations, he’s developed a knack for offering practical tips and solutions. Richard aims to make technology more accessible and actionable. He's deeply committed to the Geek Rewind community, always ready to answer questions and engage in discussions.

No comments yet — be the first to share your thoughts!