How to Install phpMyAdmin with Nginx on Ubuntu 24.04


phpMyAdmin with Nginx on Ubuntu 24.04 gives you a web-based control panel for managing MySQL and MariaDB databases without the command line. phpMyAdmin is a free tool with a point-and-click screen. Nginx is the web server that delivers that screen to your browser.
This setup needs at least 2GB of RAM to stay responsive. You also need a user with sudo rights on the server. Follow the steps below to install both tools, add MariaDB and PHP-FPM, and connect everything.
Install phpMyAdmin with Nginx on Ubuntu 24.04 by running sudo apt update, then sudo apt install nginx, sudo apt install mariadb-server, and the phpMyAdmin and PHP-FPM packages from the default Ubuntu repositories. Start and enable each service with systemctl, then open http://localhost to confirm the Nginx “Welcome to nginx” page loads. You need at least 2GB of RAM and a user with sudo rights.
Install Nginx HTTP server on Ubuntu
Nginx hosts your phpMyAdmin setup on Ubuntu 24.04. You install it from the default Ubuntu repositories with the package manager. It is the core web server that serves your pages and the database interface.
Open the Ubuntu terminal and run the commands below. The first refreshes your package list, and the next installs the Nginx web server. If apt asks you to confirm, answer Y.
sudo apt update
sudo apt install nginx
The enable command makes Nginx start automatically every time the server boots. Ubuntu usually starts Nginx right after installation, so you may only need the enable command.
sudo systemctl stop nginx
sudo systemctl start nginx
sudo systemctl enable nginx
Open your web browser and go to the server’s local host or IP address, as shown below. If the page doesn’t load and the server runs a firewall such as UFW, make sure HTTP traffic on port 80 is allowed.
http://localhost
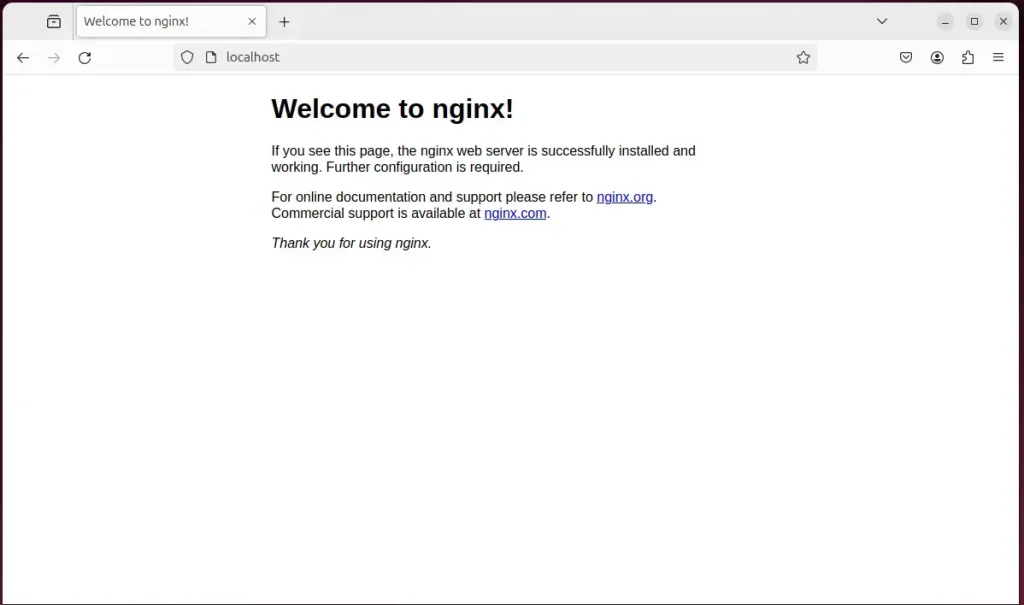
When you see the “Welcome to nginx” page, the Nginx HTTP server is installed and working.
Additional help on installing Nginx on Ubuntu is in the link below.
Install the MariaDB database server on Ubuntu
The MariaDB database server stores the data behind your phpMyAdmin installation. You install it with the standard package manager. It handles your user accounts, tables and queries, and gives your web applications a reliable SQL backend.
Use the instructions below to install and check the MariaDB database server.
Open the Ubuntu terminal and run the commands below to install the MariaDB database server.
sudo apt update
sudo apt install mariadb-server
Once MariaDB is installed, use the commands below to stop, start and enable the service. Enabling it makes MariaDB start automatically when the server boots.
sudo systemctl stop mariadb
sudo systemctl start mariadb
sudo systemctl enable mariadb
Run the following commands to check that the MariaDB database server installed correctly.
sudo mariadb
These commands log you into the MariaDB console and display a message similar to the one below.
Welcome to the MariaDB monitor.  Commands end with ; or g.
Your MariaDB connection id is 32
Server version: 10.11.2-MariaDB-1 Ubuntu 23.04

Copyright (c) 2000, 2018, Oracle, MariaDB Corporation Ab and others.

Type 'help;' or 'h' for help. Type 'c' to clear the current input statement.

MariaDB [(none)]>
This message tells you the server is installed and answering connections. Leave the console when you are done, or keep it open, since you need it again in the next section.
Additional help on installing MariaDB.
- How to install MariaDB on Ubuntu Linux
- MariaDB without password prompt
Create a phpMyAdmin user account
A dedicated phpMyAdmin user lets you connect to MariaDB without using the root account. A separate account with its own password protects the database from unauthorized access and gives you finer control over permissions.
On Ubuntu, MariaDB’s root account uses the auth_socket plugin. It authenticates users who connect from the local host through the Unix socket file, so you can’t log in as root by supplying a password.
This causes problems for some apps that need to connect to the database as root with a password. To fix that, you change the default authentication mechanism from auth_socket to mysql_native_password.
You should still avoid root for remote access. Root connections over the network are a security risk, so use a dedicated database user instead.
Since you don’t want phpMyAdmin to connect to MariaDB as root, create a separate account for it and log in with that.
The commands below cover all the database steps described above: changing the root authentication method and creating the new account.
First, log on to the MariaDB database server. You should land at the MariaDB prompt:
sudo mariadb
Then run the commands below at that prompt to complete the steps. Each SQL statement ends with a semicolon, so don't drop it.
CREATE USER phymyadmin@localhost IDENTIFIED BY 'type_your_password_here';
GRANT ALL ON *.* TO phymyadmin@localhost WITH GRANT OPTION;
FLUSH PRIVILEGES;
exit
Replace 'type_your_password_here' with your own password before you run the commands. Choose a strong one, and note it down, because you need it to log in to phpMyAdmin at the end.
Install PHP-FPM on Ubuntu Linux
PHP-FPM is a tool that processes PHP code for web servers. phpMyAdmin is written in PHP, so Nginx needs PHP-FPM to run it. Install PHP-FPM with the extensions phpMyAdmin needs, so the interface loads properly in your browser.
Run the commands below to install PHP-FPM.
sudo apt install php-fpm php-intl php-mysql php-curl php-cli php-zip php-xml php-gd php-common php-mbstring php-xmlrpc php-sqlite3 php-soap php-ldap php-zip
Additional help on installing PHP:
Install phpMyAdmin
You install phpMyAdmin directly from the default Ubuntu 24.04 software sources with the package manager. Once Nginx, MariaDB and PHP-FPM are ready, a single terminal command downloads and sets up the interface files.
There's no need to add any extra repositories or tools.
Run the commands below to install phpMyAdmin on Ubuntu. The installer then opens a few blue configuration screens, which you handle in the next steps.
sudo apt install phpmyadmin
- When the installer asks which web server to configure automatically, don't select anything. The list only offers Apache and Lighttpd, and Nginx isn't on it. Selecting one would try to configure a server you aren't using.
- Press Tab to move to Ok, then press ENTER.
+------------------------+ Configuring phpmyadmin +------------------------+
| Please choose the web server that should be automatically configured to   |
| Web server to reconfigure automatically:                                  |
|                                                                           |
|    [ ] apache2                                                            |
|    [ ] lighttpd                                                           |
|                                 <ok>                                      |
 +---------------------------------------------------------------
The installer then asks whether to let dbconfig-common install and configure a database for phpMyAdmin. Select Yes and press ENTER.
┌────────────────────────┤ Configuring phpmyadmin ├─────────────────────────┐
│                                                                           │
│ The phpmyadmin package must have a database installed and configured      │
│ before it can be used. This can be optionally handled with                │
│ dbconfig-common.                                                          │
│                                                                           │
│ If you are an advanced database administrator and know that you want to   │
│ perform this configuration manually, or if your database has already      │
│ been installed and configured, you should refuse this option. Details on  │
│ what needs to be done should most likely be provided in                   │
│ /usr/share/doc/phpmyadmin.                                                │
│                                                                           │
│ Otherwise, you should probably choose this option.                        │
│                                                                           │
│ Configure database for phpmyadmin with dbconfig-common?                   │
│                                                                           │
│                    <Yes>                       <No>                       │
│
Next, type and confirm a password for phpMyAdmin's own database registration. It can be any password you like, and you won't need it to log in to the web interface. Press ENTER to finish. The installer completes and returns you to the terminal.
Set up Nginx with phpMyAdmin
Nginx configuration files tell the web server how to handle requests for phpMyAdmin and where the installed files live. A configuration snippet links your Nginx server block to the phpMyAdmin files, so the login page loads in your browser.
Run the commands below to create a phpMyAdmin snippet that any existing server block can reuse. This opens a new, empty file in your terminal editor.
sudo nano /etc/nginx/snippets/phpmyadmin.conf
Copy and paste the code below into the file.
location /phpmyadmin {
    root /usr/share/;
    index index.php;
    location ~ ^/phpmyadmin/(.+.php)$ {
        try_files $uri =404;
        root /usr/share/;
        fastcgi_pass unix:/run/php/php8.3-fpm.sock;
        fastcgi_index index.php;
        fastcgi_param SCRIPT_FILENAME $document_root$fastcgi_script_name;
        include /etc/nginx/fastcgi_params;
    }

    location ~* ^/phpmyadmin/(.+.(jpg|jpeg|gif|css|png|js|ico|html|xml|txt))$ {
        root /usr/share/;
    }
}
Save the file and exit. In the nano editor, press Ctrl+O and ENTER to save, then Ctrl+X to exit.
Finally, include the snippet in your Nginx server block. If you already host a domain on this server, open its server block file and add the include line inside the server block, as shown below.
include snippets/phpmyadmin.conf;
If you don't have an existing domain, open the Nginx default server block by running the commands below.
sudo nano /etc/nginx/sites-available/default
When the file opens, copy and paste the highlighted line into the server block, then save and exit. Keep it inside the curly braces of the server block, not after the closing one.
# Default server configuration
server {
        listen 80 default_server;
        listen [::]:80 default_server;

        include snippets/phpmyadmin.conf;

        root /var/www/html;

        # Add index.php to the list if you are using PHP
        index index.php index.html index.htm index.nginx-debian.html;

        server_name _;
        location / {
                try_files $uri $uri/ =404;

        }
        # pass PHP scripts to FastCGI server
        #
        location ~ .php$ {
                include snippets/fastcgi-php.conf;
                fastcgi_pass unix:/run/php/php8.3-fpm.sock;
        }
}
Restart Nginx so it picks up the new configuration. If the restart fails, recheck the line you added. A missing semicolon or a line outside the server block are the usual causes.
sudo systemctl restart nginx
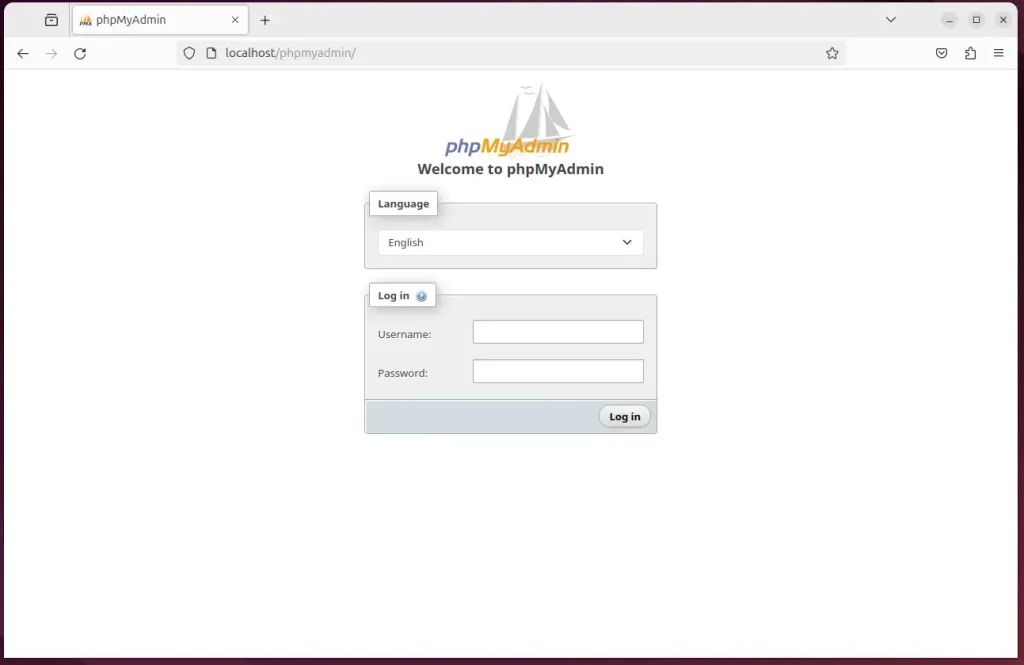
After the restart, open your web browser and browse to the server hostname or IP address followed by /phpmyadmin. You should see the phpMyAdmin login page. A 404 error usually means the include line isn't in the server block that answers your request. A 502 Bad Gateway error usually means PHP-FPM isn't running, or the PHP version in the snippet doesn't match the one installed.
Setup Let's Encrypt SSL/TLS for phpMyAdmin
Let's Encrypt SSL/TLS certificates encrypt the traffic between your browser and your Nginx server. This protects your phpMyAdmin login, so your database passwords and queries can't be read on the network. The certificates are free. Let's Encrypt issues them for domain names, not bare IP addresses, so your domain must already point to this server.
Please read the post below for more on installing and creating Let's Encrypt SSL certificates for Nginx.
How to set up Let's Encrypt SSL certificate for Nginx on Ubuntu Linux
Once you have restarted the Nginx web server, open your browser and browse to the server hostname or IP address defined in the Nginx server block. If you set up a certificate, use the https address.
Then add /phpmyadmin to the end of the hostname or IP address. The phpMyAdmin login page should open.
http://localhost/phpmyadmin
Log on with the account you created earlier for phpMyAdmin, using the password you set in that step. If the login fails, check that you typed the username and password exactly as you created them. After a successful login, the phpMyAdmin dashboard shows your databases in the left panel.
That should do it!
Conclusion:
- Installing phpMyAdmin with Nginx on Ubuntu 24.04 lets you manage MySQL and MariaDB databases through a user-friendly web interface, and a dedicated account and HTTPS keep access secure.
- The installation involves setting up the Nginx HTTP server, installing the MariaDB database server, creating a dedicated user account for phpMyAdmin, installing PHP-FPM, and finally setting up Let's Encrypt SSL/TLS for added security.
- Following the steps above gives you a working phpMyAdmin installation, so you can access and manage your databases from a browser.
Have a question about this guide?
Answered by AI from this guide. Good questions may be added to this page — please don't include personal details.
Did this guide fix your problem?

About the Author
Richard
Tech Writer, IT Professional
Richard is a writer at Geek Rewind who turns complex IT tasks into clear, step-by-step guides. He draws on years of hands-on experience in system administration and enterprise IT operations, focusing on Windows, Linux and WordPress: the problems people actually run into, and the fixes that work. His server and WordPress guides come from systems he runs himself. Richard builds and maintains the platform behind Geek Rewind, from its Ubuntu servers and Nginx configuration to its custom WordPress plugins. Many new tutorials start with readers' questions, and he's always glad to answer them in the comments.
No comments yet — be the first to share your thoughts!