How to Setup WordPress with Nginx and Cloudflare on Ubuntu
You set up WordPress with Nginx and Cloudflare on Ubuntu to create a fast and secure web server environment.
This combination leverages Nginx’s speed for web serving, Cloudflare’s CDN and security features, and WordPress for your website content, all running on an Ubuntu operating system.
Specifically, this tutorial guides you through configuring WordPress with Nginx and Cloudflare on Ubuntu 22.04 LTS, delivering optimal performance and robust protection for your site.
Set up WordPress with Nginx and Cloudflare on Ubuntu by installing Nginx, MariaDB, and PHP. Configure Cloudflare by adding your domain, setting SSL to Full (strict), and enabling Always Use HTTPS. Then, create Nginx server blocks for your WordPress site and adjust PHP settings.
Why set this up?
You want this setup to protect your site from hackers and to ensure your pages load quickly for visitors. It adds a professional layer of security and performance optimization to your blog or business site.
What happens when done?
Once finished, your website will be fully encrypted with an SSL certificate, hosted on a fast Nginx server, and protected by Cloudflare’s global network.
How to set up Cloudflare
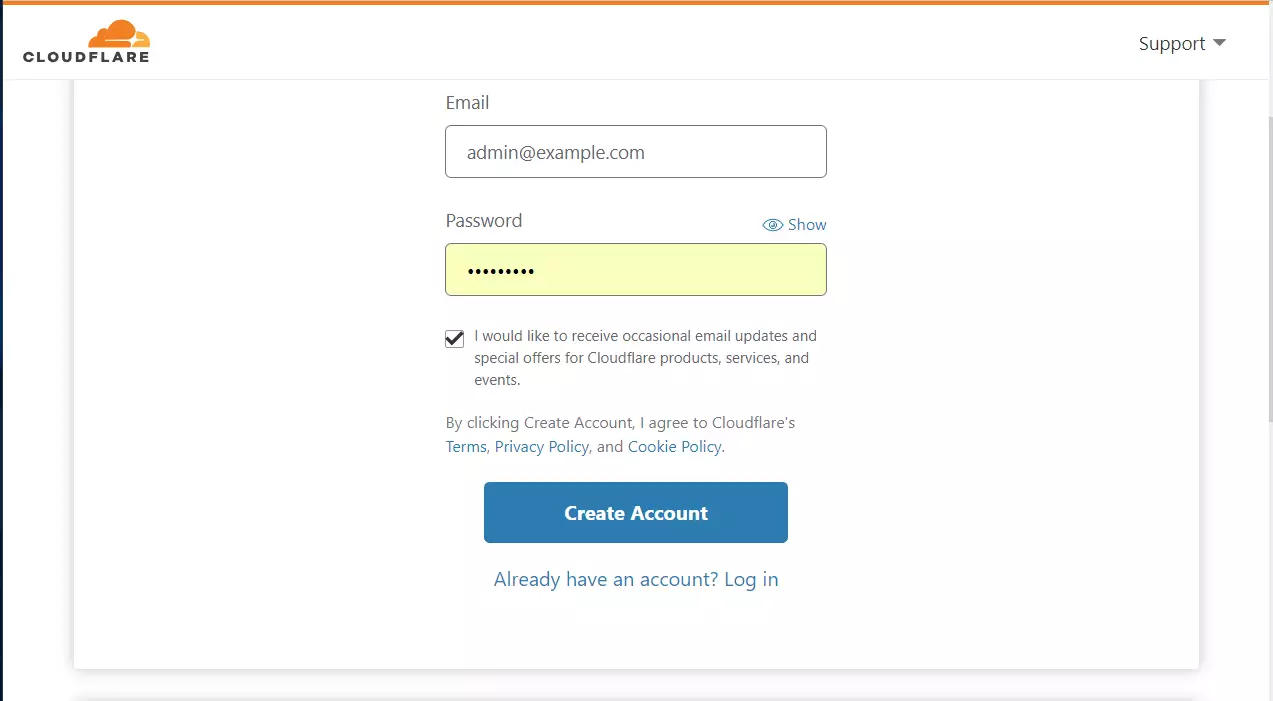
Setting up Cloudflare is a crucial step to protect and speed up your WordPress site when using Nginx and Cloudflare on Ubuntu. To start, go to the Cloudflare website, enter your email, and create an account. Then, add your website by typing in your domain name so Cloudflare can begin scanning your existing DNS records.
https://dash.cloudflare.com/sign-up
Enter your email and create an account.
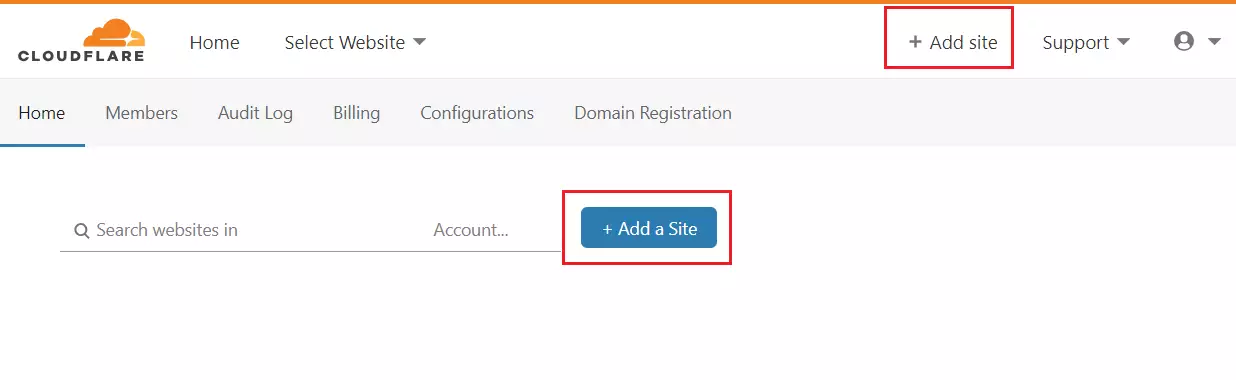
After logging in, click the button to add a site.
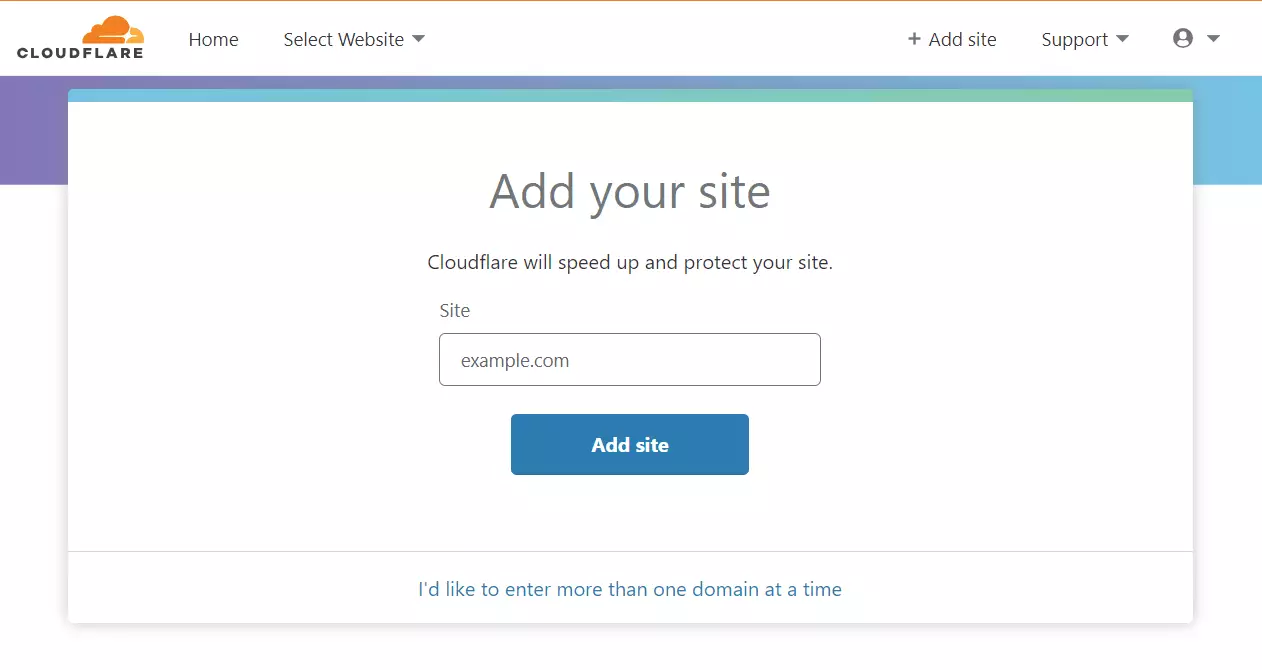
Type in your domain name. registered
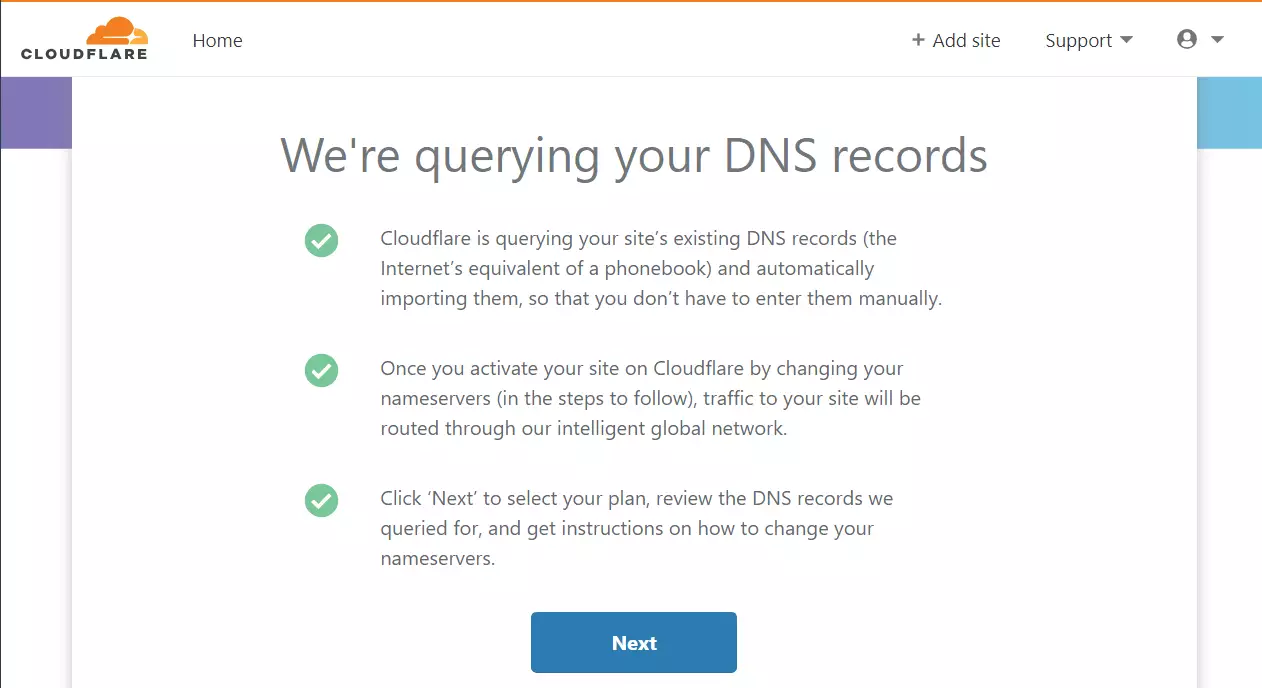
Cloudflare will look for your current domain settings. If found, it will import them automatically.
Choose the free plan for this setup.

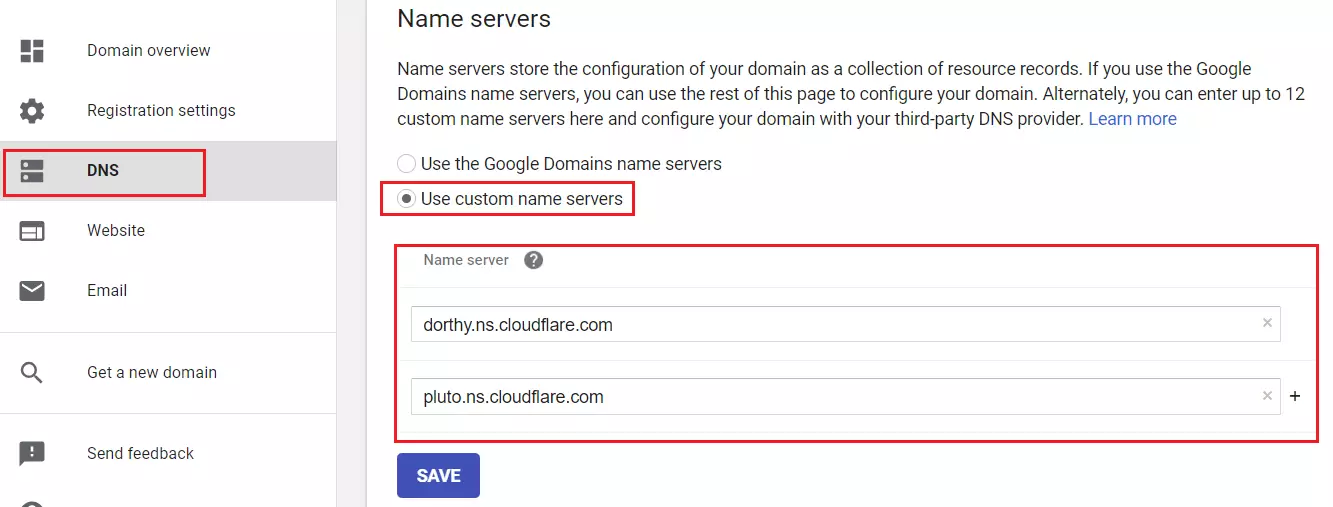
Cloudflare will give you two nameservers. You must log in to your domain provider’s website and replace your old nameservers with these new ones.
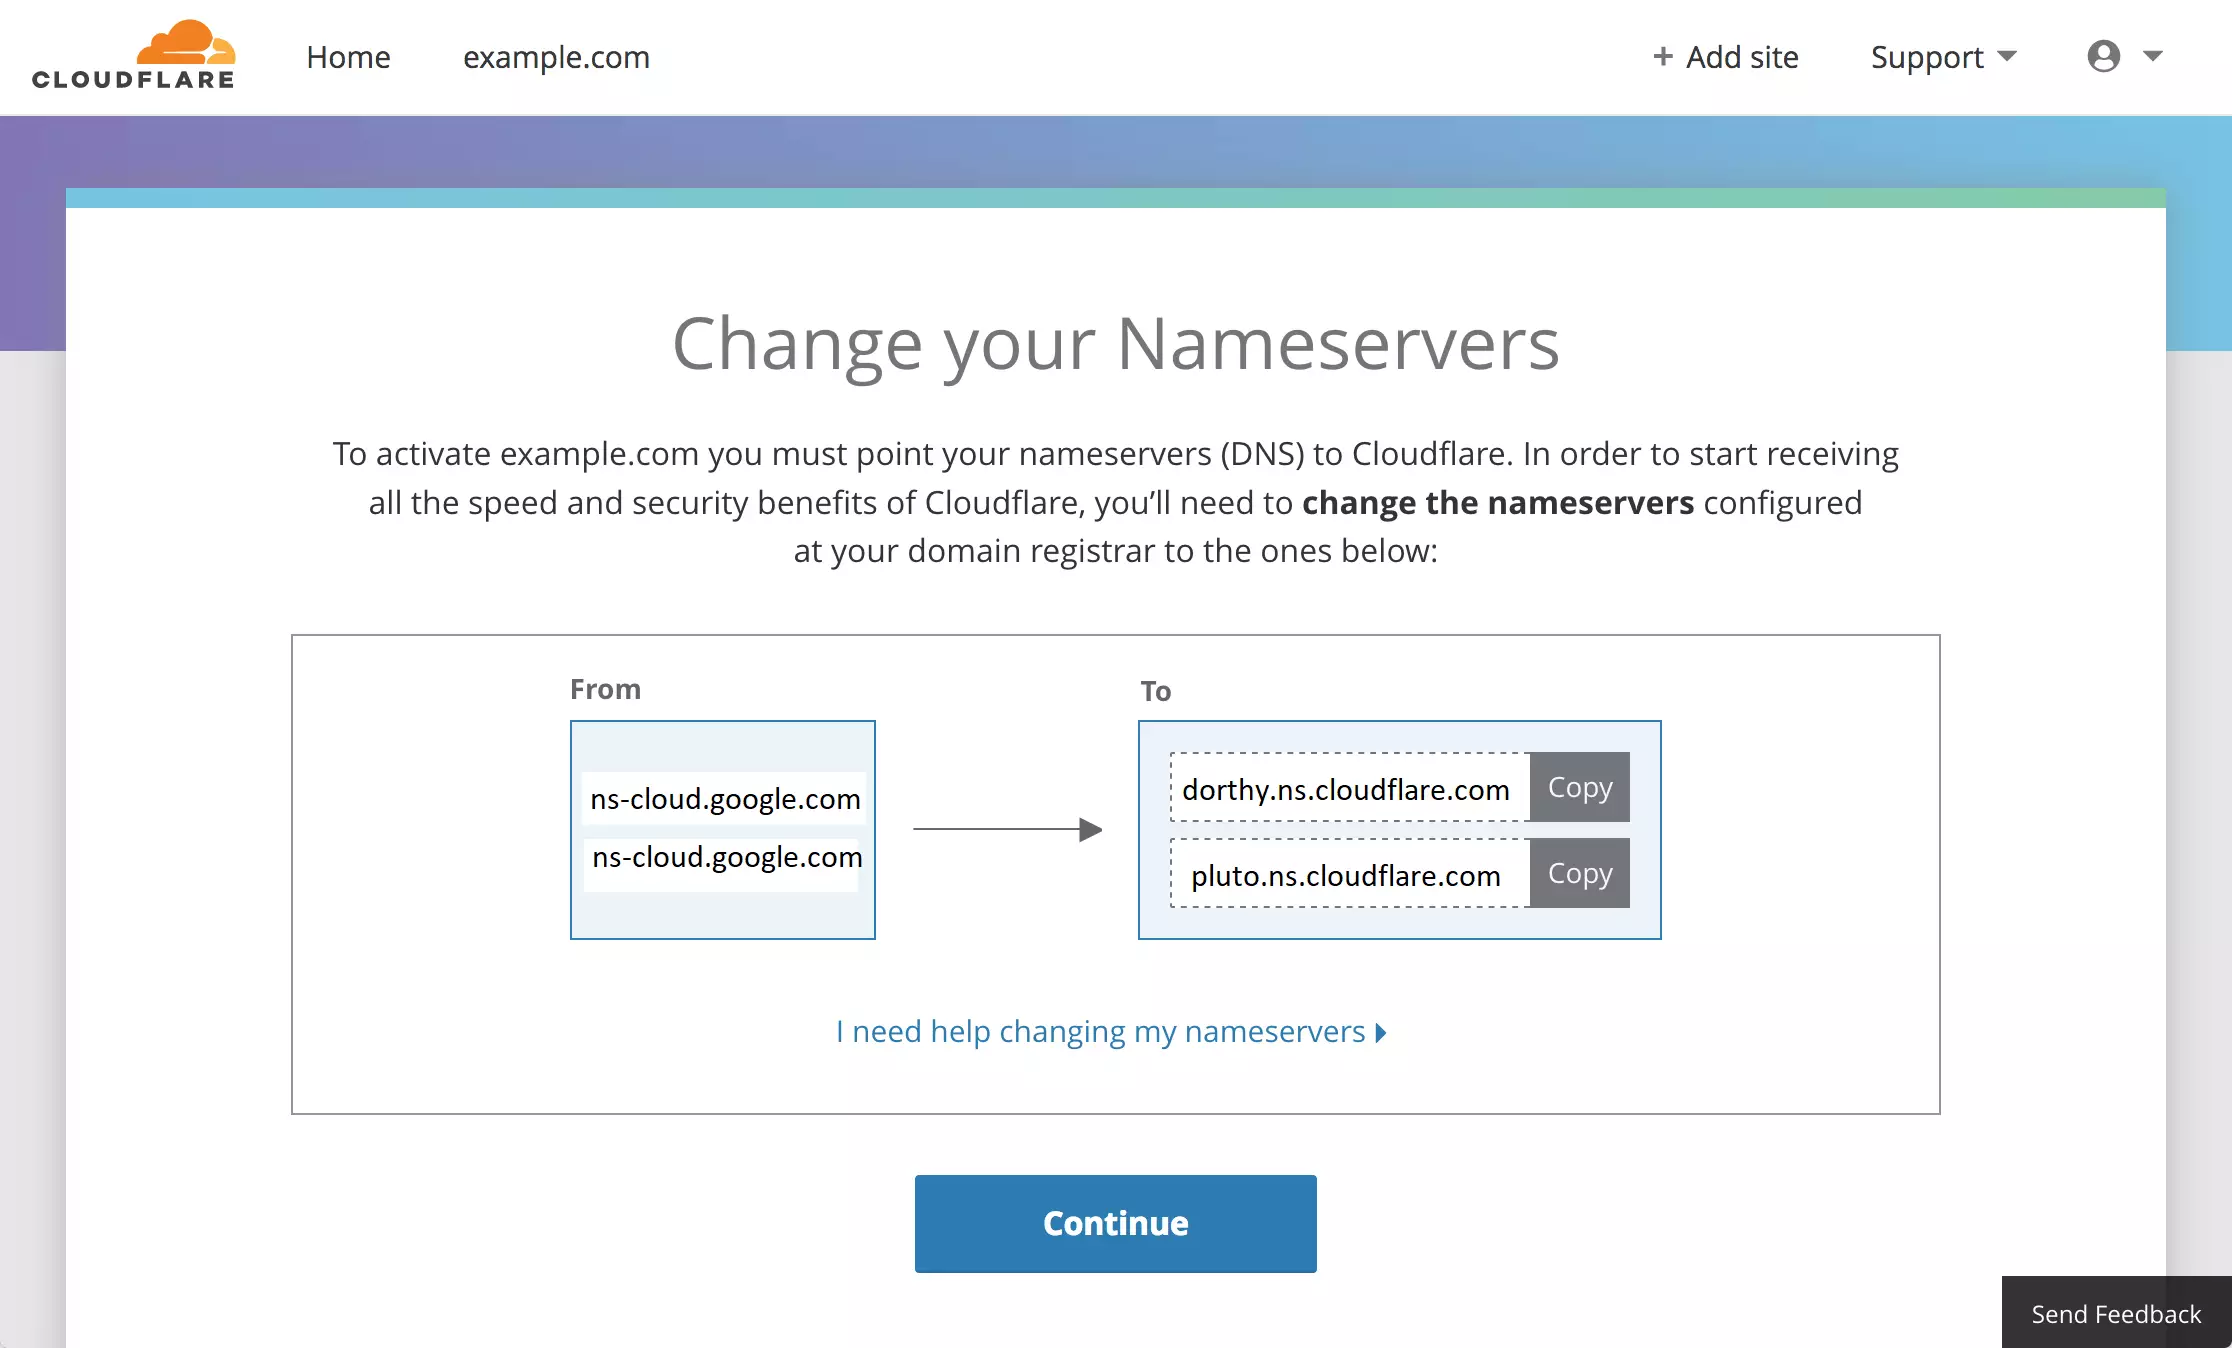
For example, if you use a service like Google Domains, find the custom nameserver section and paste the Cloudflare addresses there.
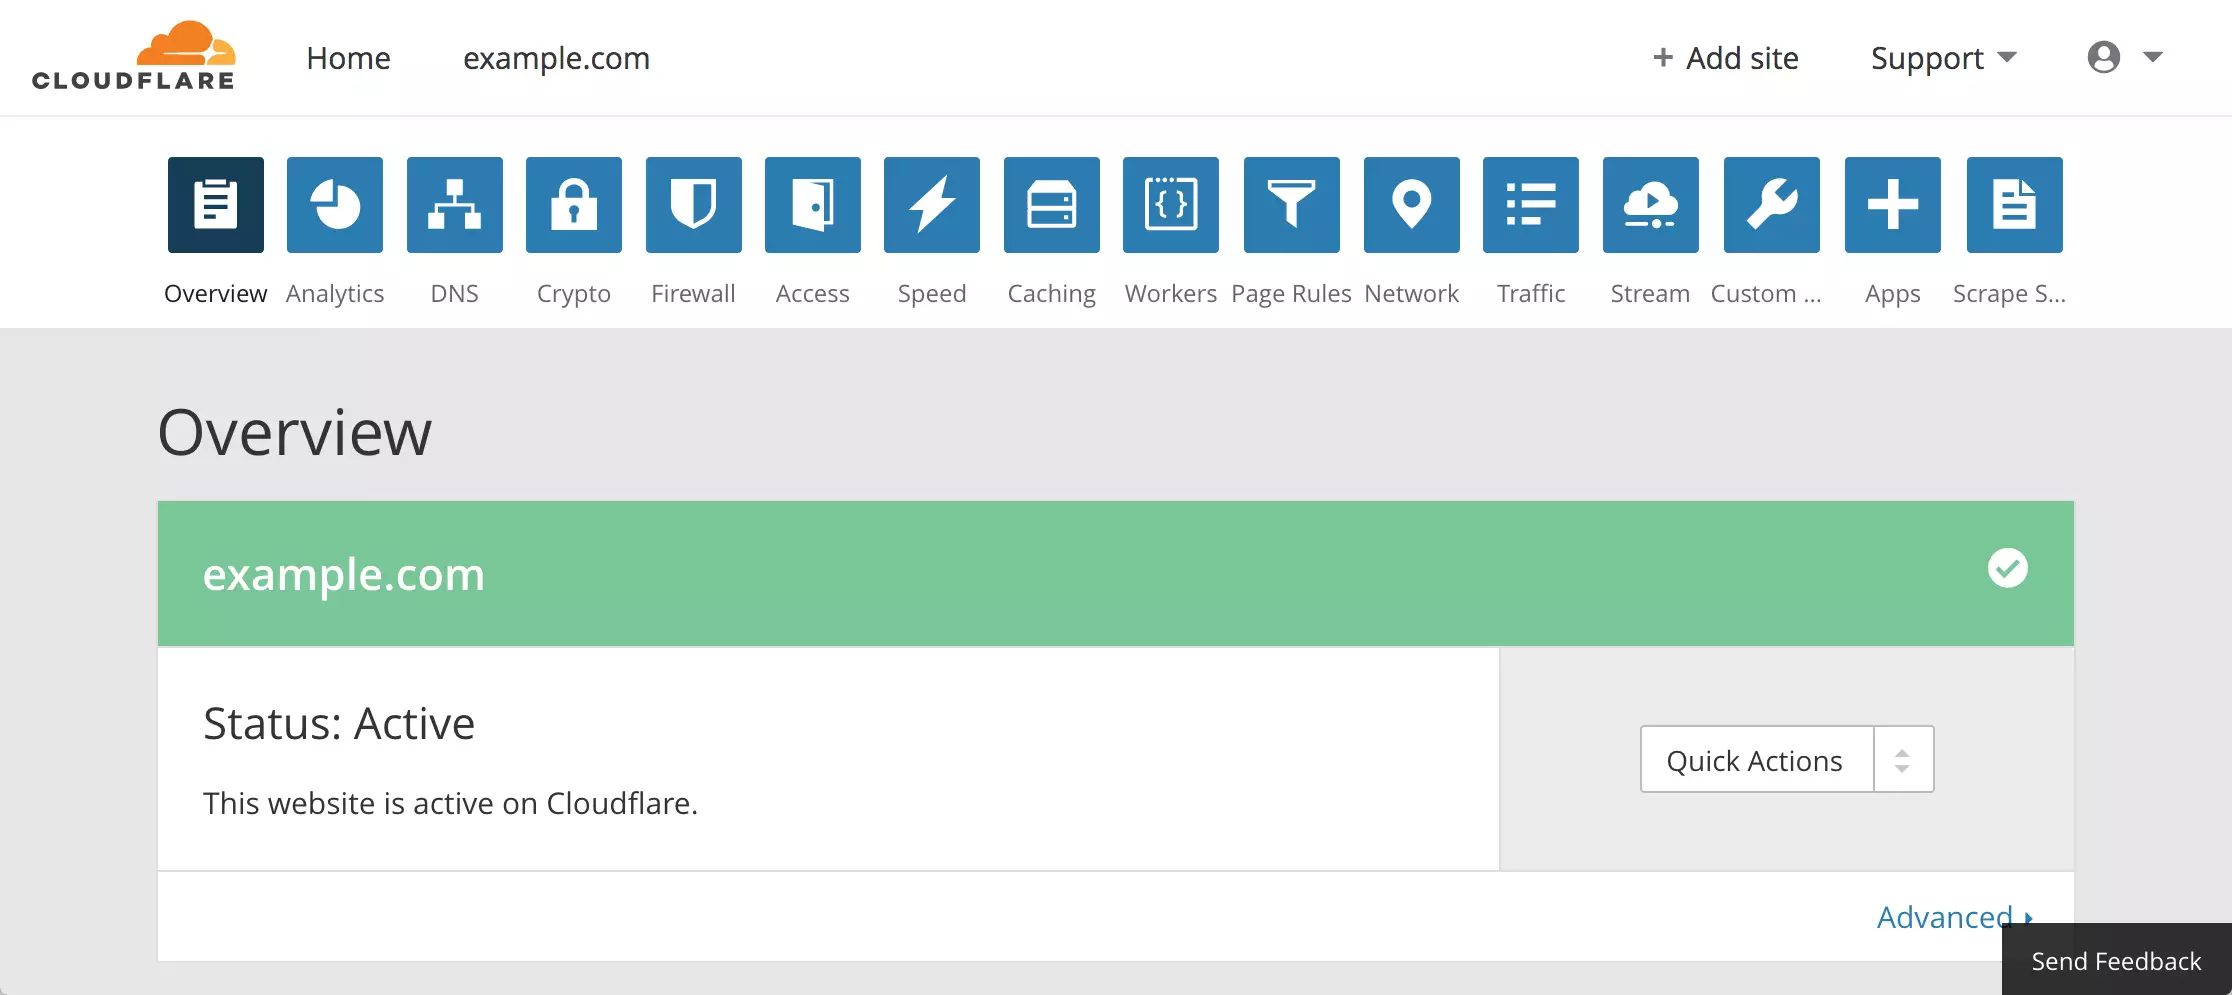
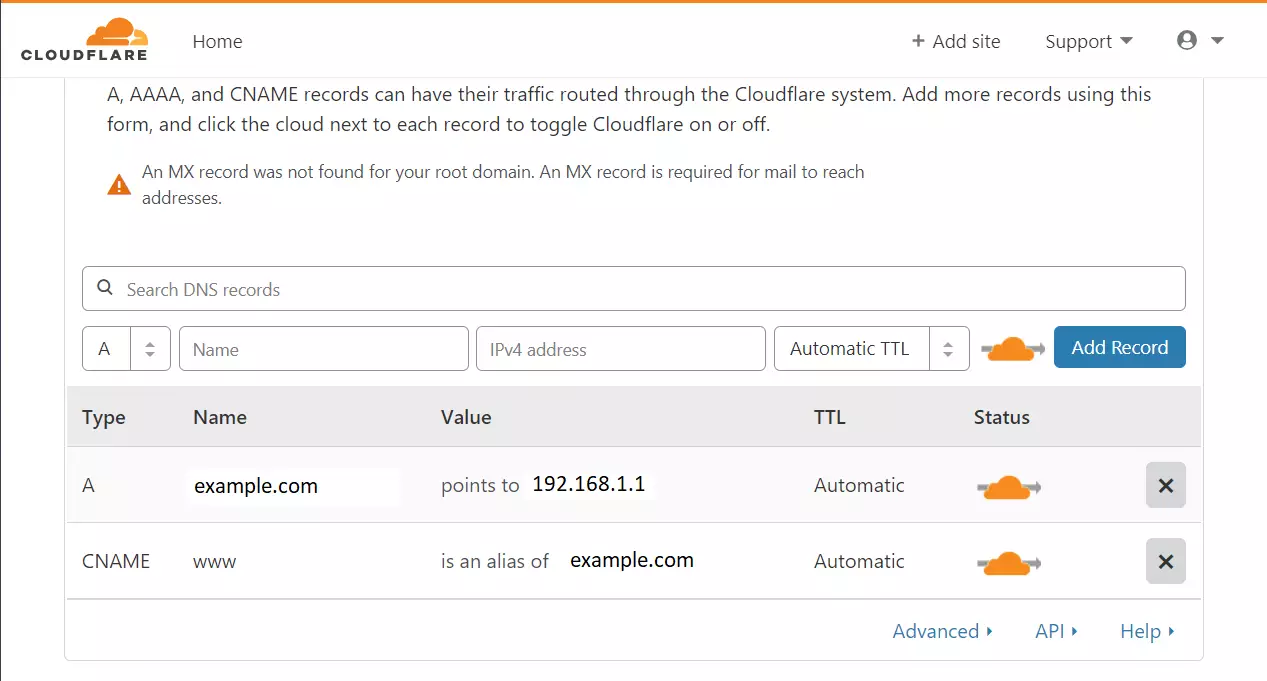
Once active, you will see your DNS records.
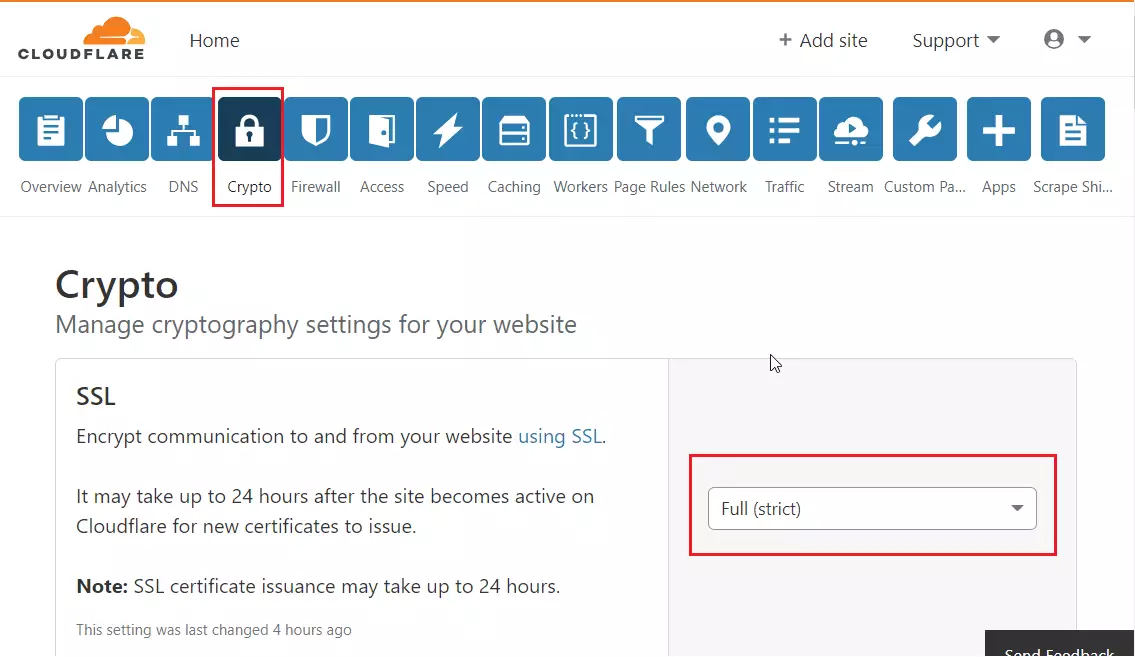
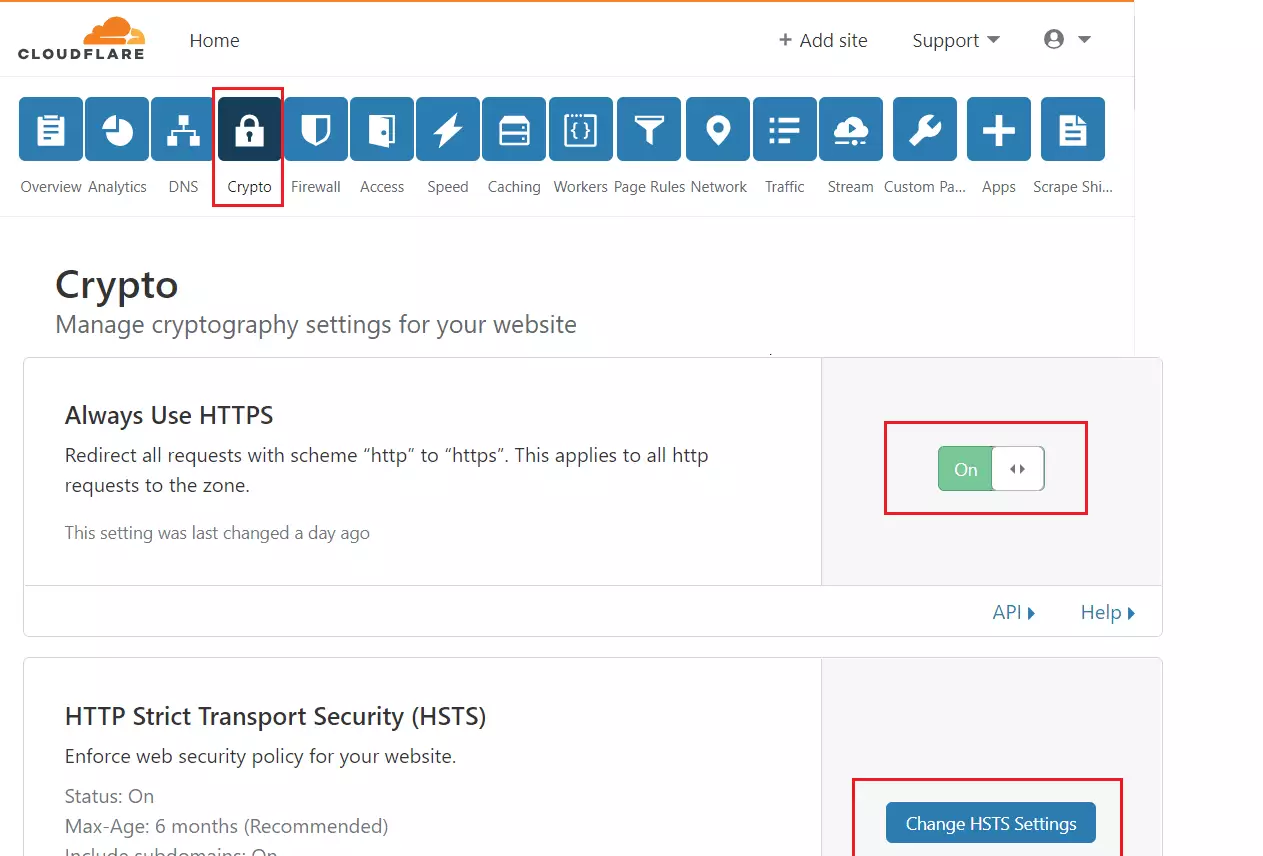
Click the Crypto tab and set your SSL to Full (strict).
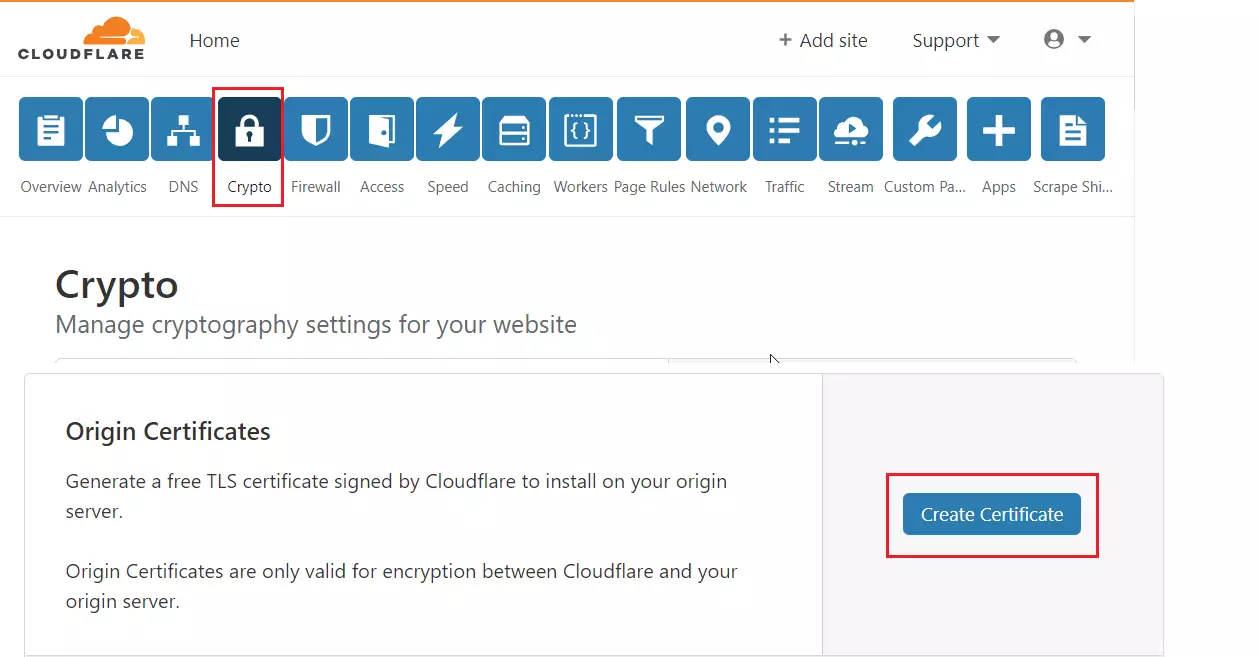
Scroll down to Origin Certificates and click to create one. These help encrypt the connection between Cloudflare and your server.
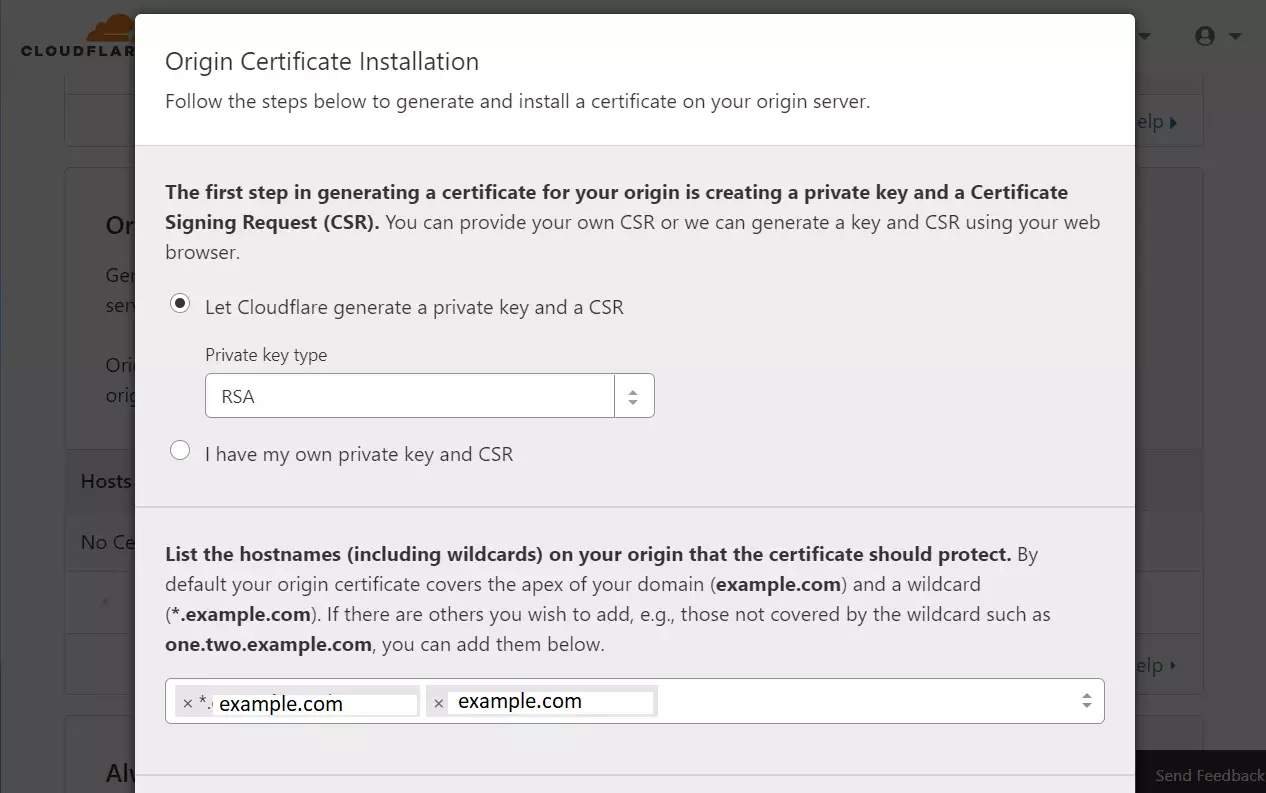
Let Cloudflare generate the key and click Next.
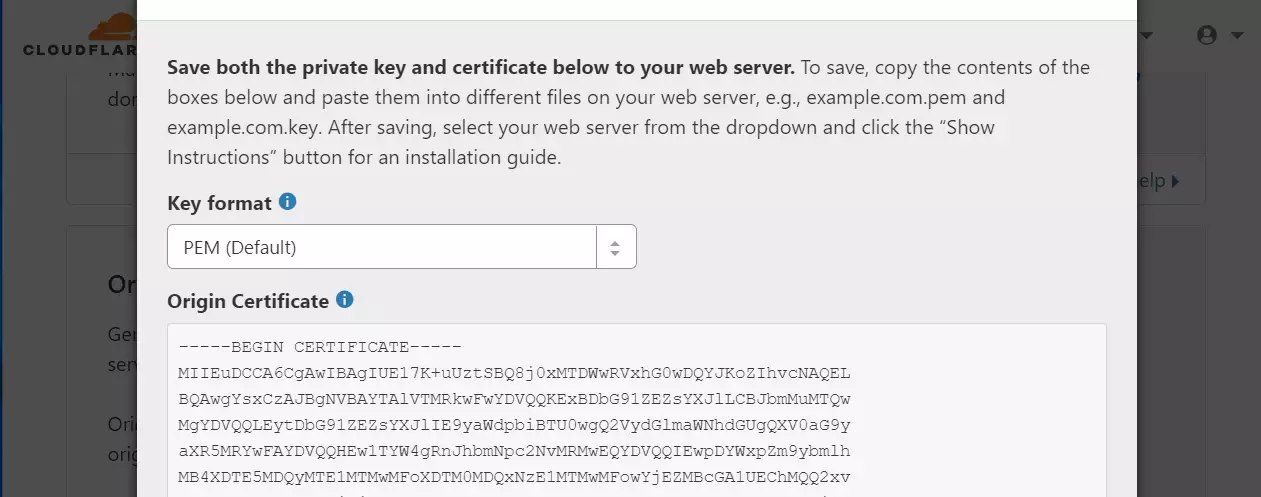
sudo nano /etc/ssl/private/cloudflare_key_example.com.pem
sudo nano /etc/ssl/certs/cloudflare_example.com.pem
Download the Cloudflare Origin Pull certificate here: Set up authenticated Origin pulls · Cloudflare SSL docs
sudo nano /etc/ssl/certs/origin-pull-ca.pem
You should now have three files on your server. Keep these safe.
In the Cloudflare Crypto settings, turn on “Always use HTTPS.”
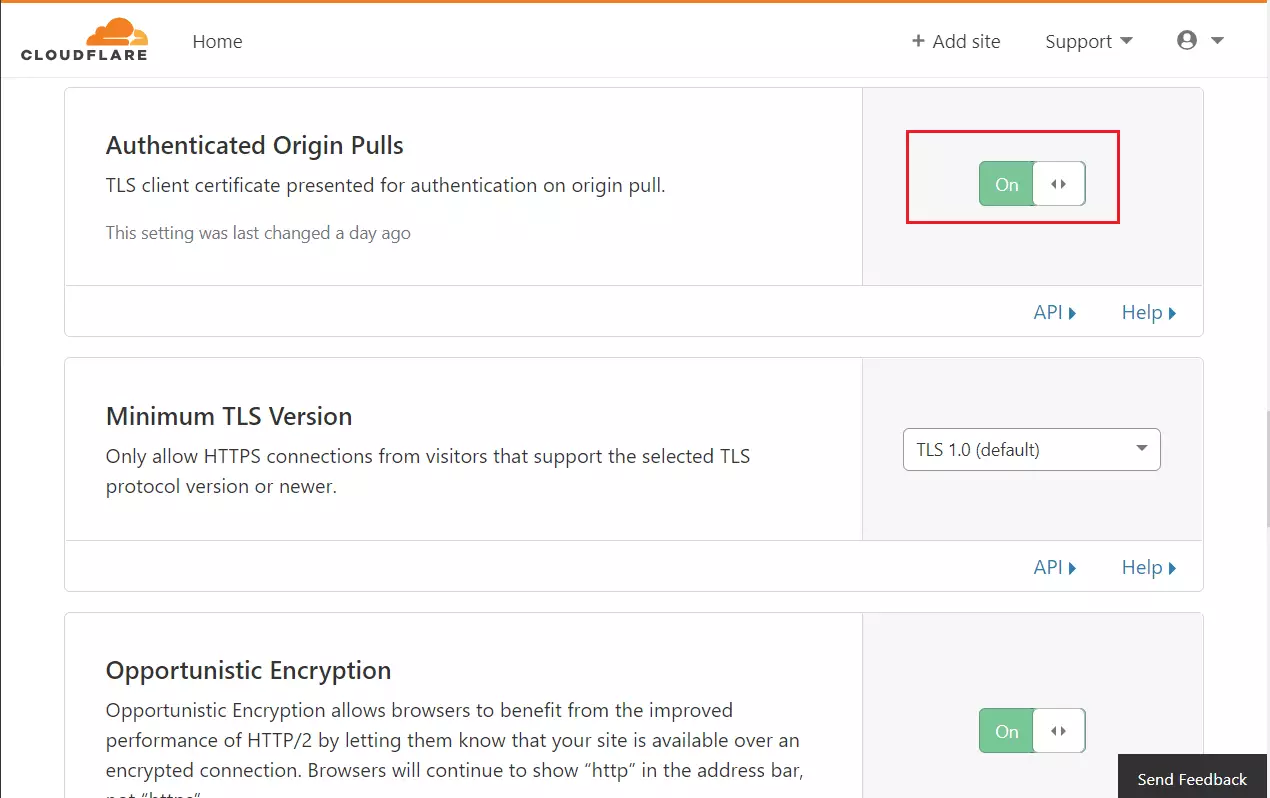
Enable “Authenticated Origin Pulls” and “Opportunistic Encryption.”
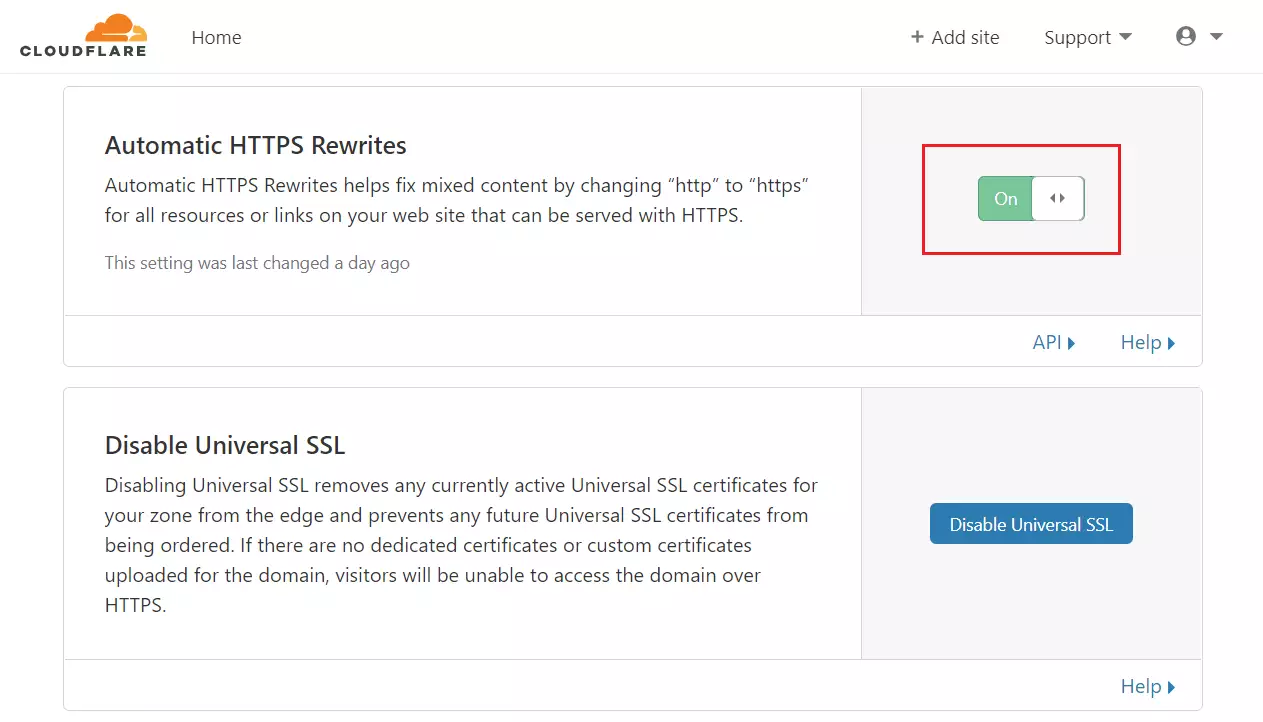
Enable “Automatic HTTPS Rewrites.”
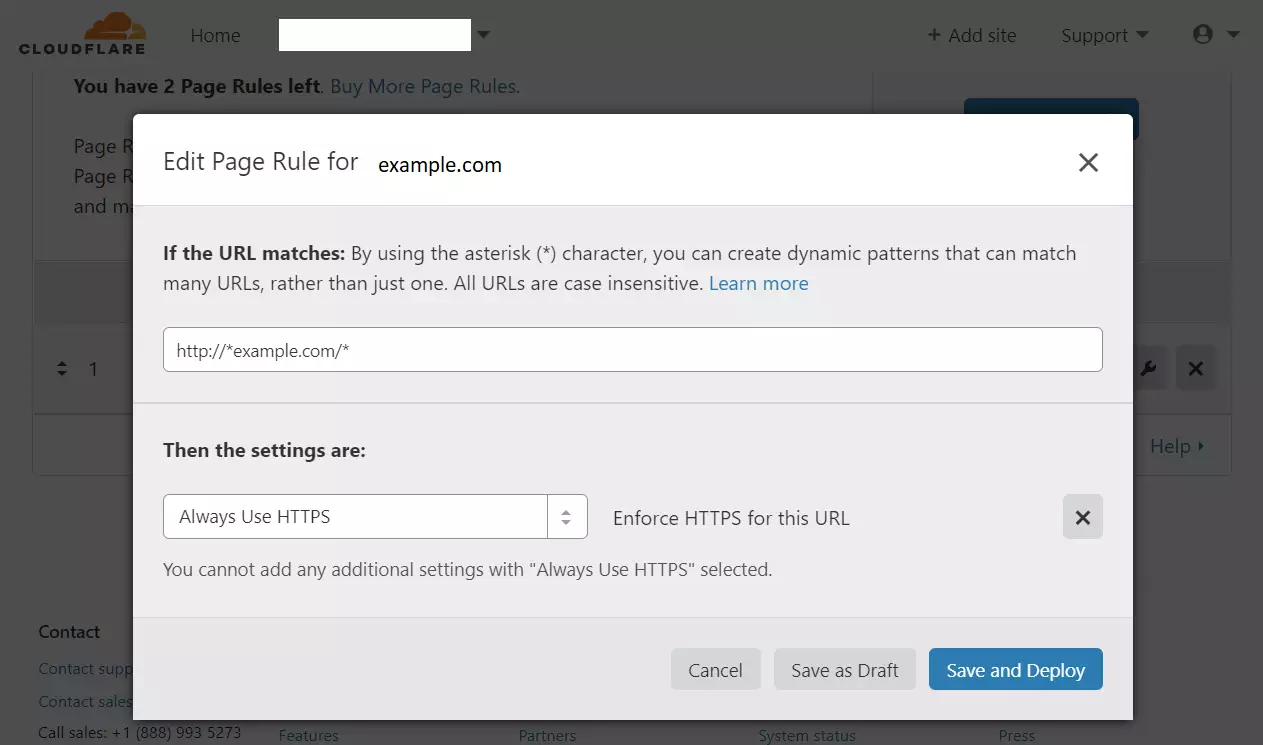
Go to Page Rules and create a rule to always use HTTPS for your domain.
How to install and configure WordPress
1Install Nginx
Requires admin privileges.
sudo apt update
sudo apt install nginx
Use these commands to manage the service:
sudo systemctl stop nginx.service
sudo systemctl start nginx.service
sudo systemctl enable nginx.service
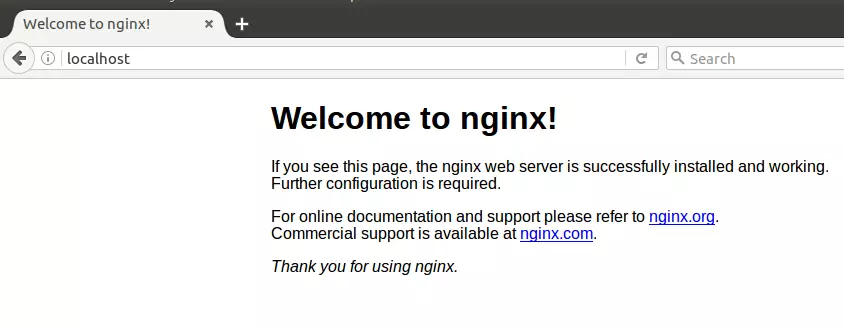
Test if it works by visiting your server’s address in a browser.
2Install MariaDB
WordPress needs a database to store all your site’s information, and MariaDB is a popular choice for this. You’ll install MariaDB on your Ubuntu server using a simple command. After installing, you’ll manage the service to make sure it’s running correctly and set it to start automatically when your server boots up.
sudo apt-get install mariadb-server mariadb-client
Manage the service:
sudo systemctl stop mysql.service
sudo systemctl start mysql.service
sudo systemctl enable mysql.service
sudo systemctl stop mariadb.service
sudo systemctl start mariadb.service
sudo systemctl enable mariadb.service
Secure your database:
sudo mysql_secure_installation
Test the installation:
sudo mysql -u root -p

3Install PHP
WordPress runs on PHP, so installing the correct version on your Ubuntu system is essential for your website to work properly. You’ll add a special software repository to get the latest PHP versions, then update your system’s package list. Finally, you’ll install the necessary PHP packages, including the FastCGI Process Manager (FPM) which helps Nginx communicate with PHP.
sudo apt-get install software-properties-common
sudo add-apt-repository ppa:ondrej/php
sudo apt update
sudo apt install php7.2-fpm php7.2-common php7.2-mysql php7.2-gmp php7.2-curl php7.2-intl php7.2-mbstring php7.2-xmlrpc php7.2-gd php7.2-xml php7.2-cli php7.2-zip
Update the configuration file:
sudo nano /etc/php/7.2/fpm/php.ini
file_uploads = On
allow_url_fopen = On
short_open_tag = On
memory_limit = 256M
cgi.fix_pathinfo = 0
upload_max_filesize = 100M
max_execution_time = 360
date.timezone = America/Chicago
Restart Nginx:
sudo systemctl restart nginx.service
Create a test file to verify PHP:
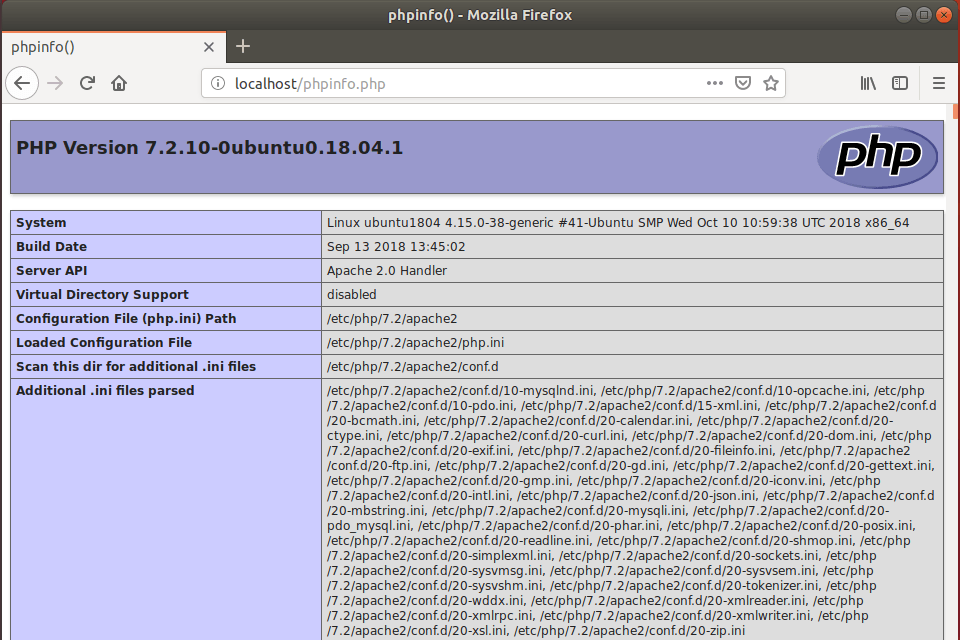
sudo nano /var/www/html/phpinfo.php
Visit the file in your browser to see the info page.
4Create the Database
Requires admin privileges.
sudo mysql -u root -p
CREATE DATABASE wpdatabase;
CREATE USER 'wpuser'@'localhost' IDENTIFIED BY 'new_password_here';
GRANT ALL ON wpdatabase.* TO 'wpuser'@'localhost' IDENTIFIED BY 'user_password_here' WITH GRANT OPTION;
FLUSH PRIVILEGES;
EXIT;
5Download WordPress
cd /tmp
wget https://wordpress.org/latest.tar.gz
tar -xvzf latest.tar.gz
sudo mv wordpress /var/www/html/example.com
sudo chown -R www-data:www-data /var/www/html/example.com/
sudo chmod -R 755 /var/www/html/example.com/
6Configure Nginx for WordPress
Configuring Nginx is how you tell your web server how to handle requests for your WordPress site, ensuring it runs smoothly and efficiently. You’ll create a new configuration file for your specific website, setting up the server name, the directory where your WordPress files are stored, and importantly, how Nginx should process PHP files using PHP-FPM.
sudo nano /etc/nginx/sites-available/example.com
server {
    listen 80;
    listen [::]:80;
    listen 443 ssl http2;
    listen [::]:443 ssl http2;

    server_name  example.com www.example.com;
    root   /var/www/html/example.com;
    index  index.php;

    ssl_certificate /etc/ssl/certs/cloudflare_example.com.pem;
    ssl_certificate_key /etc/ssl/private/cloudflare_key_example.com.pem;
    ssl_client_certificate /etc/ssl/certs/origin-pull-ca.pem;
    ssl_verify_client on;

    client_max_body_size 100M;

    autoindex off;

    location / {
        try_files $uri $uri/ /index.php?$args;
    }

    location ~ .php$ {
         include snippets/fastcgi-php.conf;
         fastcgi_pass unix:/var/run/php/php7.2-fpm.sock;
         fastcgi_param SCRIPT_FILENAME $document_root$fastcgi_script_name;
         include fastcgi_params;
    }
}7Enable the site
Enabling your WordPress site with Nginx connects all the pieces, letting you complete the setup and start using your new website. This involves creating a link in your Nginx configuration to make the site active and then restarting the Nginx service. Once done, you can visit your domain in a web browser to run through the final WordPress setup wizard.
sudo ln -s /etc/nginx/sites-available/example.com /etc/nginx/sites-enabled/
sudo systemctl restart nginx.service
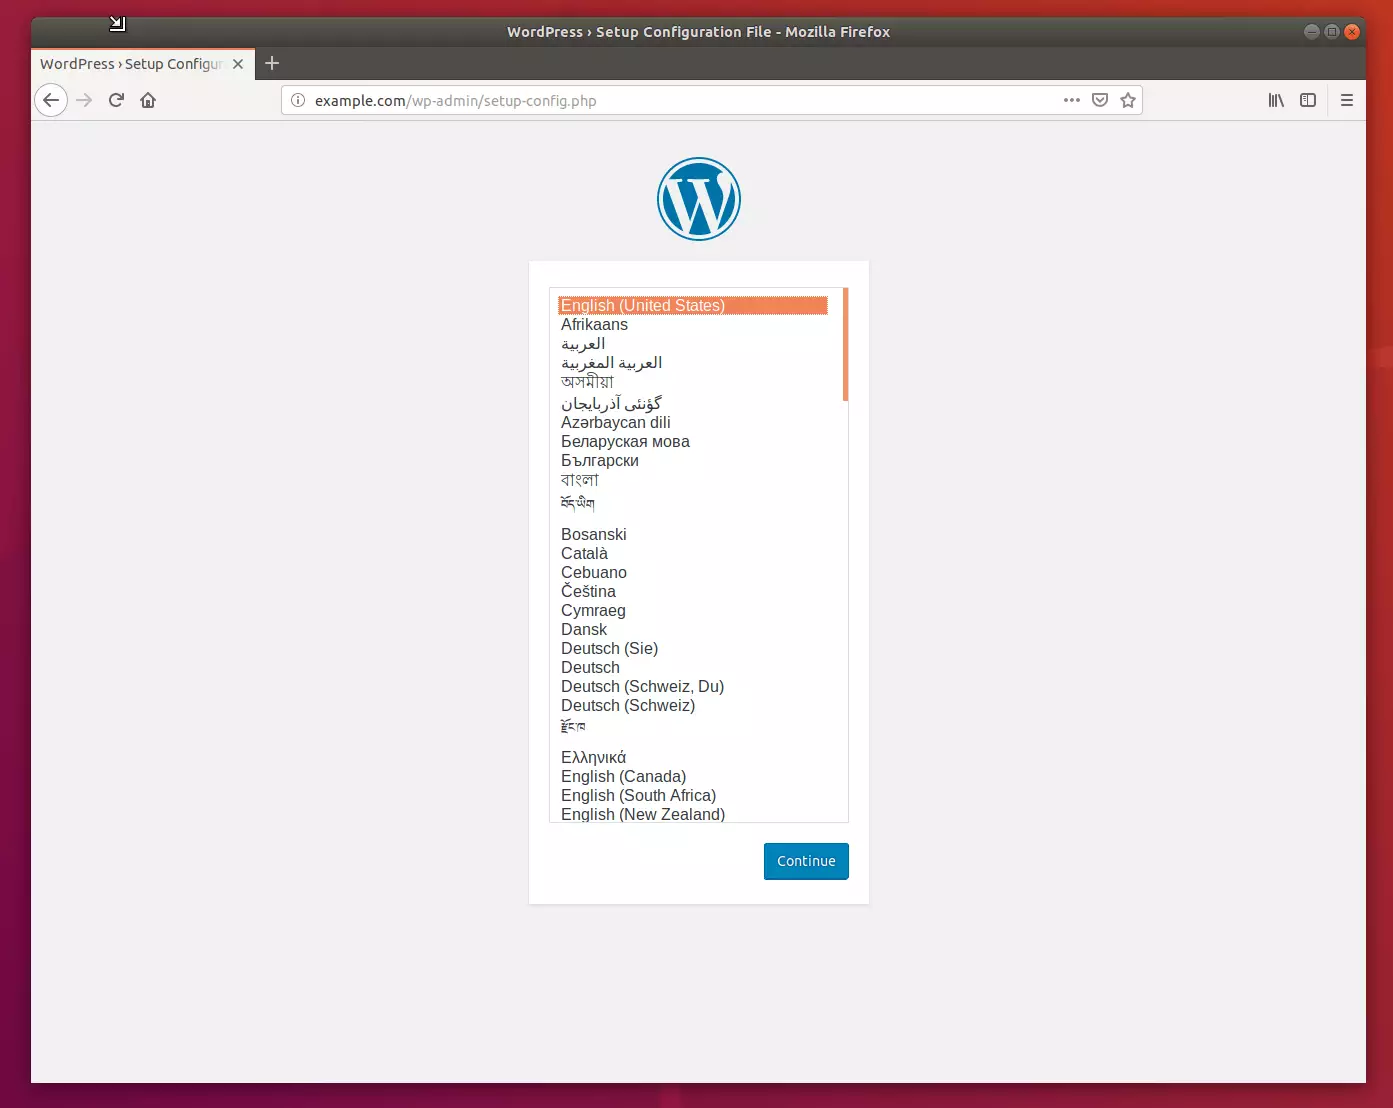
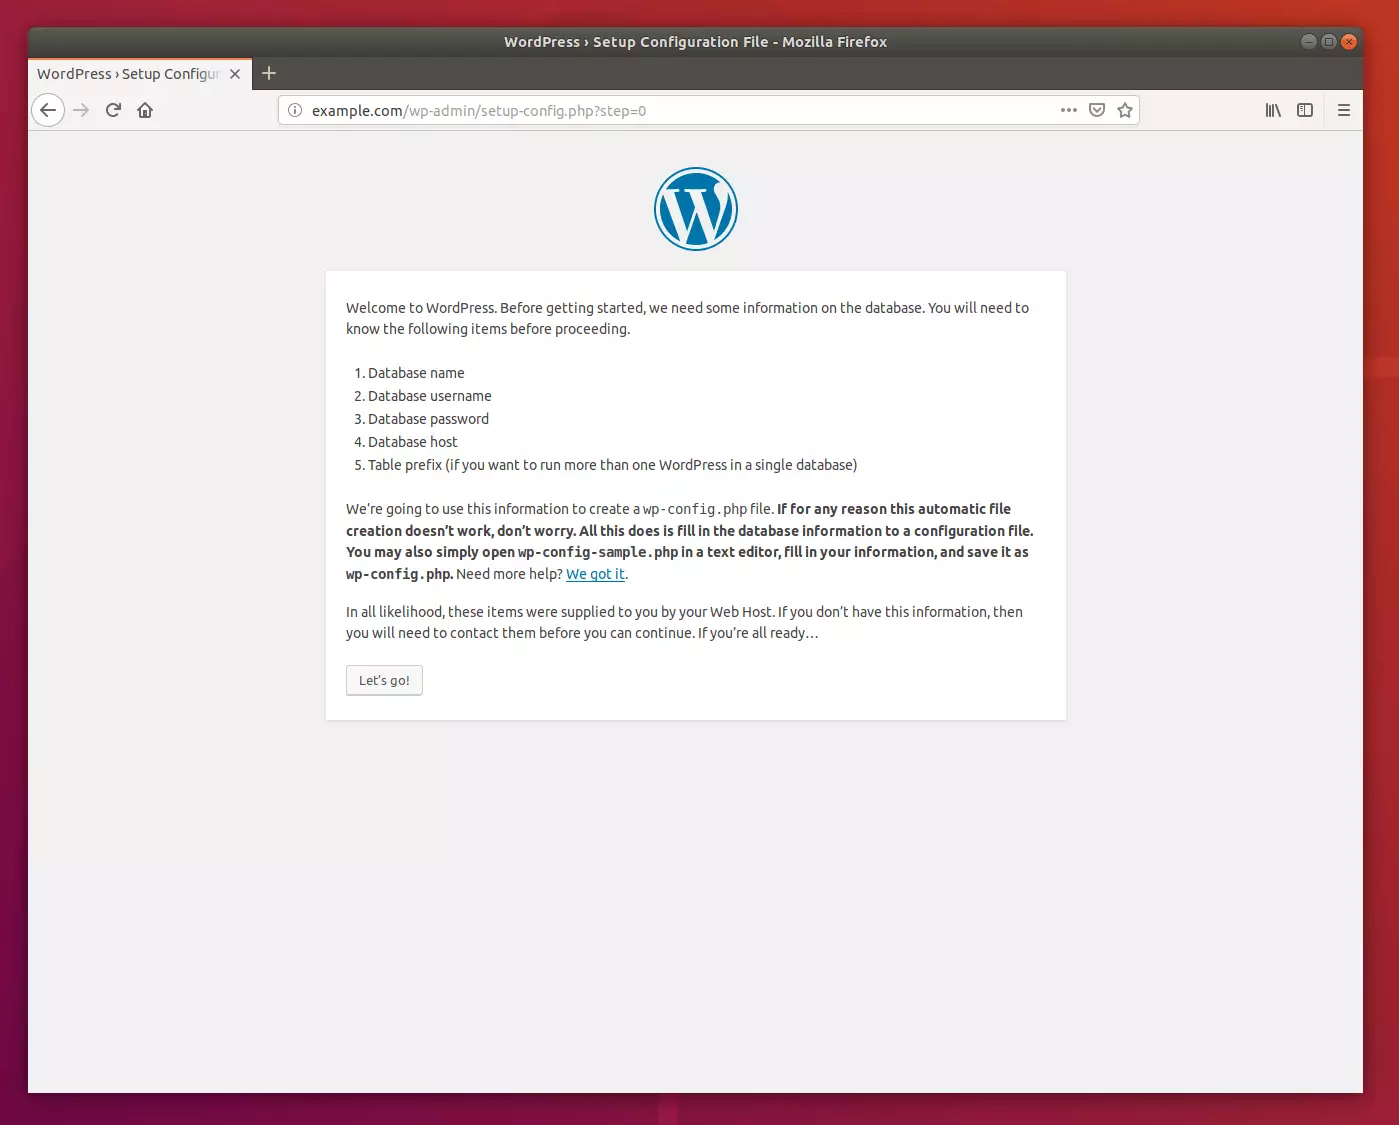
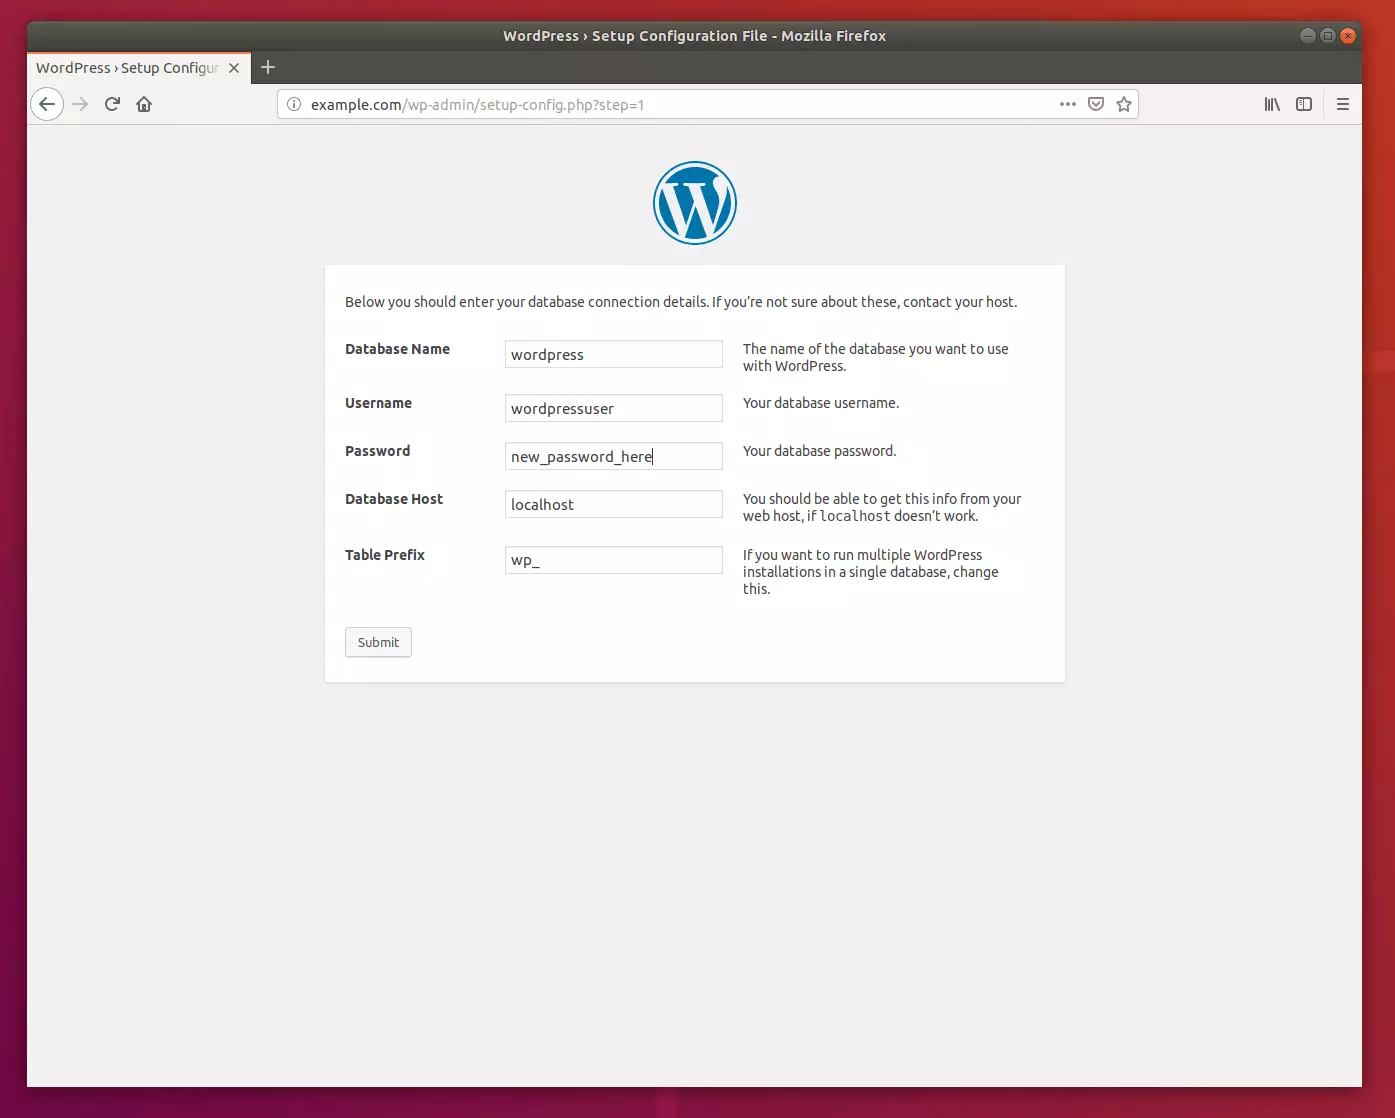
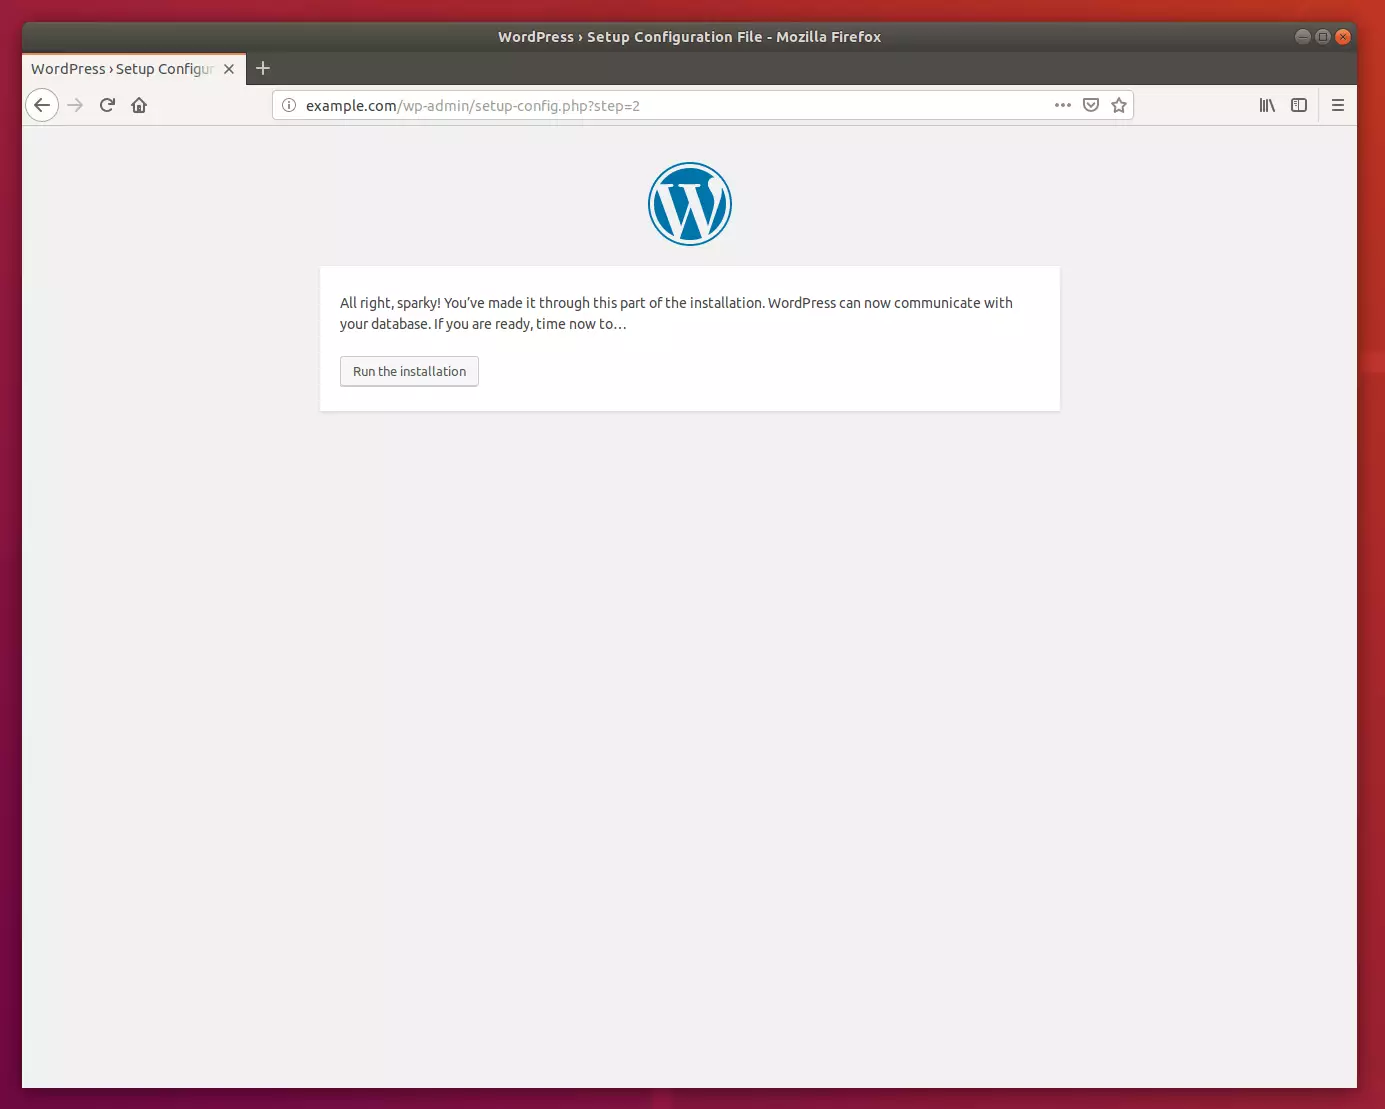
Visit your domain in a browser to finish the WordPress setup wizard.
Enter the database details you created earlier.
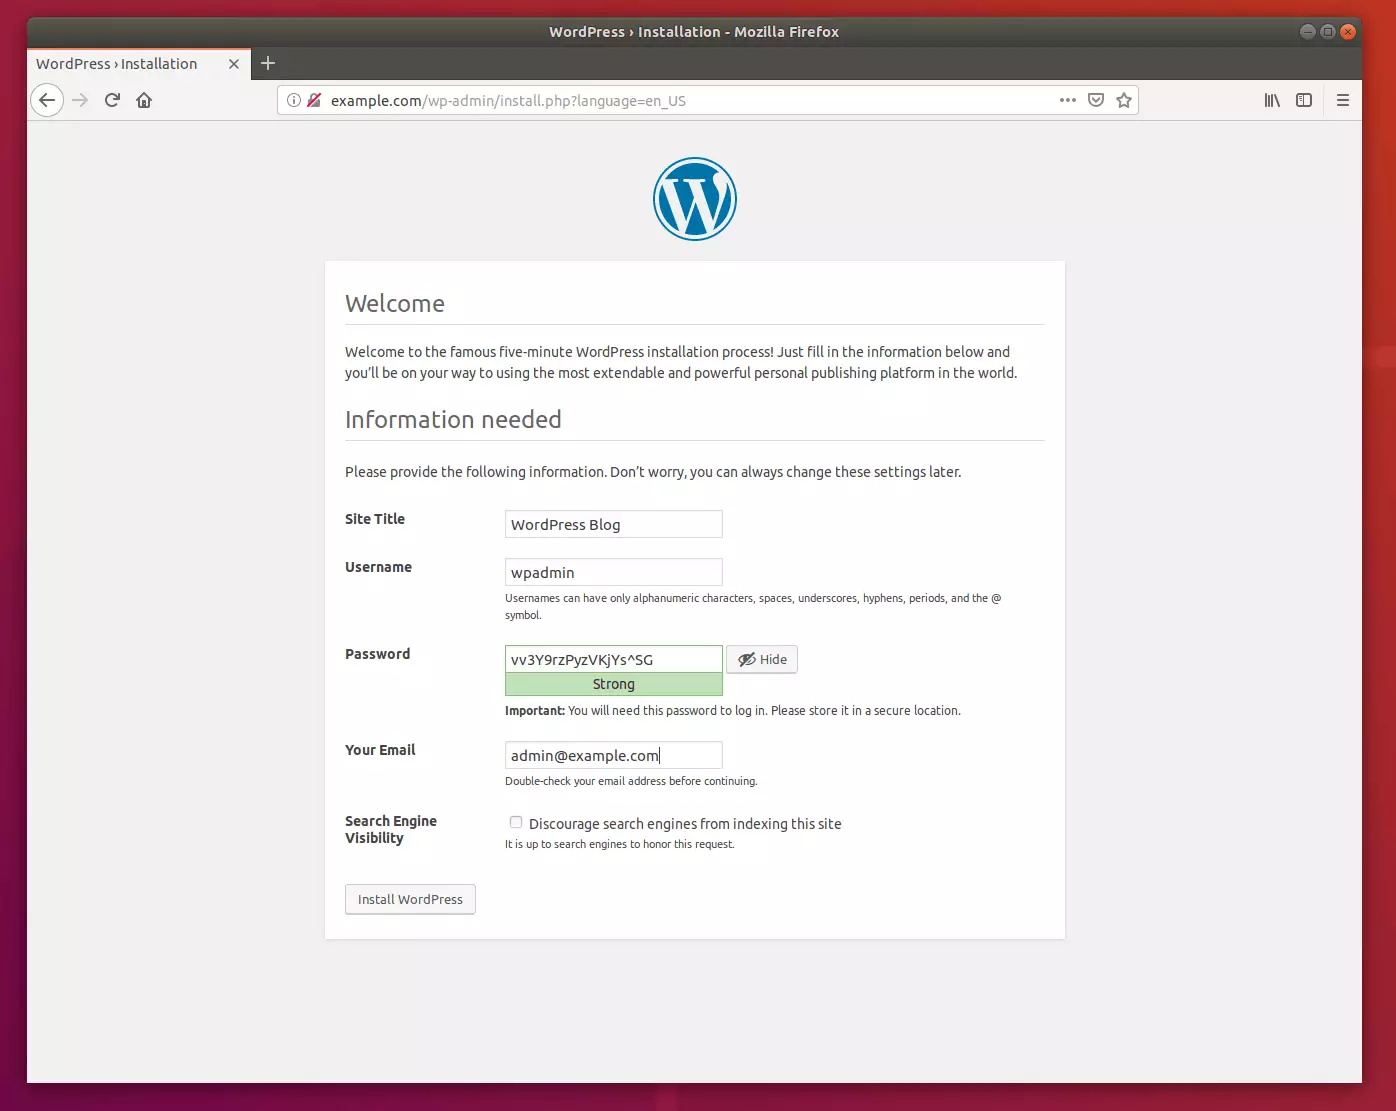
Create your admin account.
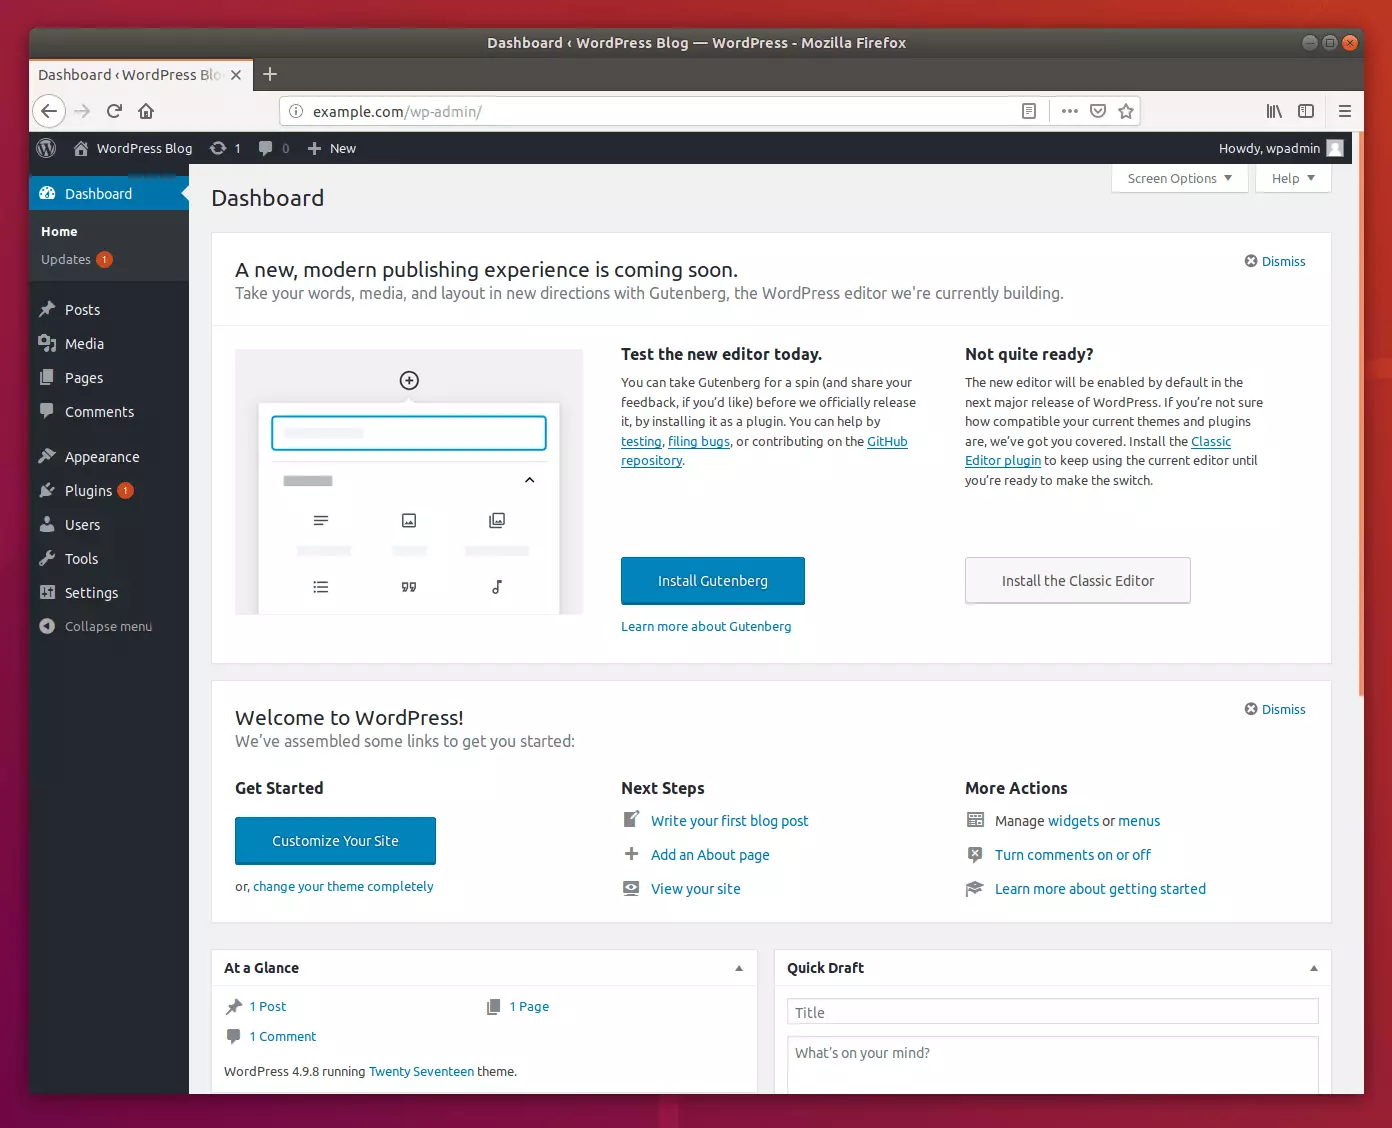
Finally, install the official Cloudflare plugin on your WordPress dashboard to finish the integration.
Summary
By following these steps, you have successfully secured your website with Cloudflare SSL, set up a high-performance Nginx web server, and installed WordPress with a dedicated MariaDB database on your Ubuntu Linux system.
[Y/n]
[Y/n]
[Y/n]
[Y/n]
[Y/n]
Was this guide helpful?

About the Author
Richard
Tech Writer, IT Professional
Richard, a writer for Geek Rewind, is a tech enthusiast who loves breaking down complex IT topics into simple, easy-to-understand ideas. With years of hands-on experience in system administration and enterprise IT operations, he’s developed a knack for offering practical tips and solutions. Richard aims to make technology more accessible and actionable. He's deeply committed to the Geek Rewind community, always ready to answer questions and engage in discussions.
No comments yet — be the first to share your thoughts!