How to Setup Cloudflare Origin Certificates with Nginx on Ubuntu Linux


Cloudflare Origin Certificates are free security files that encrypt web traffic between Cloudflare and your web server, keeping your data safe in about 10 minutes of setup time. They protect your site when you use Cloudflare’s Full SSL mode and block direct attacks by letting only traffic from Cloudflare reach your server.
Generate a Cloudflare Origin Certificate by navigating to the Crypto tab, scrolling to Origin Certificates, and clicking “Create Certificate”. Copy the provided private key and certificate content to text files on your Ubuntu server.
You need an active domain pointing to Cloudflare, an Ubuntu Linux server running Nginx, and root access to run terminal commands to complete this setup.
How to sign up for Cloudflare
The first step in this tutorial is to sign up for a Cloudflare account. This post assumes that you already have registered a domain name. If you don’t, then go and get one before continuing further.
If you already have a Cloudflare account, then skip the registration below.
https://dash.cloudflare.com/sign-up
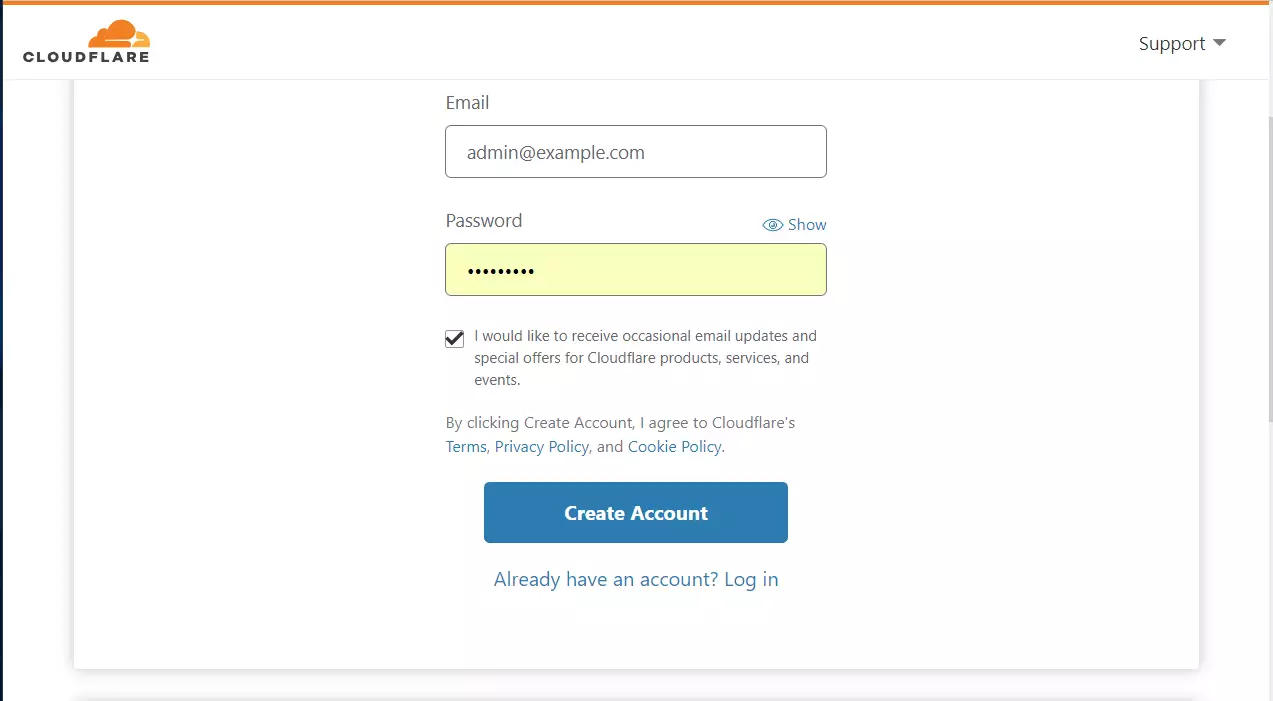
Type in your email address and click Create Account.
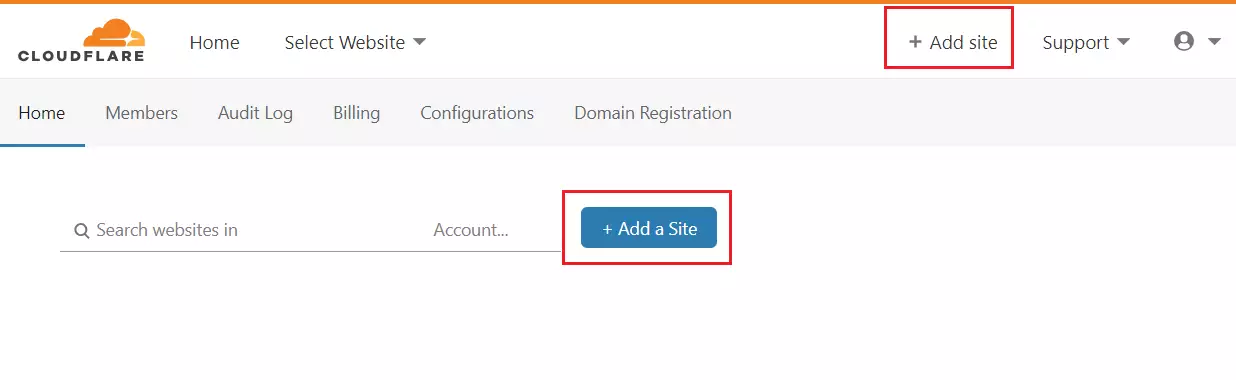
Once the account is created and you've verified your email address and logged back into the Cloudflare account, click the button or link (Add a Site) to add a site to your account.
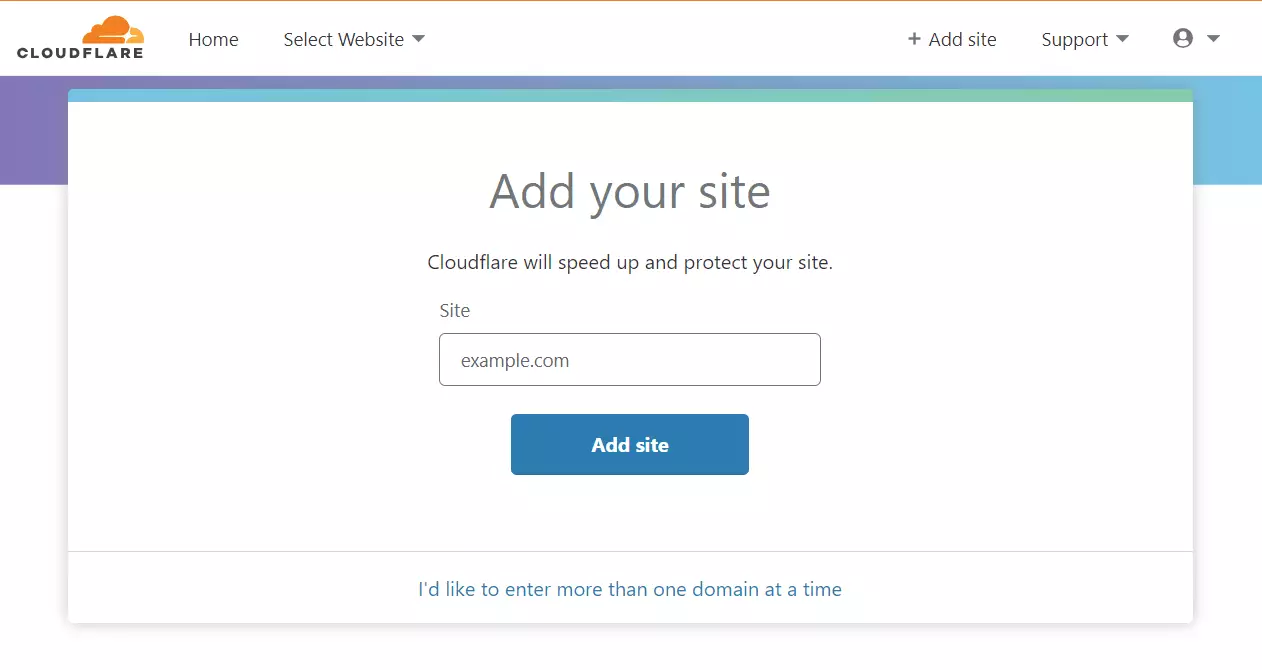
Next, type in the domain name you have registered. Again, Cloudflare service will help speed up and protect the site you add.
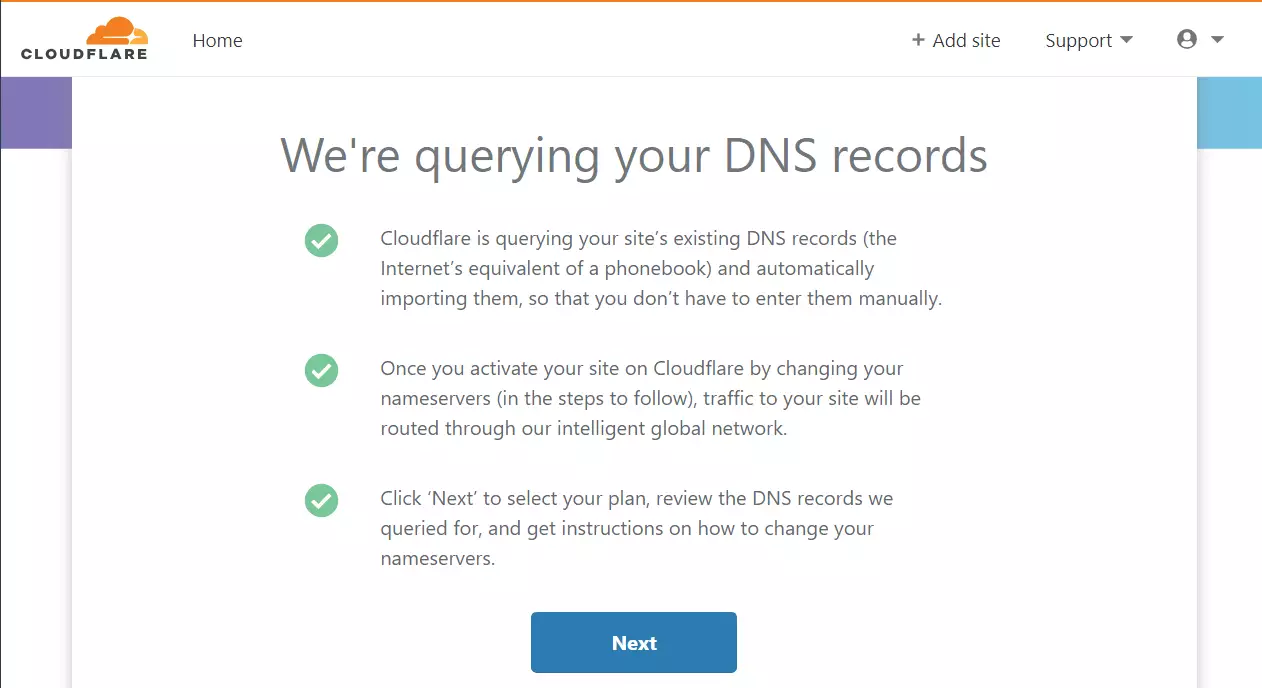
Next, Cloudflare will query your domain DNS provider for the records in the DNS table. Cloudflare should find the domain and import the records into its DNS systems if it is online.
After that, select the plan you want to use for the site. For this tutorial, we will be using the Cloudflare free plan.

You should see two nameservers provided to you by Cloudflare when you're done. You need to log on to your domain provider's portal. Then, when you have your domain, replace the nameservers with the ones Cloudflare gives you.
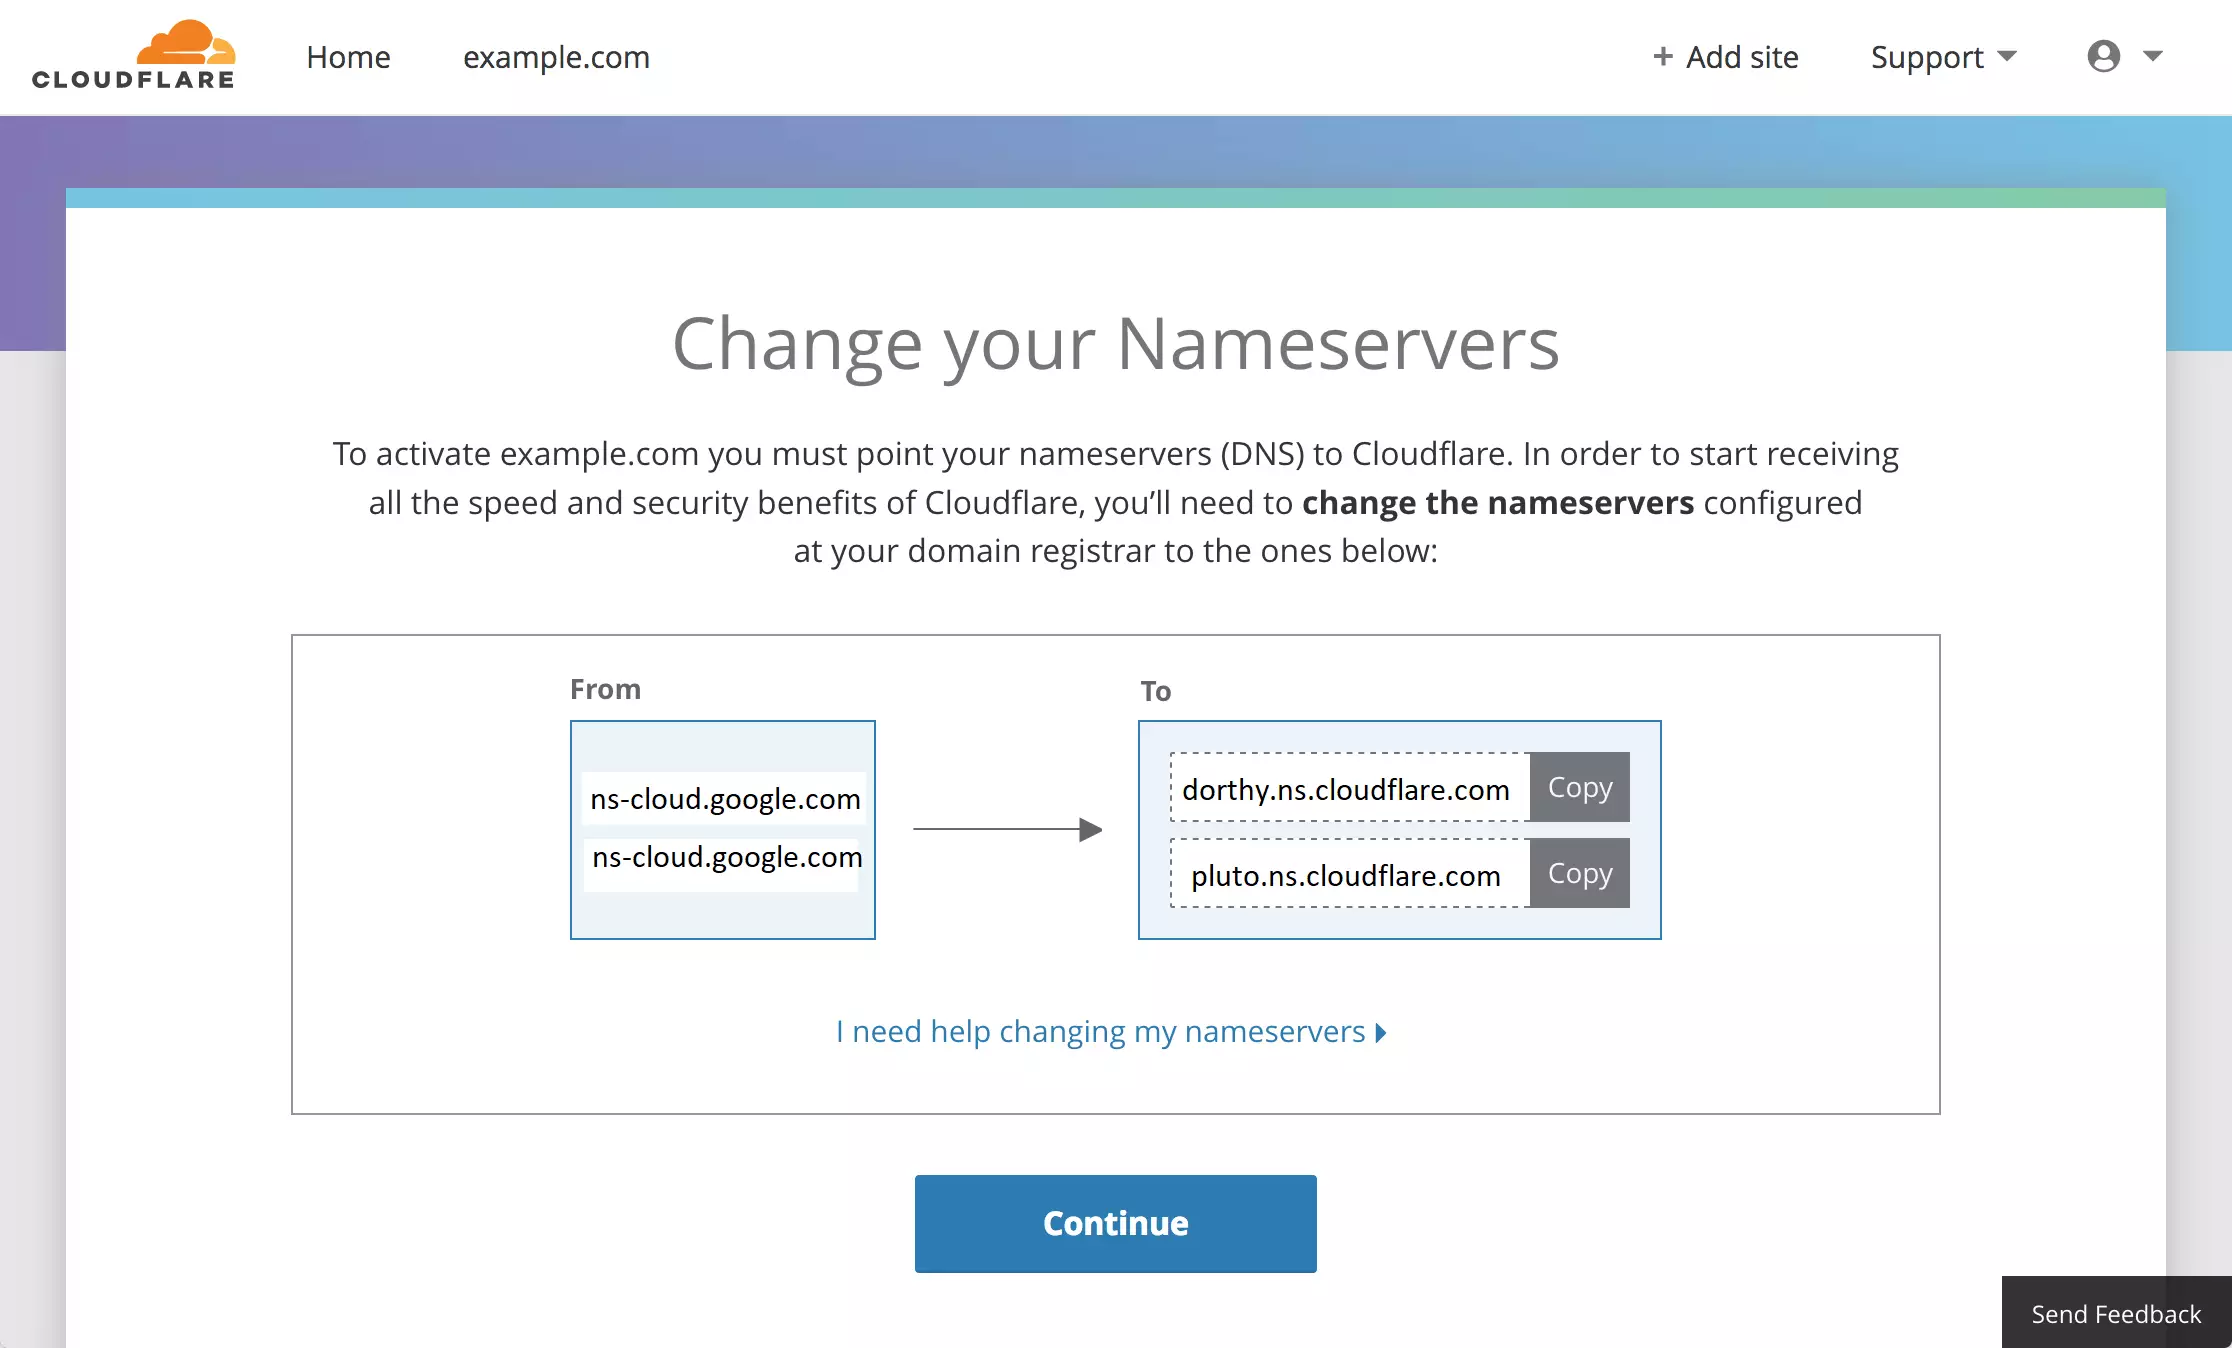
For example, our example.com site is hosted with Google Domains. Log on to your Google Domains account and select use custom nameservers.
You'll have the option to enter the nameservers provided by Cloudflare. Save your changes when you're done.
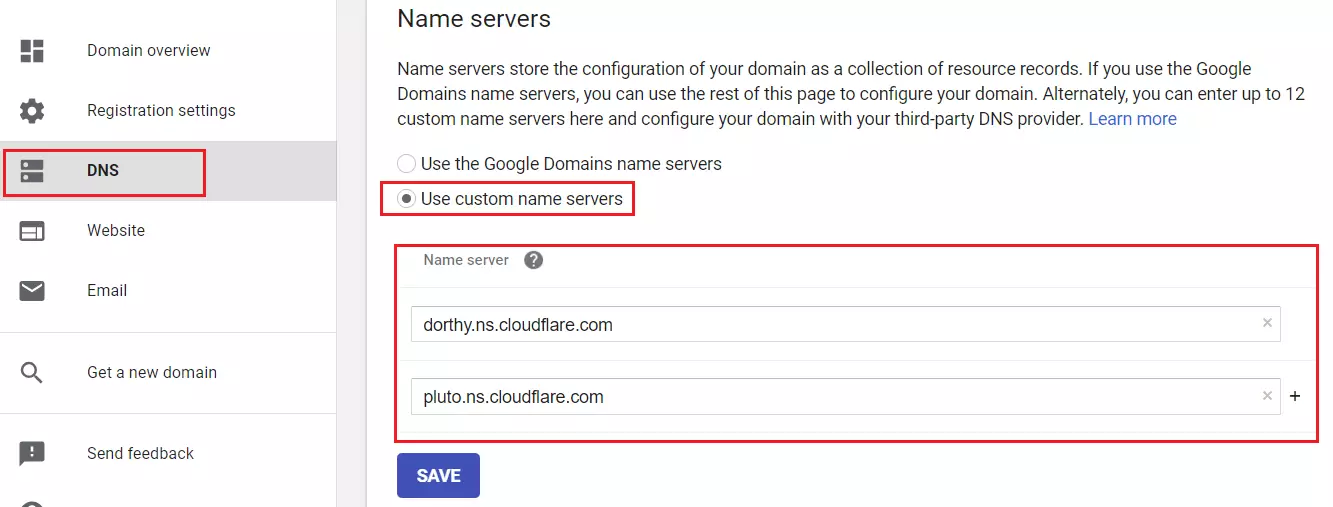
Once you've saved your custom nameserver changes, return to your Cloudflare account and wait for Cloudflare to see the changes. Depending on your domain provider, it takes up to an hour for the DNS changes to be visible on Cloudflare.
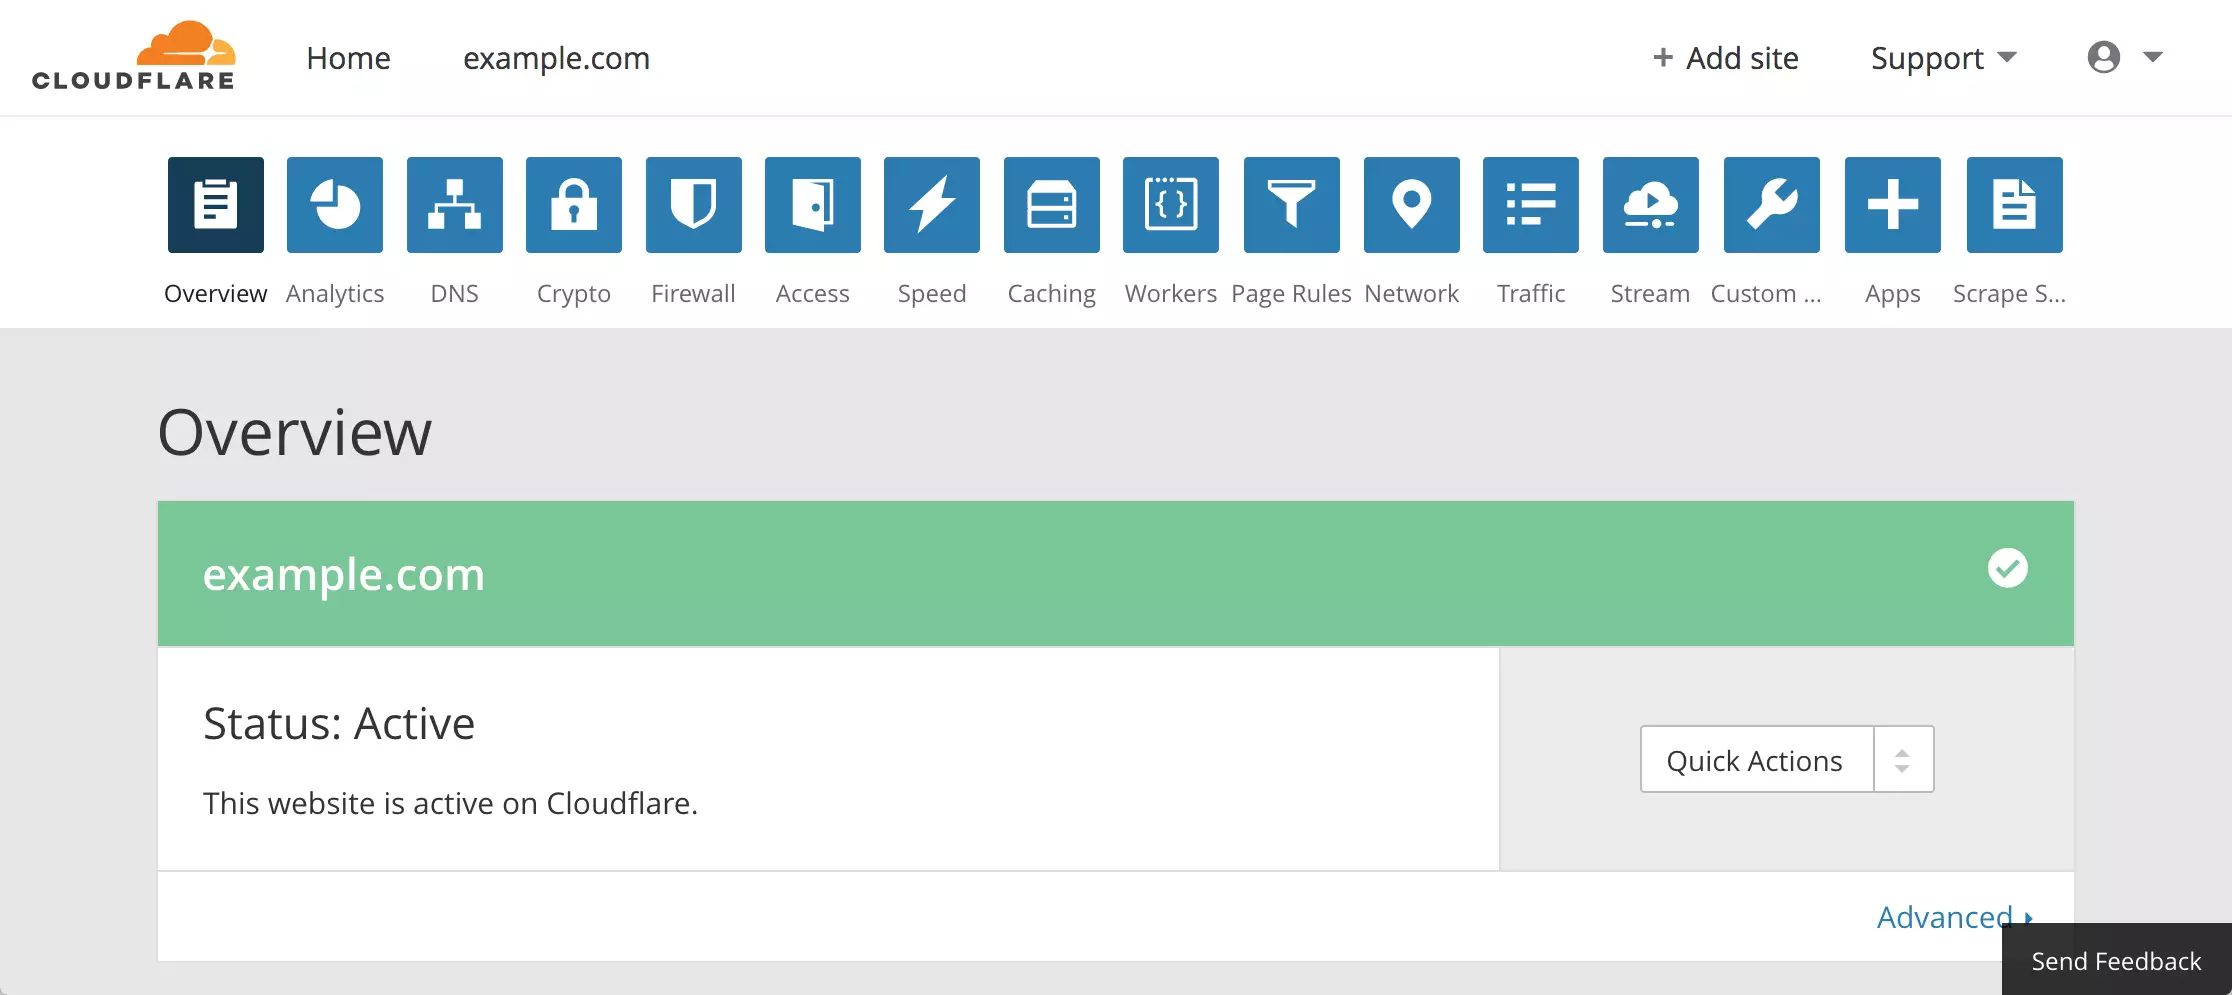
Once all is ready, you'll see your site status as Active.
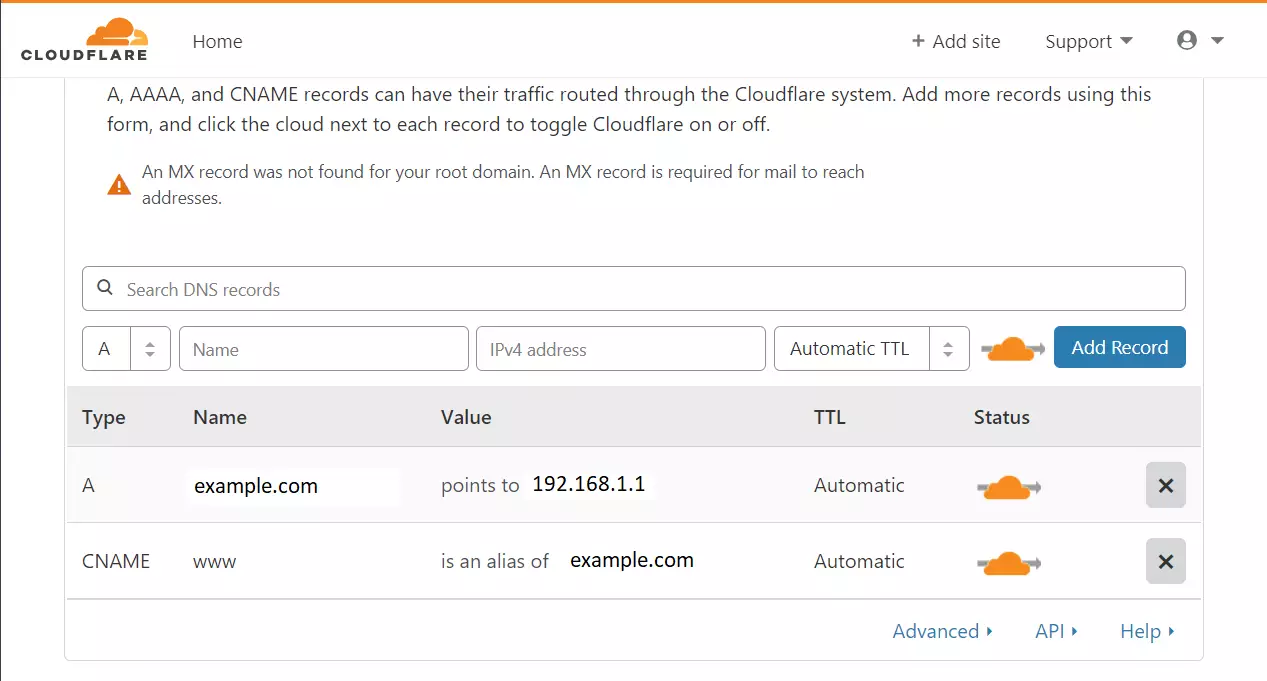
Your Cloudflare account displays DNS entries after setup is complete. Your DNS records may contain more entries than the two shown in the example.
These two entries are the most important for running your website.
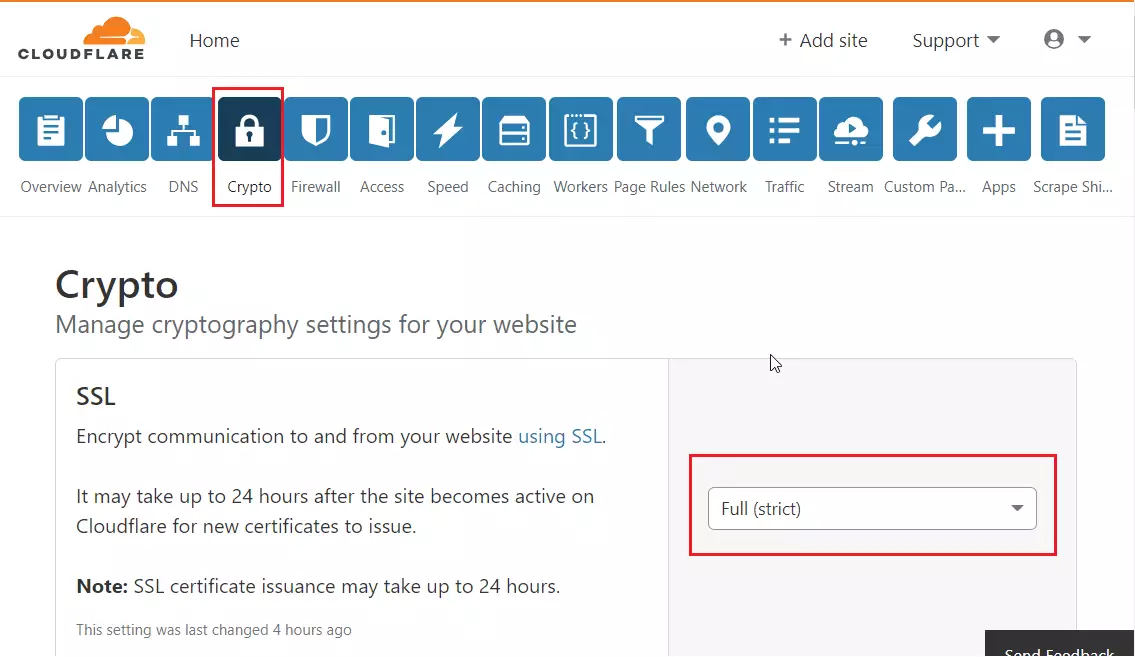
After that, click on the Crypto tab and choose to enable Full (strict) SSL. This should turn on SSL for the site.
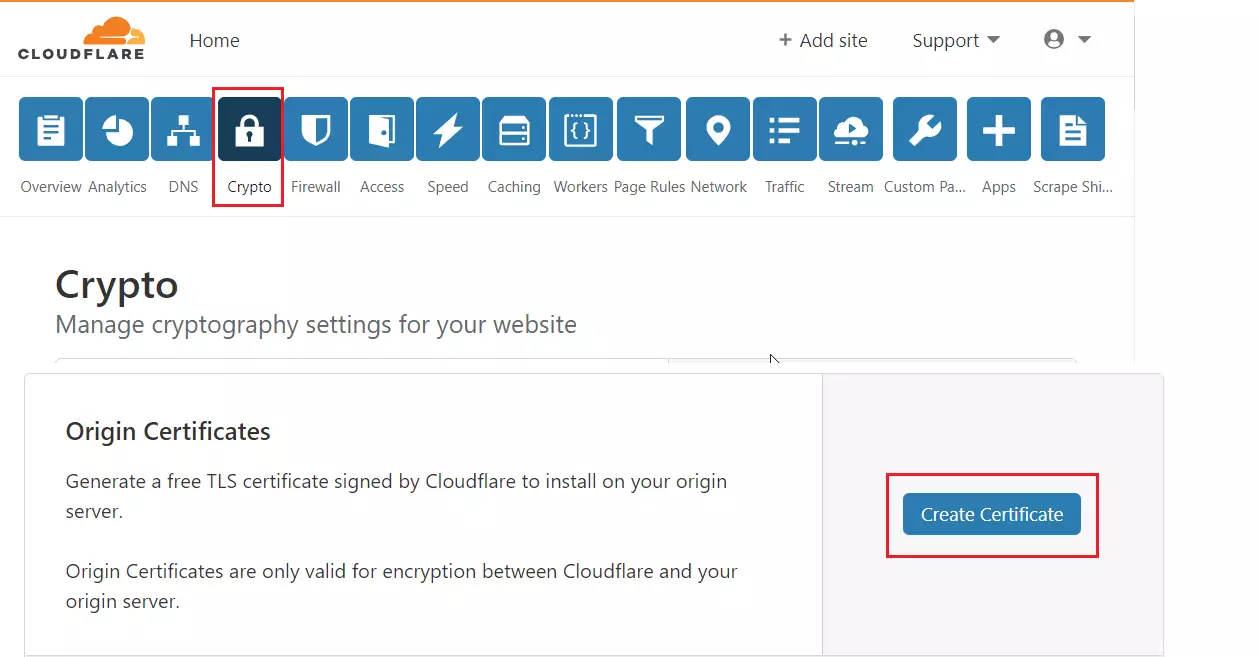
While still on the Crypto tab, scroll down to Origin Certificates. Then click the button to create the Certificate.
Cloudflare Origin Certificates are free TLS certificates that you install on your origin server. These Origin Certificates encrypt traffic only between Cloudflare and your origin server.
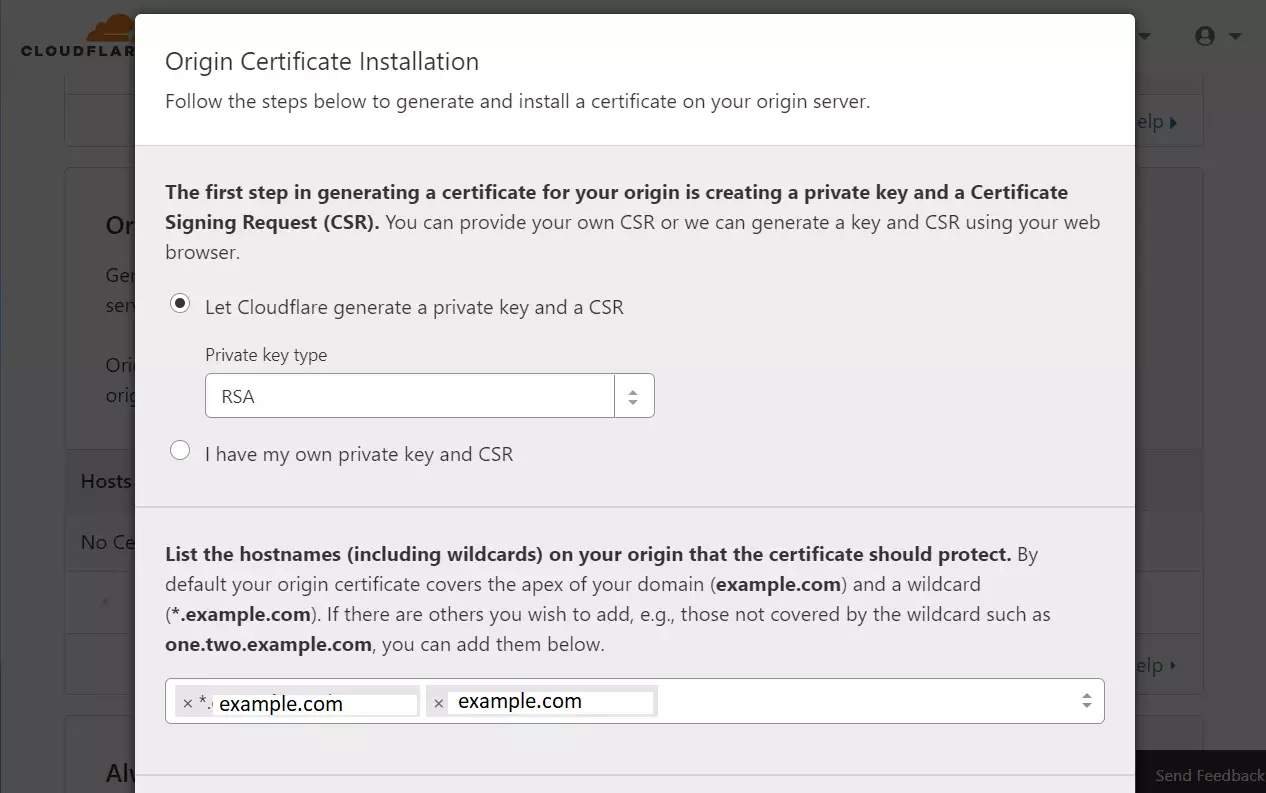
Next, let Cloudflare generate a private key and a CSR for the domain. Click Next.
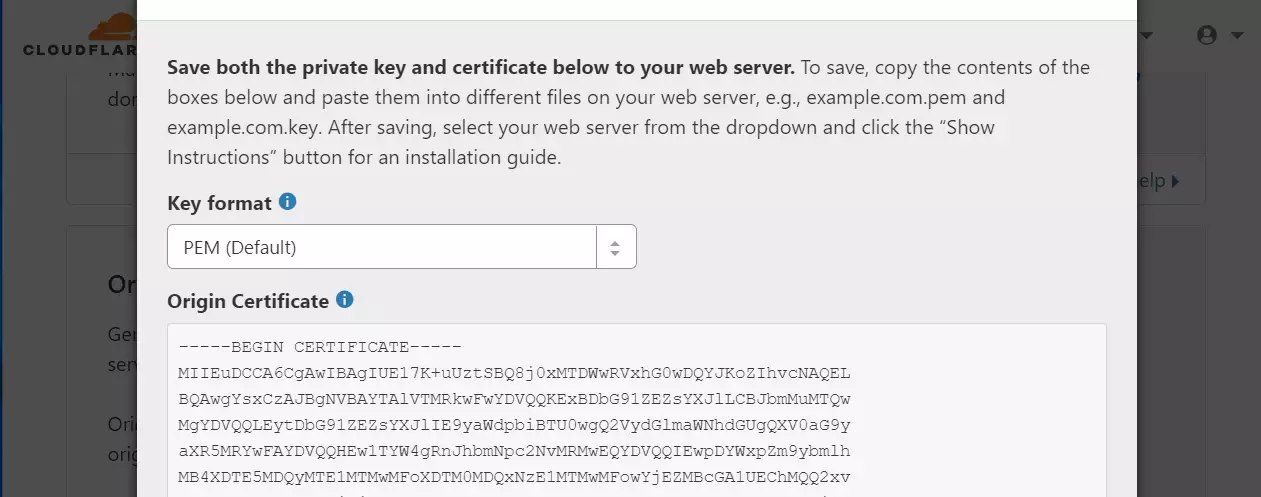
Then, copy and paste these into a text file onto your server.
Run the commands below on Ubuntu to create the Private key, Certificate, and Origin pull files (3 files). Then, copy and paste each content into the respective file. And save.
For the Private key file. Run this, copy and paste the private key given to you into the file, and save.
sudo nano /etc/ssl/private/cloudflare_key_example.com.pem
For the certificate file, run this copy, paste the certificate content into the file, and save.
sudo nano /etc/ssl/certs/cloudflare_example.com.pem
You'll also want to download the Cloudflare Origin Pull certificate. You can download that from the link below:
Set up authenticated Origin pulls · Cloudflare SSL docs
Zone-Level — Cloudflare certificate
Under Zone-level certificate, expand the certificate button and copy its content.
Next, run the commands below to create an origin-pull-ca.pem file, paste the certificate content into the file below, and save.
sudo nano /etc/ssl/certs/origin-pull-ca.pem
Once done, you should have three files. The cloudflare_key_example.com.pem, cloudflare_example.com.pem and origin-pull-ca.pem.
We will use these files in the Nginx config below.
Pull the certificate files after saving the key, Certificate, and Origin. Continue below.
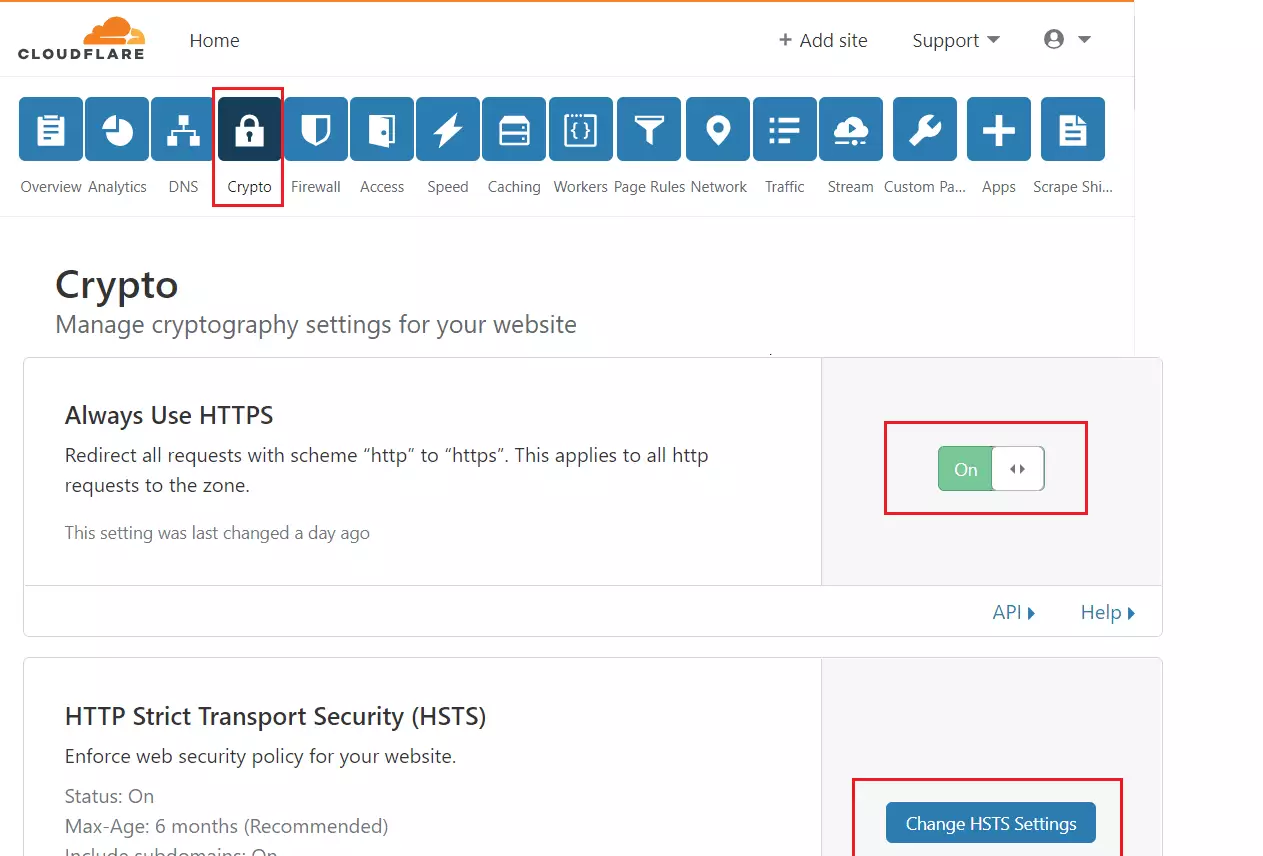
Still, on the Crypto page in your Cloudflare account, enable Always use HTTPS, and you may also change settings for HSTS but not necessary.
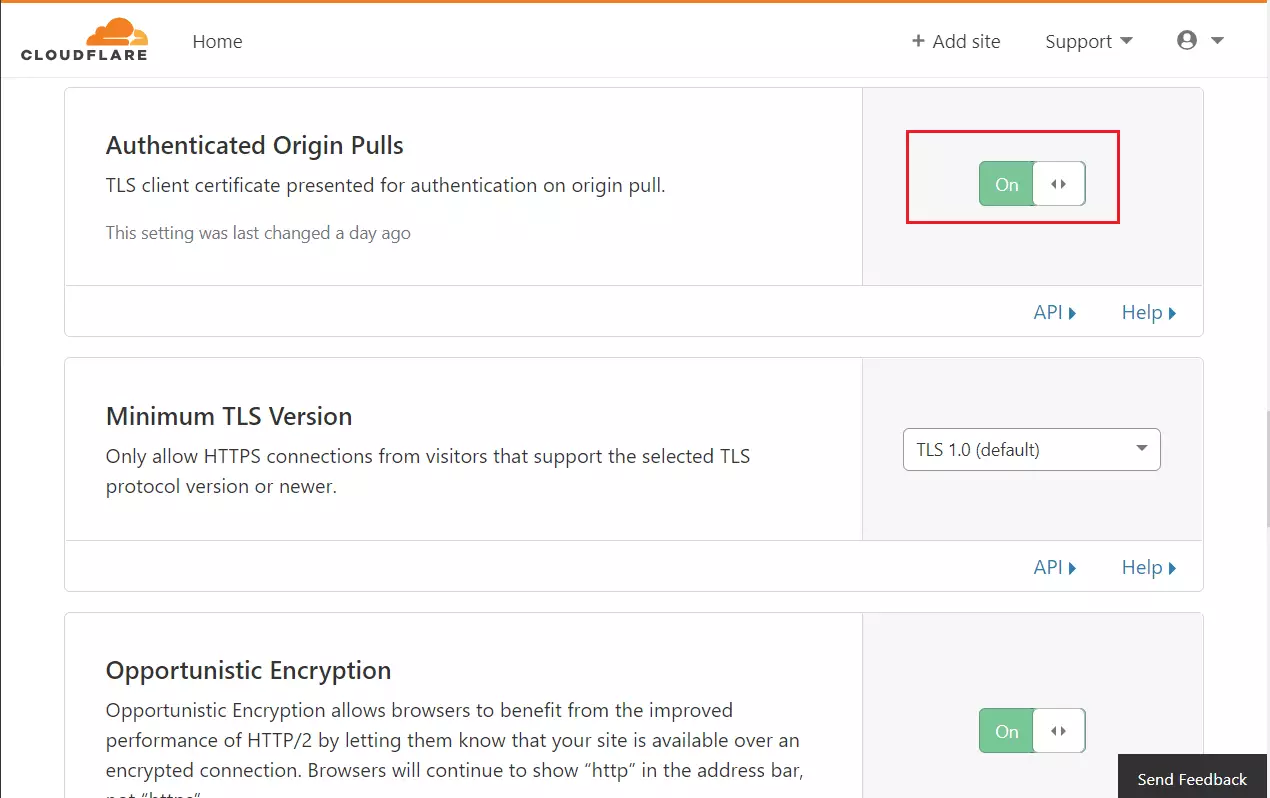
Next, turn on Authenticated Origin Pulls and Opportunistic Encryption, and continue.
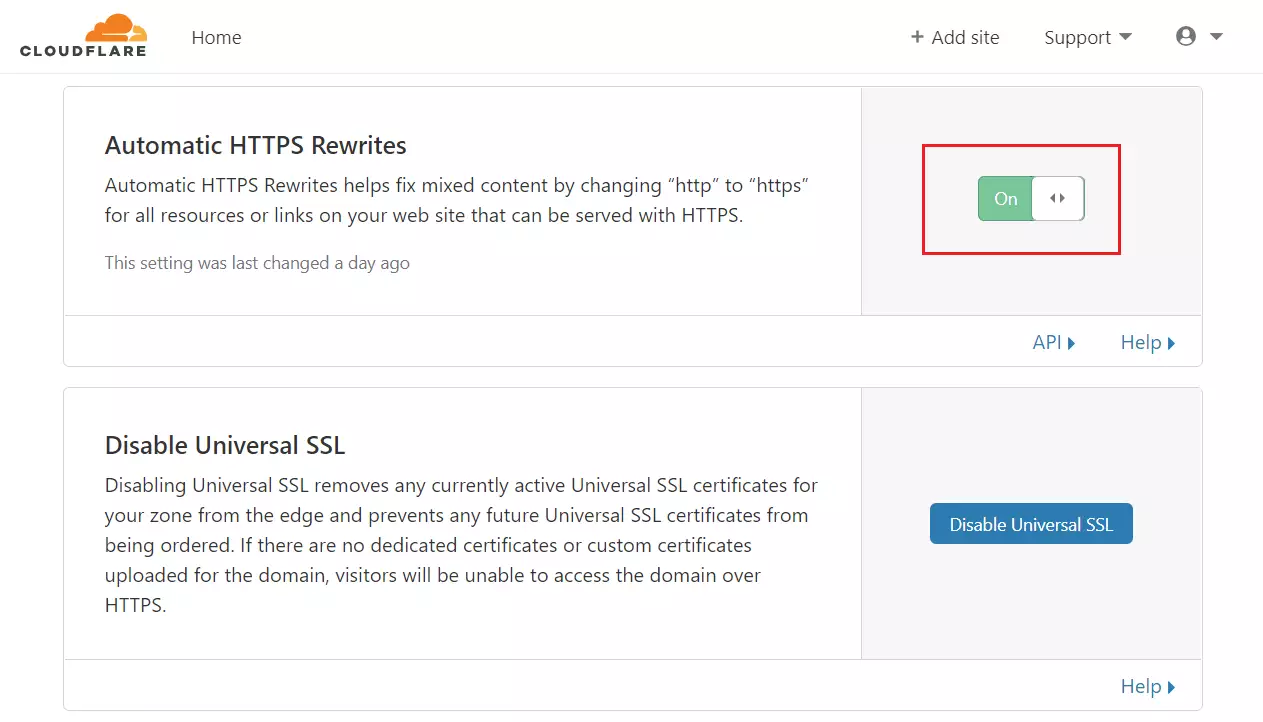
Then, turn on Automatic HTTPS Rewrites and continue.
Next, move to the Page Rules tab. Then, create a new rule for the site. Then, type the URL and choose Always Use HTTPS.
HTTP://* example.com/*
Always Use HTTPS
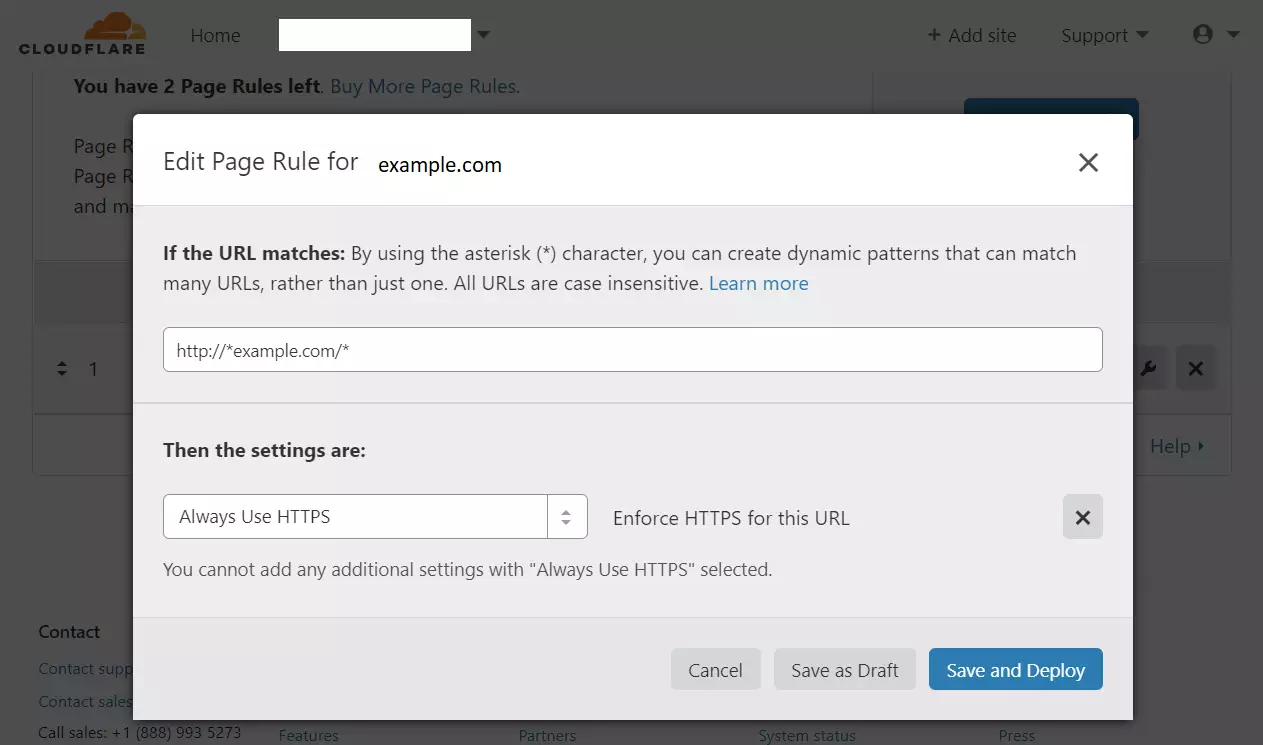
Save your settings, and you're done with setting up Cloudflare.
How to configure Nginx with Cloudflare
Finally, configure the Nginx site configuration file for your website. This file will control how users access your website content. Run the commands below to create a new configuration file called example.com
sudo nano /etc/nginx/sites-available/example.com
Then copy and paste the content below into the file and save it. Replace the highlighted line with your domain name and directory root location.
Also, reference the certificate files created above during Cloudflare setup.
server {
    listen 80;
    listen [::]:80;
    listen 443 ssl http2;
    listen [::]:443 ssl http2;

    server_name  example.com www.example.com;
    root   /var/www/html/example.com;
    index  index.php;

    ssl_certificate /etc/ssl/certs/cloudflare_example.com.pem;
    ssl_certificate_key /etc/ssl/private/cloudflare_key_example.com.pem;
    ssl_client_certificate /etc/ssl/certs/origin-pull-ca.pem;
    ssl_verify_client on;

    client_max_body_size 100M;

    autoindex off;

    location / {
        try_files $uri $uri/ /index.php?$args;
    }

    location ~ .php$ {
         include snippets/fastcgi-php.conf;
         fastcgi_pass unix:/var/run/php/php7.2-fpm.sock;
         fastcgi_param SCRIPT_FILENAME $document_root$fastcgi_script_name;
         include fastcgi_params;
    }
}
Save the file and exit.
How to enable server block with Nginx
After configuring the server block above, please enable it by running the commands below.
sudo ln -s /etc/nginx/sites-available/example.com /etc/nginx/sites-enabled/
sudo systemctl restart nginx.service
Then open your browser and browse to the server domain name.
That should do it!
Conclusion:
This post showed you how to enable a Cloudflare origin certificate to enhance and secure the connection between Cloudflare's server and your servers. If you find any error above, please use the comment form below to report.
Was this guide helpful?

About the Author
Richard
Tech Writer, IT Professional
Richard, a writer for Geek Rewind, is a tech enthusiast who loves breaking down complex IT topics into simple, easy-to-understand ideas. With years of hands-on experience in system administration and enterprise IT operations, he’s developed a knack for offering practical tips and solutions. Richard aims to make technology more accessible and actionable. He's deeply committed to the Geek Rewind community, always ready to answer questions and engage in discussions.




Just a heads up, in Step 2: Configure NGINX, the command line example there has apache2 instead of NGINX
this article is DATED, and has hella cramatical issues.
please post link to newer article