
This article explains installing or uninstalling the VBScript feature in Windows 11.
VBScript is a legacy Scripting engine component used to create a .vbs file written in the VBScript scripting language.
In August 2019, Microsoft announced they would disable VBScript support in favor of JavaScript in Internet Explorer browsers and other web features. VBScript is not installed with Windows 11 by default.
Starting with Windows 11 build 25309, users can use the Windows Settings app feature to install or uninstall VBScript.
If you still use some VBScript features in your environment and want to use it in Windows 11, the steps below show you how to install and uninstall via Windows Settings app.
Install the VBScript feature in Windows 11 via the Settings app
As described above, users can now install to uninstall the Windows VBScript feature using the Settings app.
Below is how to do that.
First, open the Windows Settings app.
You can do that by clicking on the Start menu and selecting Settings. Or press the keyboard shortcut (Windows key + I) to launch the Settings app.
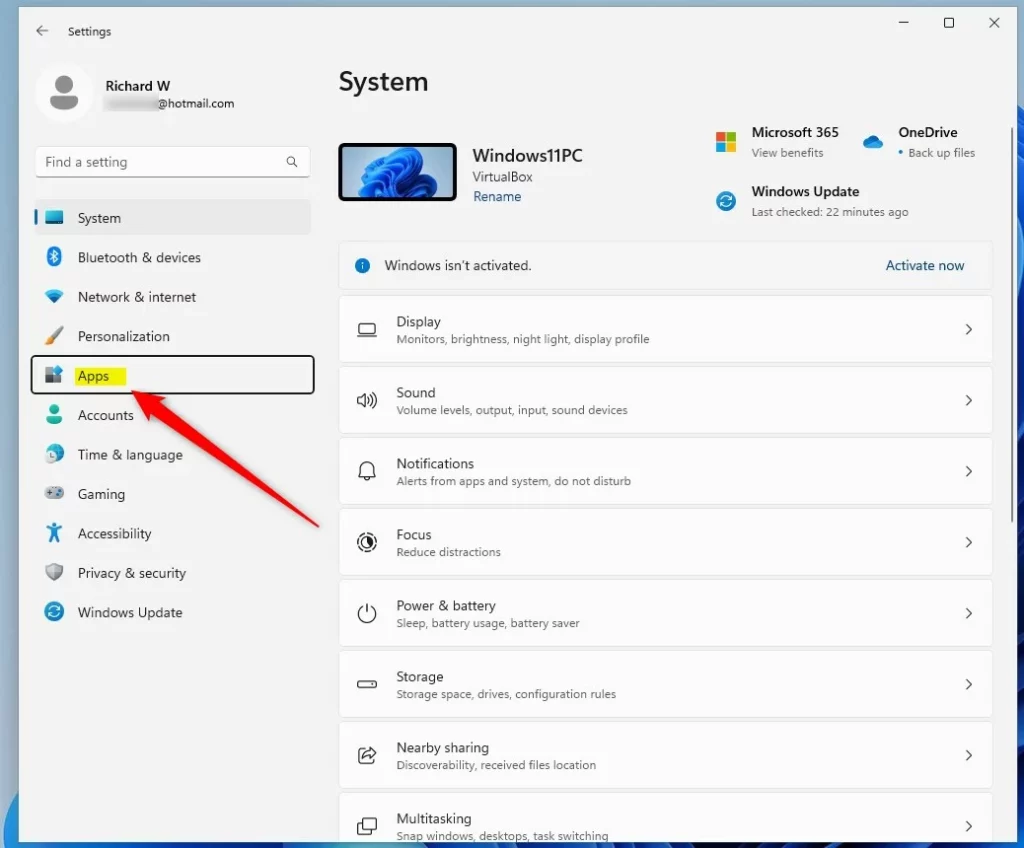
When the Setting app opens, click the Apps button on the left.
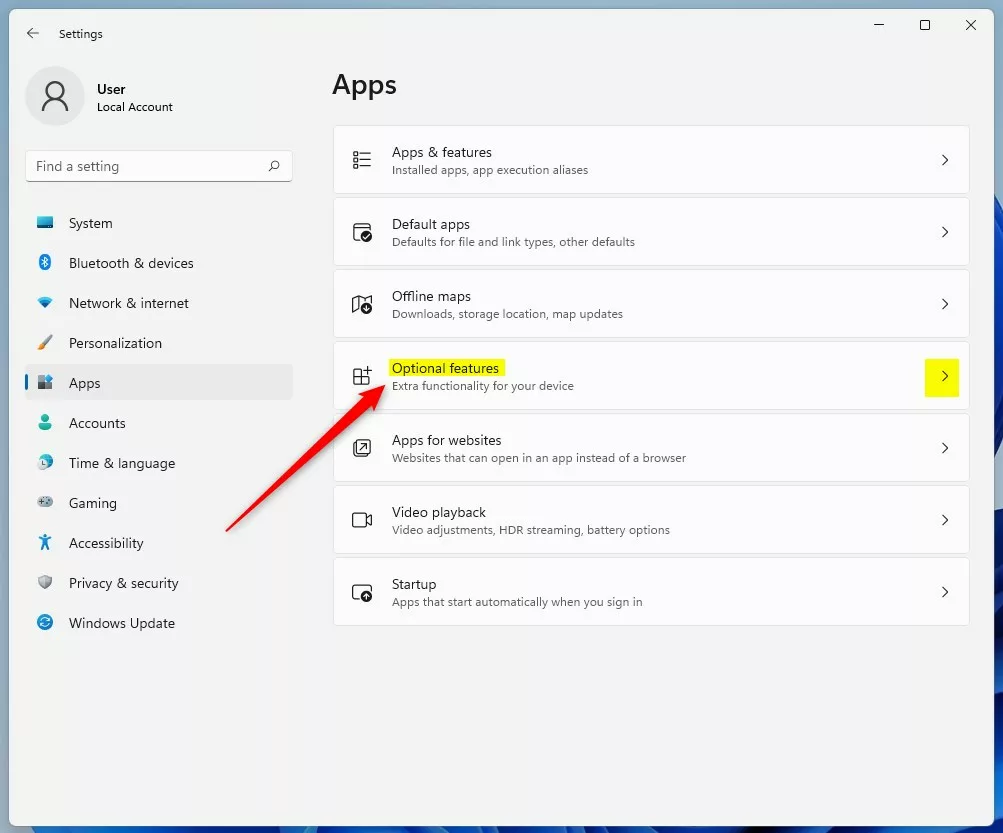
On the right, select the Optional features tile to expand it.
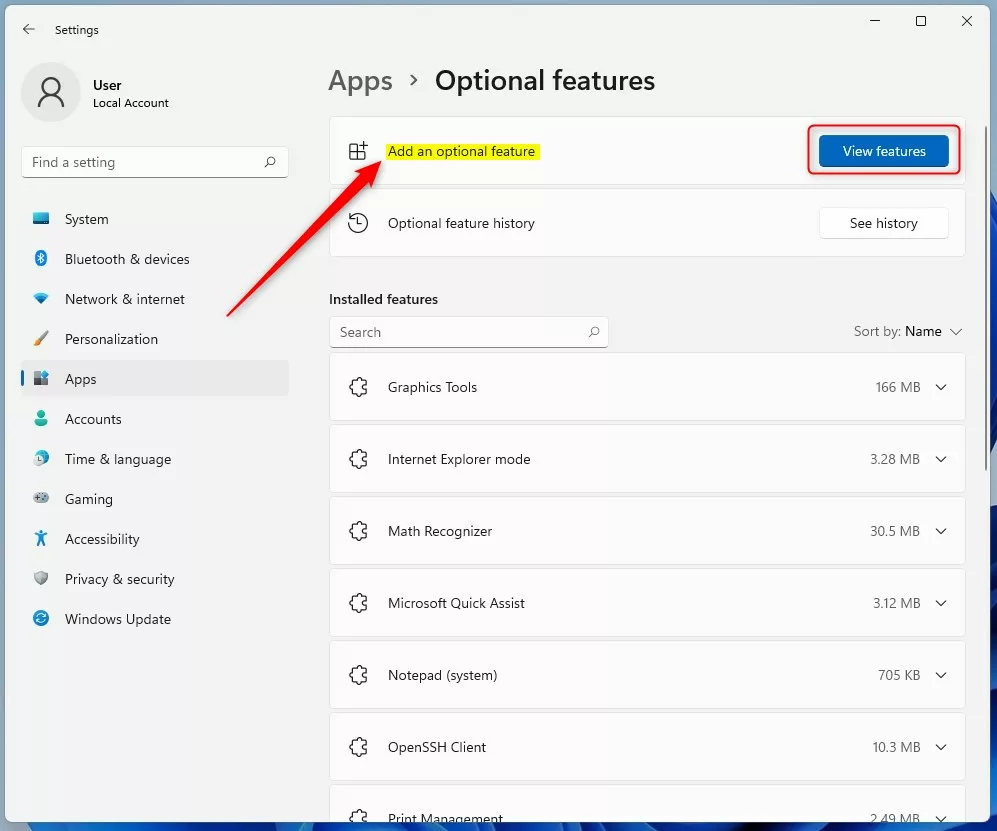
On the Apps -> Optional features settings pane, click the View features button.
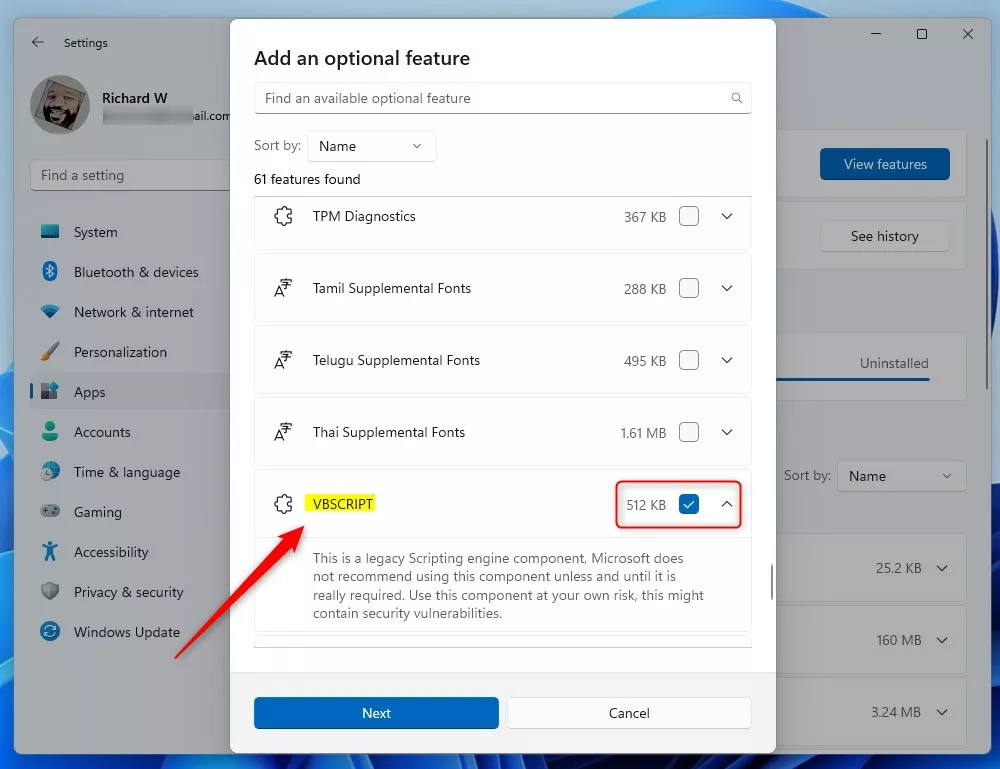
Scroll down the features list, select the VBScript check box, and click Next.
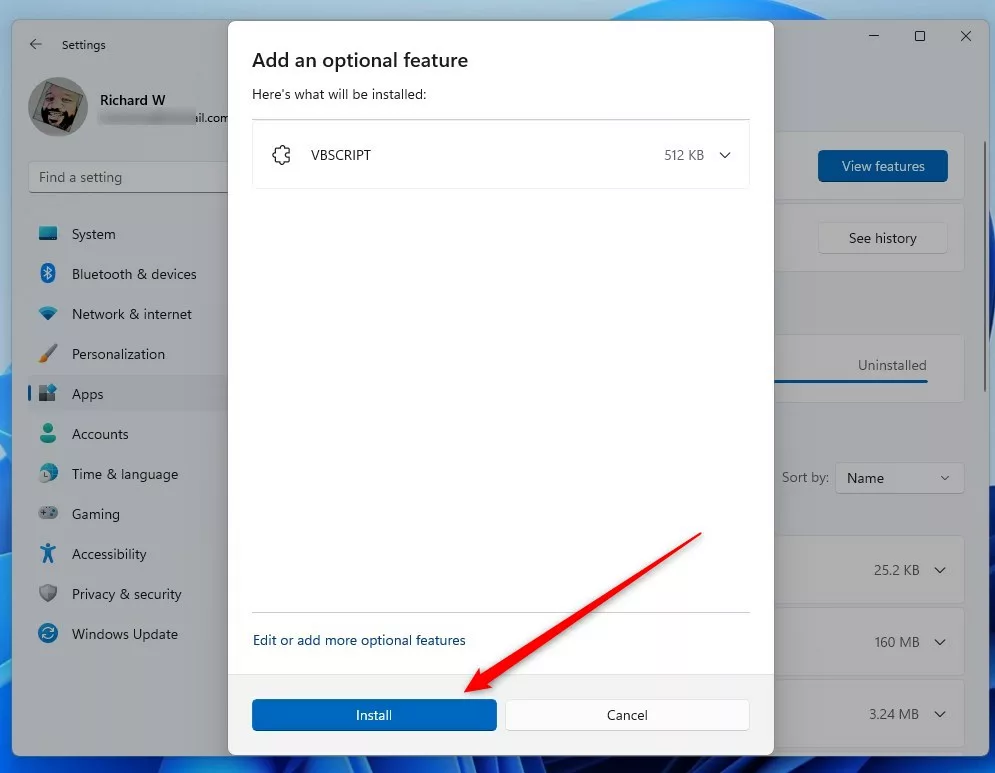
Next, click on the Install button to confirm and complete the installation.
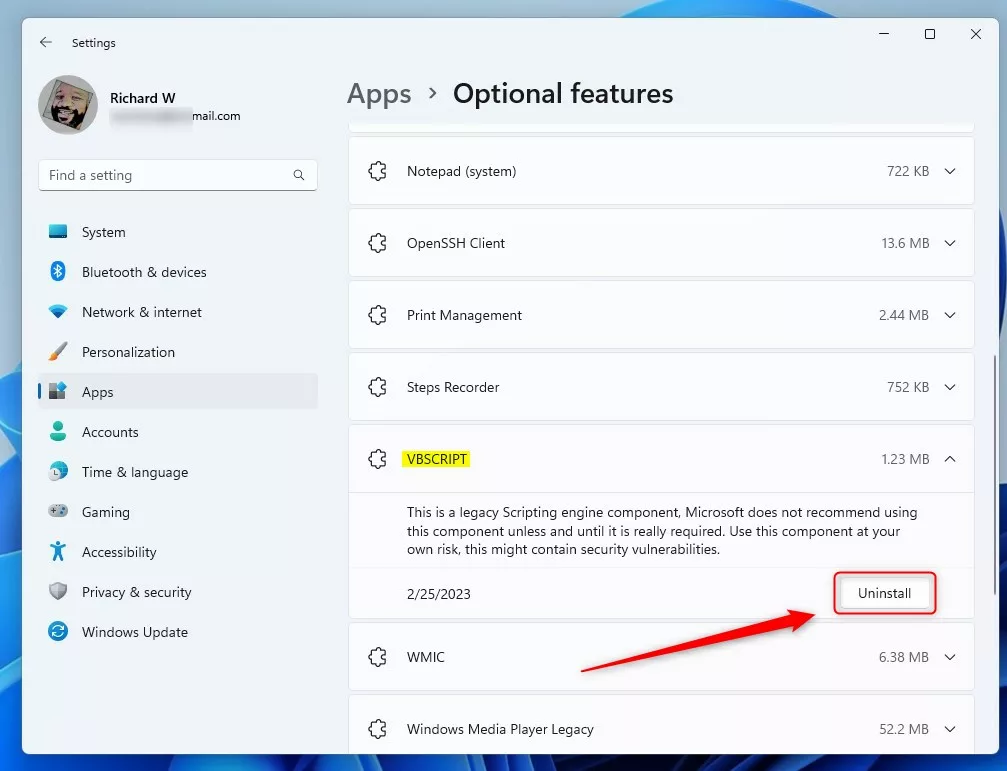
Once installed, you should be able to return to Settings -> Apps -> Optional features -> View features; select and uninstall the VBScript feature under Installed features.
Exit the Settings app when you are done.
Install or Uninstall the VBScript feature via commands
Another way to install or uninstall the VBScript feature is via the command line. You can do that by opening the Windows Terminal app and using either the Windows PowerShell or Command Prompt tab.
On the command console, type in the commands below to install VBScript default features:
DISM /Online /Add-Capability /CapabilityName:VBSCRIPT~~~~
To uninstall, run the commands below:
DISM /Online /Remove-Capability /CapabilityName:VBSCRIPT~~~~
That should do it!
Conclusion:
- The VBScript feature in Windows 11 is no longer installed by default, as Microsoft has disabled VBScript support in favor of JavaScript in Internet Explorer browsers and other web features.
- Users can install or uninstall the Windows VBScript feature using the Settings app, which provides a user-friendly graphical interface.
- Alternatively, users can also use the command line via the Windows Terminal app and either the Windows PowerShell or Command Prompt tab to install or uninstall the VBScript feature using the provided commands (DISM /Online /Add-Capability /CapabilityName:VBSCRIPT~~~~ for installation and DISM /Online /Remove-Capability /CapabilityName:VBSCRIPT~~~~ for uninstallation).
- This guide has illustrated the step-by-step process for both methods, allowing users to conveniently manage the installation and uninstallation of the VBScript feature in Windows 11 based on their specific needs.
Leave a Reply