How to Install Mastodon CMS on Ubuntu Linux


Mastodon version 4.x is an open-source social media platform that lets you run your own independent network on an Ubuntu Linux server. This setup takes about 30 minutes to complete and gives you total control over your own data, user rules, and server moderation tools.
Install dependencies using `sudo apt update && sudo apt install` for essential tools. Then install Node.js and Yarn, followed by PostgreSQL for your database. Finally, set up Ruby and download the Mastodon code to complete the installation.
Install Dependencies
To install Mastodon CMS Ubuntu dependencies, you need to update your system packages and set up essential build tools like compilers and database connectors. These tools allow your server to build and compile the software source code without running into errors during the setup process.
Your server requires specific software tools to compile Mastodon’s source code without errors.
Your system updates its software library to include essential compilers and database connectors. For PostgreSQL, this includes `libpq-dev`.
This process ensures your Ubuntu Linux system has the necessary tools to build and run the Mastodon content management system (CMS).
sudo apt update
sudo apt install software-properties-common dirmngr apt-transport-https ca-certificates redis-server curl gcc g++ make imagemagick ffmpeg libpq-dev libxml2-dev libxslt1-dev file git-core libprotobuf-dev protobuf-compiler pkg-config autoconf bison build-essential libssl-dev libyaml-dev libreadline-dev libidn11-dev libicu-dev libjemalloc-dev zlib1g-dev libncurses5-dev libffi-dev libgdbm-dev
Install Node.js and Yarn
To install Node.js and Yarn for your Mastodon CMS Ubuntu server, you must download and run the setup script for Node.js version 22.x. This JavaScript runtime environment manages the frontend assets and interactive website interface elements that users see when they visit your site.
Node.js handles Mastodon's frontend assets and website interface elements.
curl -fsSL https://deb.nodesource.com/setup_22.x -o nodesource_setup.sh
sudo -E bash nodesource_setup.sh
sudo apt install nodejs
How to install Node.js on Ubuntu Linux
Next, enable the Yarn package manager (a tool for managing project dependencies) using corepack.
corepack enable
Install PostgreSQL
To install PostgreSQL for your Mastodon CMS Ubuntu server, you set up a secure relational database that stores all user accounts, posts, and system settings. This database is essential for keeping your instance data safe and ensuring your server functions properly at all times.
Why is a database needed? A database is essential for saving user accounts, posts, and settings.
A secure database is created on your server.
sudo apt install postgresql postgresql-contrib
sudo -u postgres psql
CREATE USER mastodon WITH PASSWORD 'your_secure_password';
ALTER USER mastodon CREATEDB;
\q
Install Ruby
To install Ruby for your Mastodon CMS Ubuntu server, you use rbenv to set up Ruby version 3.3.x. Because the platform runs on Ruby on Rails, having this exact version installed ensures that the backend code and all its components work together correctly without breaking.
Why is this necessary? Different software needs specific versions of Ruby to work correctly.
This provides a controlled environment for running Ruby version 3.3.x.
Mastodon's general setup involves downloading the application code and installing specific libraries that your Ubuntu server needs to run Mastodon. This step pulls the latest Mastodon files and sets up necessary software components, configuring your server with Mastodon and Mastodon's database structure.
Running the `git pull` command fetches the most recent Mastodon files and installs the exact libraries required for your Mastodon server to function correctly.
Your server is configured with the Mastodon application files, database structure, and web server settings.
git clone https://github.com/mastodon/mastodon.git ~/live
cd ~/live
bundle config deployment 'true'
bundle config without 'development test'
bundle install
corepack prepare yarn@stable --activate
yarn install
RAILS_ENV=production bundle exec rake mastodon:setup
Web Server and Services
To configure your web server and services for Mastodon CMS Ubuntu, you connect your site to Nginx (a web server that handles incoming internet traffic) and use systemd (a service manager). This setup ensures your site goes live on the internet and starts automatically if your server reboots.
Why is this important? Systemd ensures Mastodon starts automatically if your server reboots, and Nginx acts as the front door for internet traffic.
Your site becomes live on the internet.
sudo cp /home/mastodon/live/dist/mastodon-*.service /etc/systemd/system/
sudo systemctl daemon-reload
sudo systemctl enable --now mastodon-web mastodon-sidekiq mastodon-streaming
sudo cp /home/mastodon/live/dist/nginx.conf /etc/nginx/sites-available/mastodon
sudo ln -s /etc/nginx/sites-available/mastodon /etc/nginx/sites-enabled/
sudo systemctl restart nginx
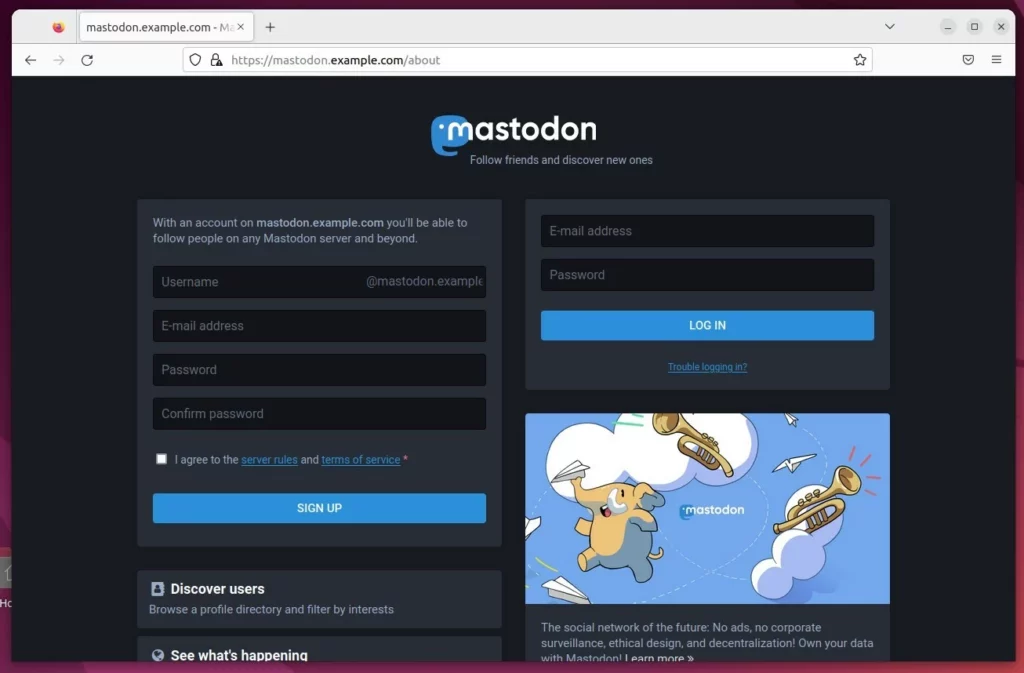
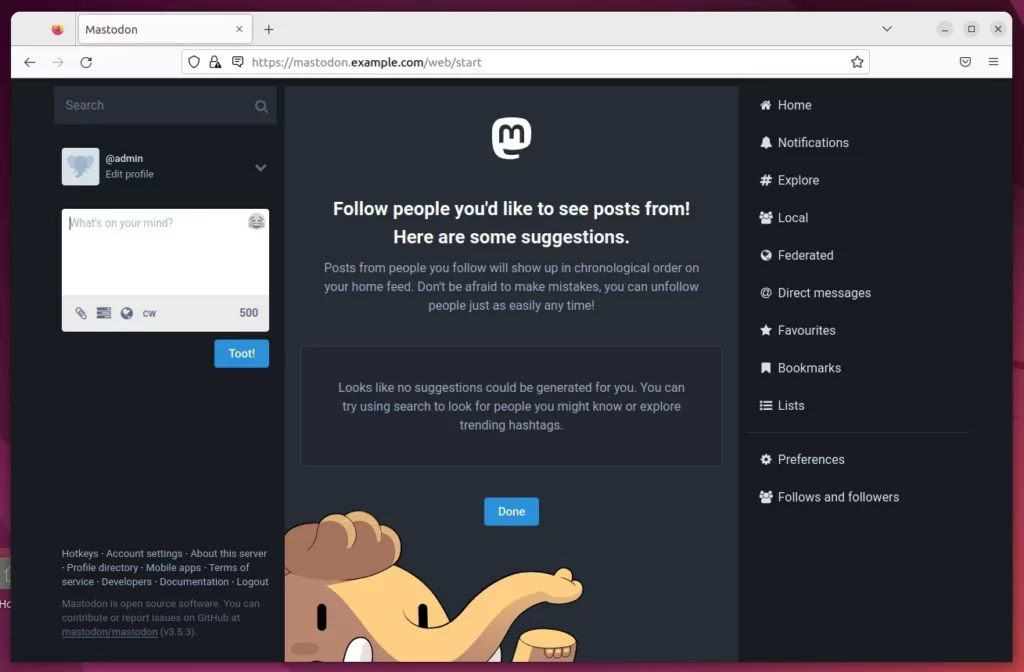
Open your browser and visit your domain to see your new social network.
[0-9]
Was this guide helpful?

About the Author
Richard
Tech Writer, IT Professional
Richard is a writer at Geek Rewind who turns complex IT tasks into clear, step-by-step guides. He draws on years of hands-on experience in system administration and enterprise IT operations, focusing on Windows, Linux and WordPress: the problems people actually run into, and the fixes that work. His server and WordPress guides come from systems he runs himself. Richard builds and maintains the platform behind Geek Rewind, from its Ubuntu servers and Nginx configuration to its custom WordPress plugins. Many new tutorials start with readers' questions, and he's always glad to answer them in the comments.



No comments yet — be the first to share your thoughts!