How to Install sysPass Password Manager on Ubuntu

Installing sysPass on Ubuntu 24.04 LTS gives you a secure, private way to store and organize all your passwords.
sysPass is a free password manager you can host yourself. It creates a web portal for managing your login details, stopping you from reusing weak passwords and keeping your online accounts safe.
This guide walks you through setting up sysPass on your Ubuntu computer so you can start protecting your sensitive information immediately.
Install Apache, MariaDB, and PHP 8.3 using apt. Clone sysPass from GitHub to /var/www/html/syspass, then run composer install. Create a database in MariaDB and configure Apache with a new virtual host for sysPass. Finally, visit your domain to complete the web-based setup.
Install the Apache HTTP server
To install the Apache web server on Ubuntu, first update your system’s software list, then install the apache2 package. Finally, ensure Apache starts automatically when your computer boots.
sudo apt update
sudo apt install apache2
Enable Apache to start automatically when your system boots up:
sudo systemctl enable --now apache2
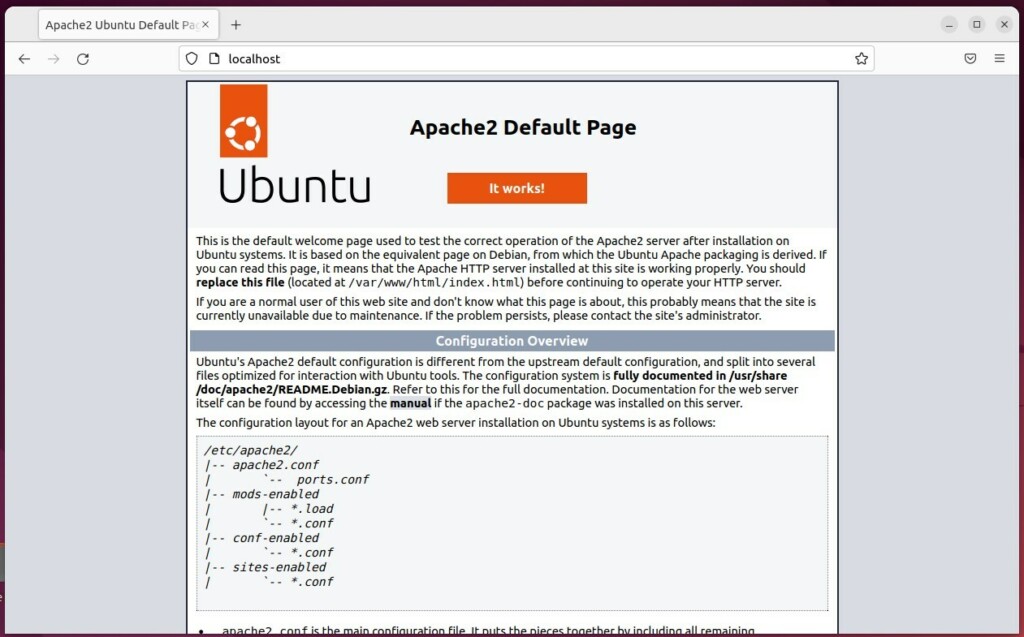
Open your web browser and navigate to your server’s IP address to confirm Apache is running correctly.
Install the MariaDB database server
sysPass requires a database to store your passwords and other sensitive information. For this installation, you will use the MariaDB database server because MariaDB is a free and open-source database system that is widely compatible with sysPass.
sudo apt install mariadb-server
sudo systemctl enable --now mariadb
sudo mysql_secure_installation
Install PHP
sysPass 2026 requires PHP 8.2 or 8.3. Run these commands to install the necessary modules:
sudo apt install php8.3 php8.3-mysql php8.3-xml php8.3-mbstring php8.3-curl php8.3-gd php8.3-intl php8.3-bcmath libapache2-mod-php8.3 git
General: Composer and SSL Configuration
Composer is a tool used to install additional components for sysPass, acting like a package manager for its various parts. You can install Composer on Ubuntu by downloading its setup script and running it using PHP. This Composer installation process ensures sysPass gets all its necessary software parts.
php -r "copy('https://getcomposer.org/installer', 'composer-setup.php');"
sudo php composer-setup.php --install-dir=/usr/local/bin --filename=composer
Securing your connection: It’s crucial to never use a password manager over an unencrypted HTTP connection. Let’s install Certbot to get a free SSL certificate:
sudo apt install certbot python3-certbot-apache
sudo certbot --apache
Follow the on-screen prompts to secure your domain. This sets up an encrypted ‘Virtual Host’ for your site. Think of a Virtual Host as a dedicated section on the server specifically for your website.
Create a database for sysPass
Log into MariaDB to create the storage area for sysPass:
sudo mysql -u root -p
Once you’re at the MariaDB prompt, run the following commands:
CREATE DATABASE syspassdb;CREATE USER 'syspassdbuser'@'localhost' IDENTIFIED BY 'your_password';GRANT ALL ON syspassdb.* TO 'syspassdbuser'@'localhost';FLUSH PRIVILEGES;EXIT;Install sysPass
Installing sysPass on your Ubuntu system involves cloning the program’s files using Git. After that, you need to give the correct permissions to these files and then run Composer. Composer fetches the remaining software required for sysPass to work properly.
git clone https://github.com/nuxsmin/sysPass.git /var/www/html/syspass
sudo chown -R www-data:www-data /var/www/html/syspass
cd /var/www/html/syspass
sudo composer install --no-dev
Now, create the Apache configuration file for sysPass:
sudo nano /etc/apache2/sites-available/syspass.conf
Add your server details here. Then, enable the site and restart Apache:
sudo a2ensite syspass
sudo systemctl restart apache2
To complete the sysPass installation, visit your domain in a web browser. This action opens the sysPass web portal, where you will follow on-screen prompts to finalize your password manager setup, including creating your administrator account and setting initial configurations.
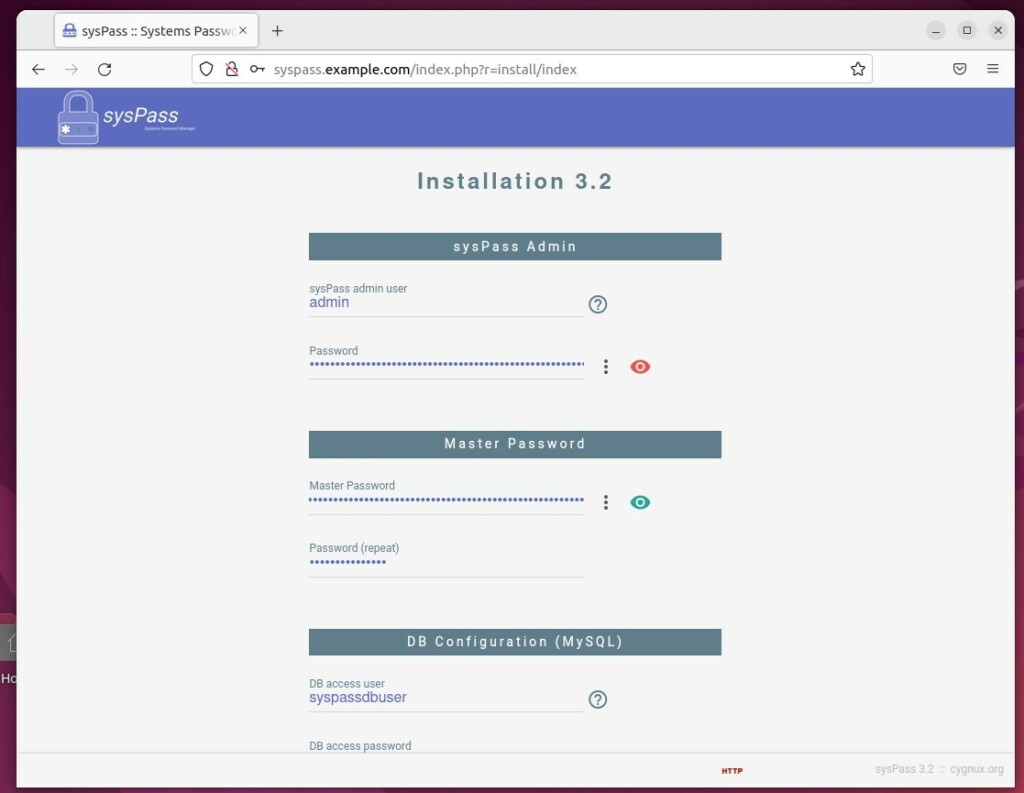
Enter your database credentials, create an administrator account, and click Install. You’re now all set to manage your passwords securely.
[Y/n] [Y/n] [Y/n] [Y/n] [Y/n] [Y/n]
What is the password for Ubuntu installation?
On Ubuntu 24.04 server, the default username and password is ‘ubuntu.’ By default, this is only accessible via the command line, and it’s essential to change it immediately after logging in.
How to reset BIOS password in Ubuntu?
And then we’re going to go to recovery mode. Now what we’re going to do is go to root. So drop to a root shell prompt, I’m going to press Enter for maintenance. Notice I’ve got a root prompt.
Was this guide helpful?

About the Author
Richard
Tech Writer, IT Professional
Richard, a writer for Geek Rewind, is a tech enthusiast who loves breaking down complex IT topics into simple, easy-to-understand ideas. With years of hands-on experience in system administration and enterprise IT operations, he’s developed a knack for offering practical tips and solutions. Richard aims to make technology more accessible and actionable. He's deeply committed to the Geek Rewind community, always ready to answer questions and engage in discussions.


No comments yet — be the first to share your thoughts!