How to Find Your Computer Name in Windows 11

Your computer name in Windows 11 is the unique label that identifies your PC on a network. This name, also known as a hostname, helps Windows tell your device apart from others.
It’s like a nickname for your computer, making it easier to find and connect to shared files or printers. For instance, a common computer name might look something like “DESKTOP-A1B2C3D4”.
Knowing your computer’s name is handy for troubleshooting network problems or setting up devices remotely. It helps ensure your computer communicates correctly with other machines.
You can find your computer name in Windows 11 by pressing Windows key + Pause/Break to open the About page in Settings, or by typing “hostname” in the Command Prompt. The device name is listed at the top of the About page.
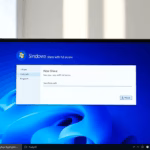
Method 1The Fastest Way (Keyboard Shortcut)
The quickest way to find your system properties is using a keyboard shortcut.
- Press Windows key + Pause/Break on your keyboard.
- This instantly opens the About page in Windows 11 settings.
- Look for Device name at the top of the window.
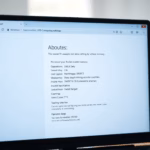
Method 2Using the Settings Menu
Finding your computer name in Windows 11 using the Settings app is quite effective. This method involves a few clicks and no complicated steps. Follow these steps within the Settings menu to see your device’s name clearly displayed.
- Press Windows key + I to open Settings.
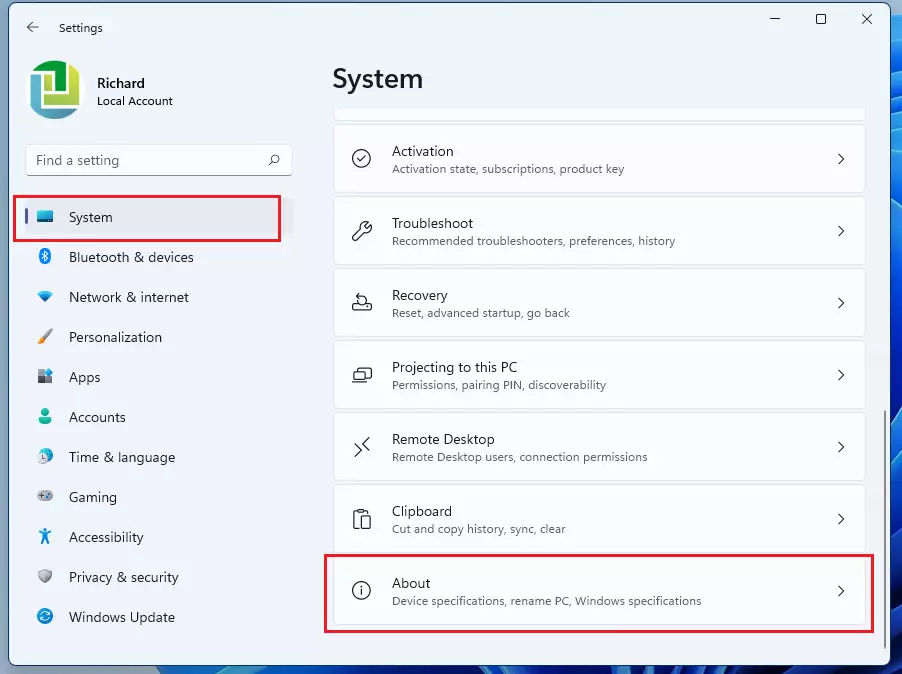
- Click System on the left sidebar.
- Scroll down and click About.

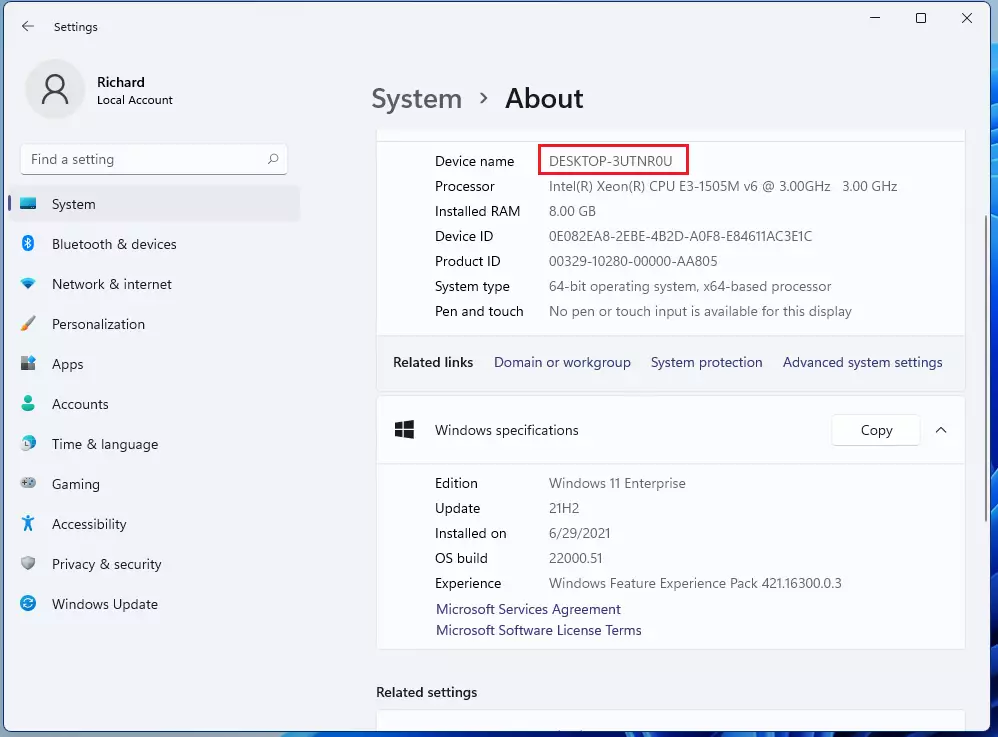
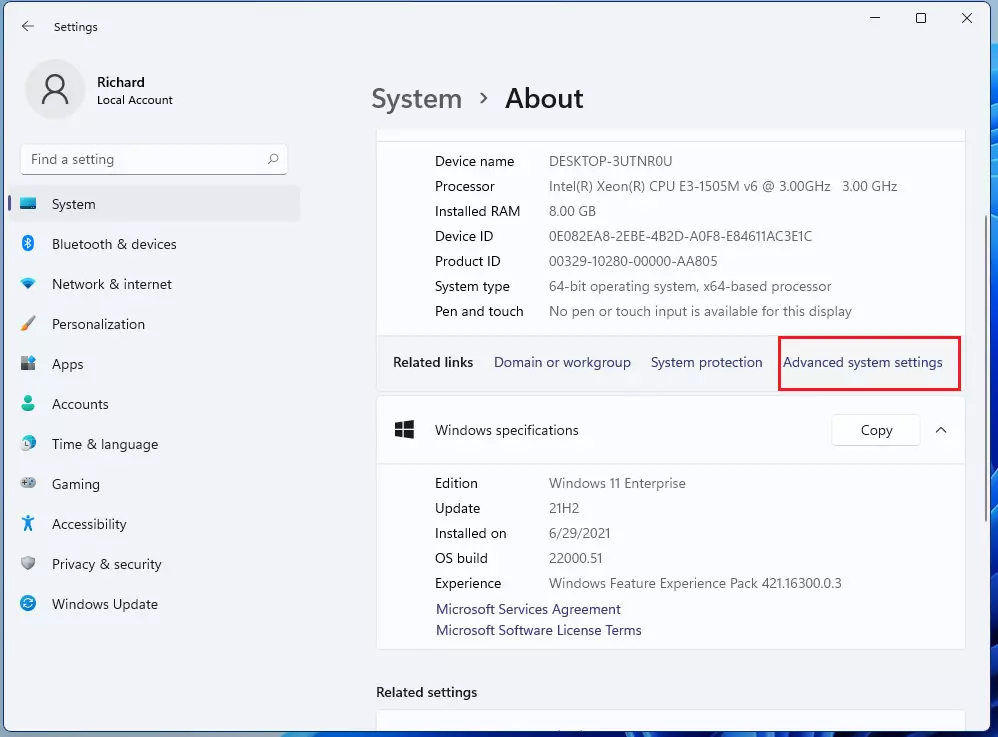
Your device name is displayed clearly at the top. You can find even more details, like your domain or workgroup status, by clicking Advanced system settings.

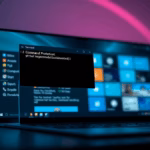
Method 3Using the Command Prompt
If you’re comfortable with text-based commands, the ‘hostname’ command is an option.
- Click the Search icon on your taskbar.
- Type cmd and press Enter.
- In the black window, type
hostnameand press Enter.
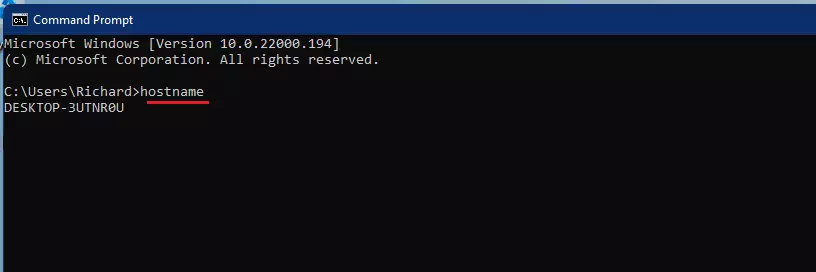
Your computer name will appear immediately below the command.
Related Articles
Summary
Finding your computer name in Windows 11 is important for network tasks and fixing problems, and you can do it a few different ways.
A quick note: you don’t need administrator privileges (also called admin rights) to view your computer name, but you do need them to change it.
Is the computer name the same as the user account name?
No. Your computer name identifies the physical hardware on a network, while your user account name identifies the specific person logged into the machine. You can have many different user accounts on one computer, but the computer name remains the same for everyone using that specific device.
Can I change my computer name in 🪟 Windows 11?
Yes, you can change it at any time. Go to Settings > System > About and click the Rename this PC button. Note that this action requires admin privileges. Avoid using special characters like \ / : * ? ” < > | to ensure your network connections remain stable and error-free.
Why does my computer name show up as a random string of characters?
If your PC name looks like a random string (e.g., DESKTOP-A1B2C3D), it is because Windows automatically generates a unique identifier during the initial setup. This prevents naming conflicts on networks. You can rename it to something more recognizable by following the steps in our guide.
Was this guide helpful?

About the Author
Richard
Tech Writer, IT Professional
Richard, a writer for Geek Rewind, is a tech enthusiast who loves breaking down complex IT topics into simple, easy-to-understand ideas. With years of hands-on experience in system administration and enterprise IT operations, he’s developed a knack for offering practical tips and solutions. Richard aims to make technology more accessible and actionable. He's deeply committed to the Geek Rewind community, always ready to answer questions and engage in discussions.

No comments yet — be the first to share your thoughts!