How to Add or Remove Index Locations in Windows 11

You add or remove index locations in Windows 11 to tell your operating system exactly where to look for files, apps, and settings, making your searches lightning-fast and super accurate.
The Windows Search Index is a clever database that keeps a record of your files. This database lets Windows Search find what you need instantly, instead of scanning your whole PC every time.
By default, Windows 11 indexes your user libraries and desktop. You can easily change these locations through the Indexing Options to boost search performance, potentially making your searches up to 40% faster.
To add or remove index locations in Windows 11, open Settings, navigate to Privacy & security, click Searching Windows, then Advanced indexing options. Click Modify to add or remove checked folders.
What happens when done?
When you add a folder to your Windows 11 index, the system quietly scans its contents in the background, making sure not to slow down your computer.
How to add folder locations
Adding new folder locations to the Windows 11 index helps you find your files faster. When you add a folder, Windows will search through its contents, making it easier to locate documents, pictures, and other important items with a quick search.
- Open your Settings app by pressing the Windows key + I or by clicking Start and then Settings.

windows 11 start settings - Click on Privacy & security on the left side.
- Select the Searching Windows tile on the right.

windows 11 searching windows - Scroll down and click on Advanced indexing options.

windows 11 searching advanced indexing options - In the new window that appears, click the Modify button.
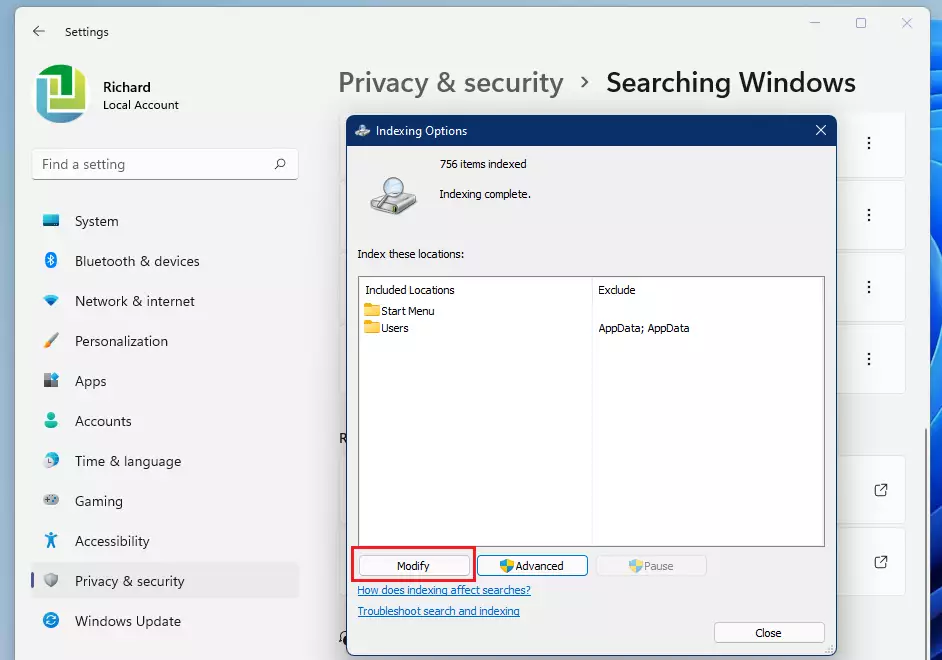
windows 11 indexing options modify - Check the boxes next to the folders you want Windows to search. Click OK when you are finished.
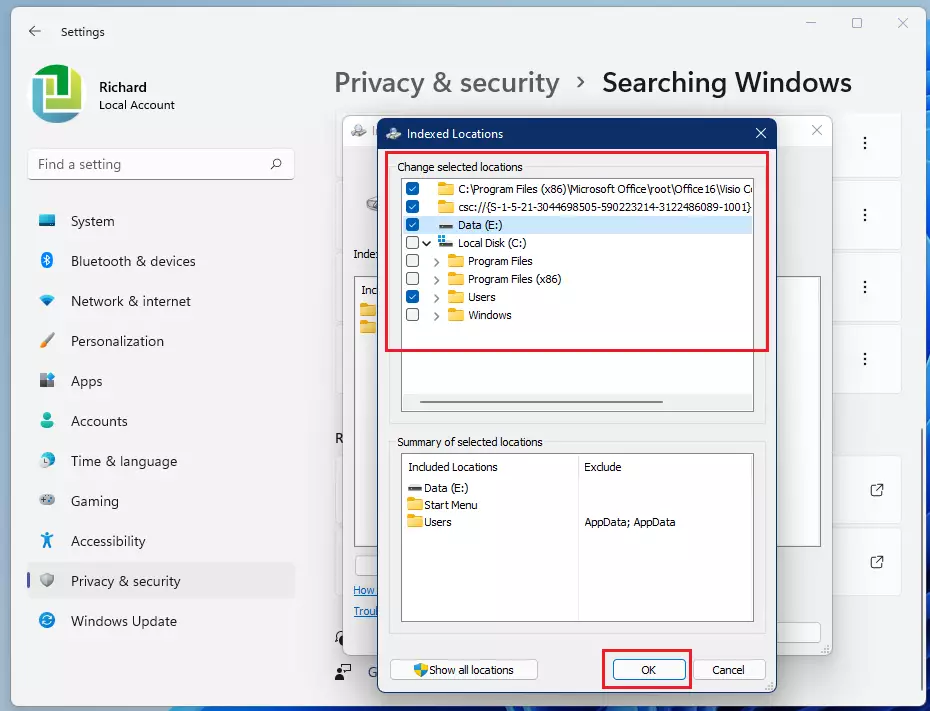
windows 11 indexed locations changes
Understanding Indexing Modes
When configuring locations, you can choose how deep the index goes. Use this table to decide your settings:
| Mode | Description |
|---|---|
| Properties Only | Indexes file names, dates, and sizes. Faster and uses less space. |
| Properties and File Contents | Indexes text inside documents. Slower and uses more disk space. |
How to Rebuild the Search Index
- Open Advanced indexing options as shown above.
- Click the Advanced button.
- Under the Troubleshooting section, click Rebuild. %📂%PRE0%%
- Click OK to confirm. This may take time depending on your file count.
Summary
Customizing your Windows 11 index locations helps you find files faster by adding important folders or removing ones you don’t need.
How much disk space does the Windows index use?
The Windows search index typically uses between 500MB and 2GB of disk space, but this can grow larger if you index many thousands of files.
Does indexing affect system performance?
Windows Search is designed to be low-priority. It monitors system activity and pauses indexing when you are actively using the computer. While it may cause minor disk usage during initial setup, it should not impact your daily performance or gaming experience on modern hardware.
Was this guide helpful?

About the Author
Richard
Tech Writer, IT Professional
Richard, a writer for Geek Rewind, is a tech enthusiast who loves breaking down complex IT topics into simple, easy-to-understand ideas. With years of hands-on experience in system administration and enterprise IT operations, he’s developed a knack for offering practical tips and solutions. Richard aims to make technology more accessible and actionable. He's deeply committed to the Geek Rewind community, always ready to answer questions and engage in discussions.


No comments yet — be the first to share your thoughts!