How to Enable Desktop Stickers in Windows 11
You enable desktop stickers in Windows 11 by adding a specific entry to the Windows Registry.
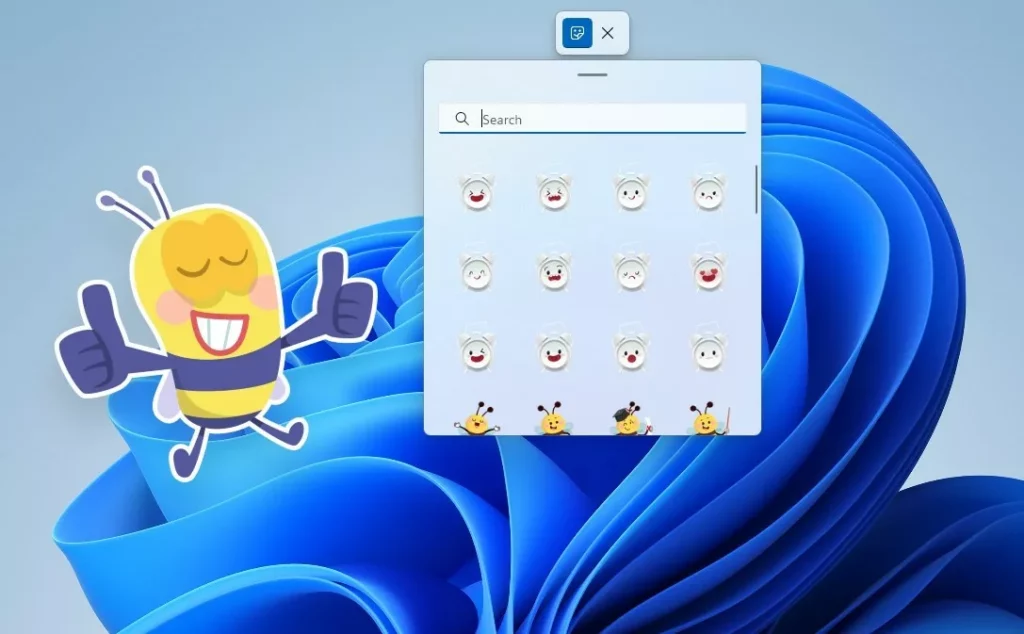
Desktop stickers are small decorative images you can place directly onto your Windows 11 desktop background, adding a unique visual flair that persists across wallpaper changes.
This feature allows you to personalize your digital workspace with fun, persistent graphics. For example, you might add a small icon or emblem that complements your chosen wallpaper.
To activate this, you will navigate to the Registry Editor, a powerful tool for modifying Windows system settings. You’ll specifically target the {🗝️HKEY_LOCAL_MACHINE\SOFTWARE\Microsoft\Windows\CurrentVersion\Shell\Stickers} path within the editor and create a new DWORD value to enable the sticker functionality.
Enable desktop stickers in Windows 11 by editing the registry. Navigate to 🗝️HKEY_LOCAL_MACHINE\SOFTWARE\Microsoft\Windows\CurrentVersion\Stickers, create a new DWORD value named EnableStickers, and set its data to 1. Restart your computer for the changes to take effect.
Prerequisites and Compatibility
Desktop stickers are currently hidden. You'll typically find desktop stickers available if you're part of the Microsoft Insider Preview program on build 25162 or a later version. Desktop stickers are not supported on Windows 11 SE or when you are using a slideshow background. If you use a slideshow background, the stickers feature will be disabled.
How to Enable Desktop Stickers via Registry Editor
You can enable desktop stickers in Windows 11 by using the Registry Editor. This involves navigating to a specific location and making a small change to tell Windows you want to use this feature.
- Press ⊞ Win+R, type regedit, and press Enter. You’ll need administrative privileges for this.
- Navigate to the following path:
HKEY_LOCAL_MACHINE\SOFTWARE\Microsoft\Windows\CurrentVersion\Stickers
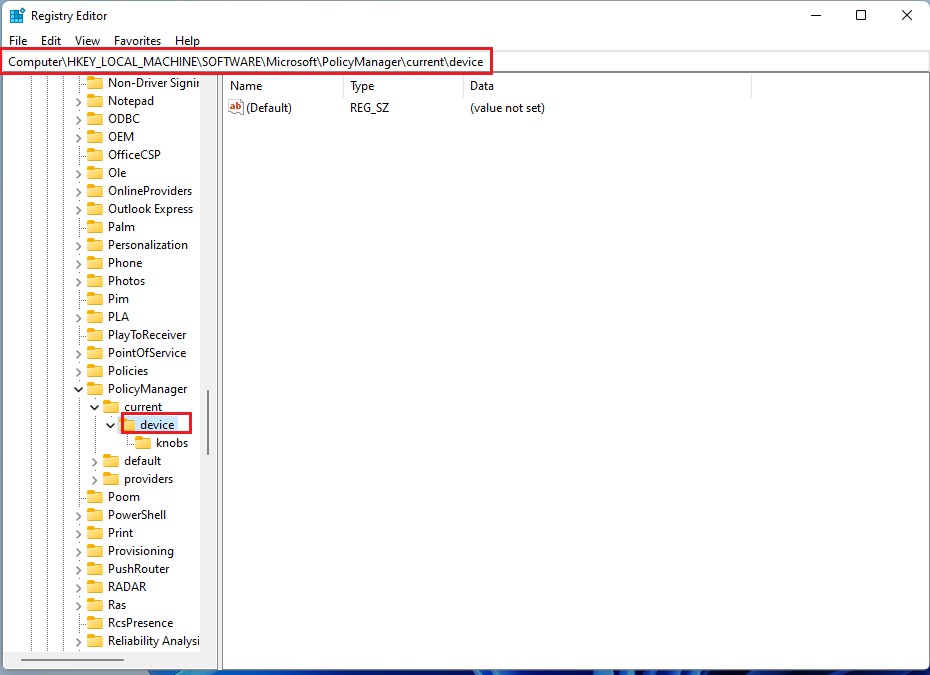
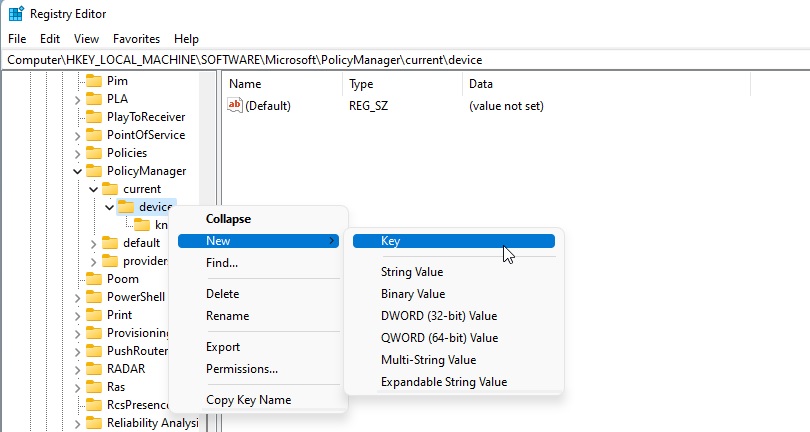
3. If the Stickers key is missing in the registry editor, you can create it. Right-click the CurrentVersion folder located at 🗝️HKEY_LOCAL_MACHINE\SOFTWARE\Microsoft\Windows\CurrentVersion, select New, then Key, and name this new key exactly Stickers. This action allows Windows to use desktop stickers.
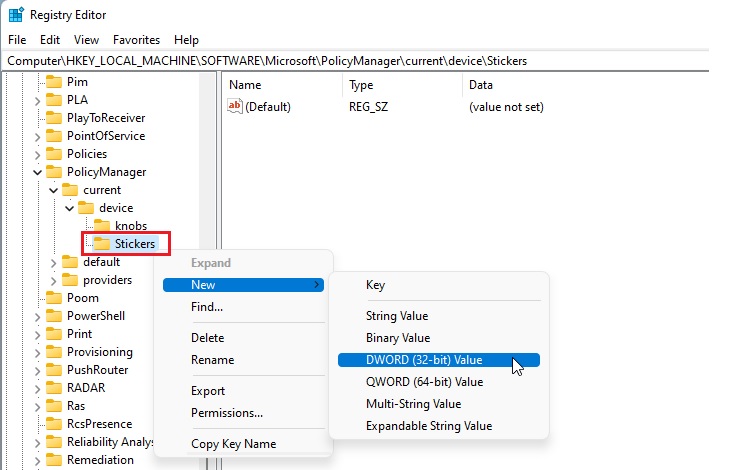
To enable desktop stickers, right-click the new Stickers key in the registry. Then, select New, choose DWORD (32-bit) Value, and name this new entry EnableStickers. This action creates the necessary setting to activate the desktop stickers feature in Windows 11.
5. Double-click EnableStickers and change its value data to 1.
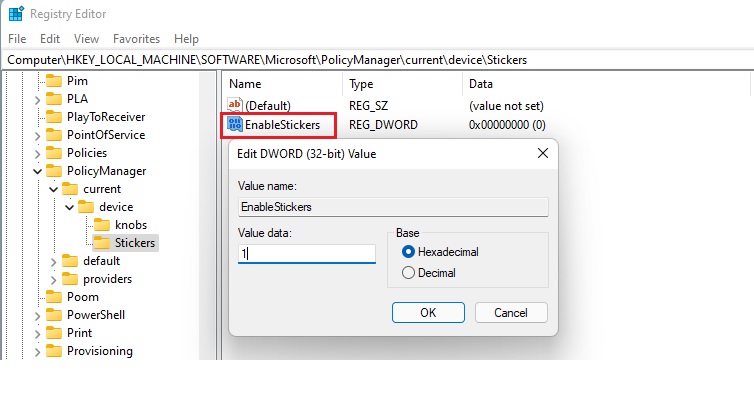
6. Restart your computer to apply the changes.
Alternative: Group Policy Configuration
Enterprise administrators manage desktop stickers using the Group Policy Editor (gpedit.msc). To allow stickers organization-wide, administrators navigate to Computer Configuration > Administrative Templates > Windows Components > Desktop Stickers and enable the specific policy.
Managing and Removing Stickers
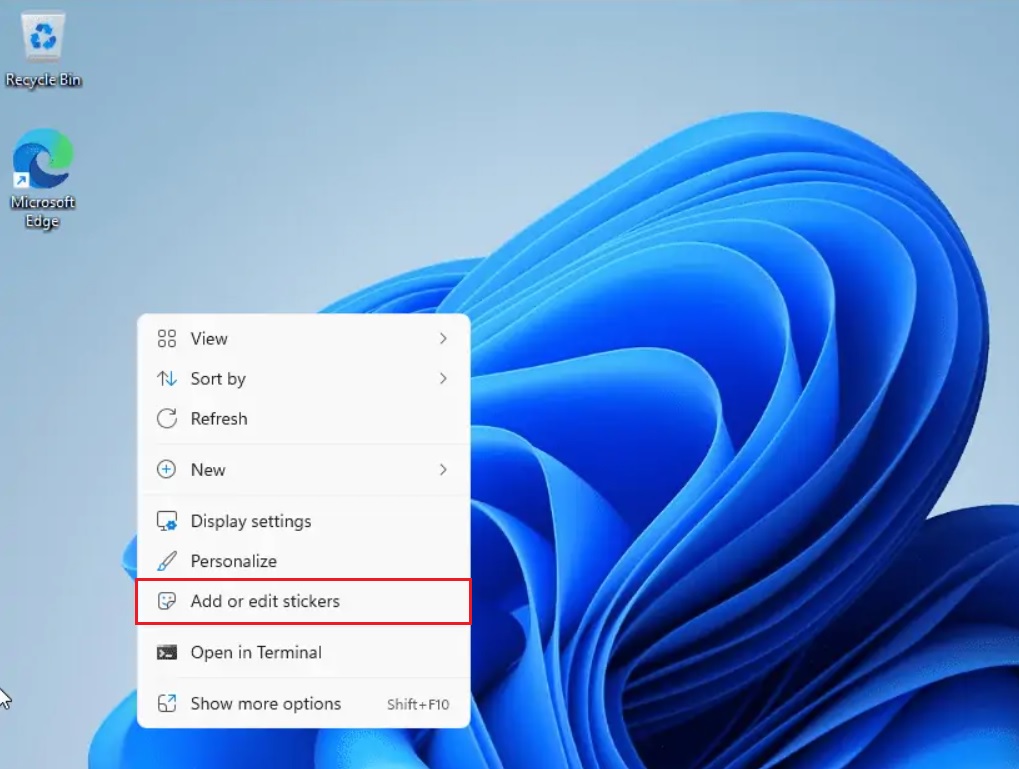
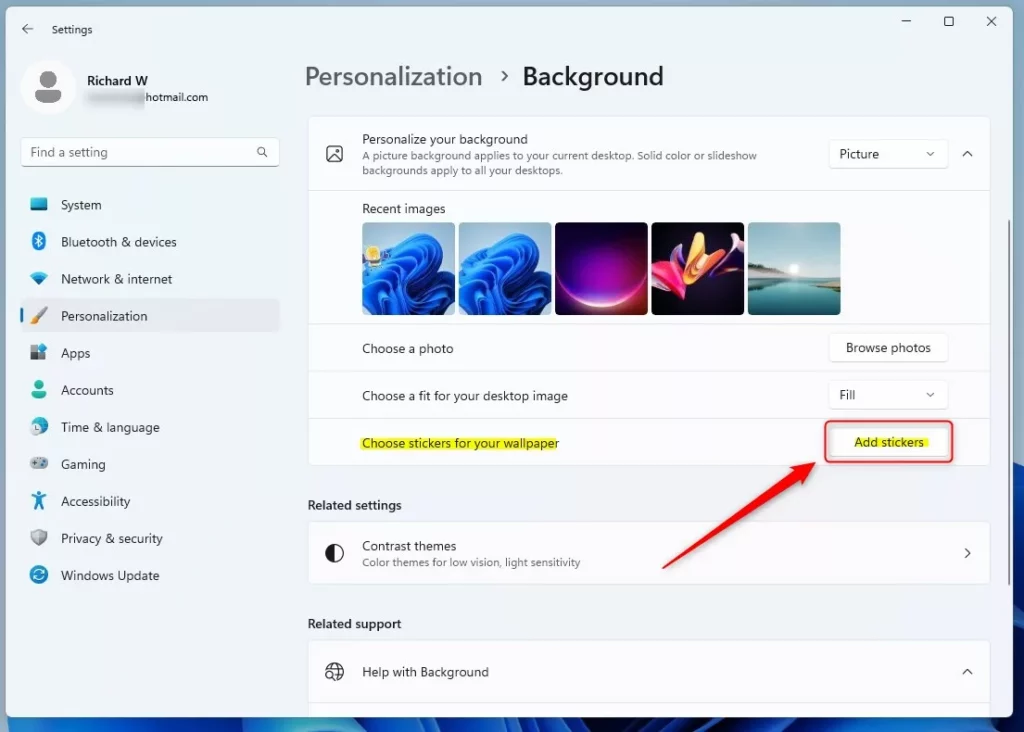
After you turn on desktop stickers, you can easily manage desktop stickers by right-clicking your desktop and choosing to add or edit them, or by visiting the Personalization settings.
Summary
Desktop stickers offer a fun way to personalize your Windows 11 background, though they’re hidden by default and require advanced steps to enable.
Can I use custom images as desktop stickers?
Currently, Windows 11 only supports the pre-installed library of stickers provided by Microsoft. You cannot upload or use your own custom image files as stickers at this time. The feature is limited to the official collection available within the sticker editor interface.
Why are desktop stickers disabled on my 🪟 Windows 11 version?
Desktop stickers are a hidden feature intended for testing. If you are not on a supported Insider Preview build, or if you are using Windows 11 SE, the feature is locked. Additionally, using a slideshow background will automatically disable the stickers functionality on your desktop.
Was this guide helpful?

About the Author
Richard
Tech Writer, IT Professional
Richard, a writer for Geek Rewind, is a tech enthusiast who loves breaking down complex IT topics into simple, easy-to-understand ideas. With years of hands-on experience in system administration and enterprise IT operations, he’s developed a knack for offering practical tips and solutions. Richard aims to make technology more accessible and actionable. He's deeply committed to the Geek Rewind community, always ready to answer questions and engage in discussions.
No comments yet — be the first to share your thoughts!