How to Edit Desktop Stickers in Windows 11
Editing desktop stickers in Windows 11 lets you change the size, position, and even replace images you’ve placed on your desktop background.
Desktop Stickers is a special feature that allows you to add images that stay fixed, no matter what wallpaper you choose.
This feature is not turned on automatically and requires editing the Windows registry, which usually isn’t recommended for beginners.
If you’ve already enabled stickers and want to adjust them, this guide shows you exactly how to make those changes.
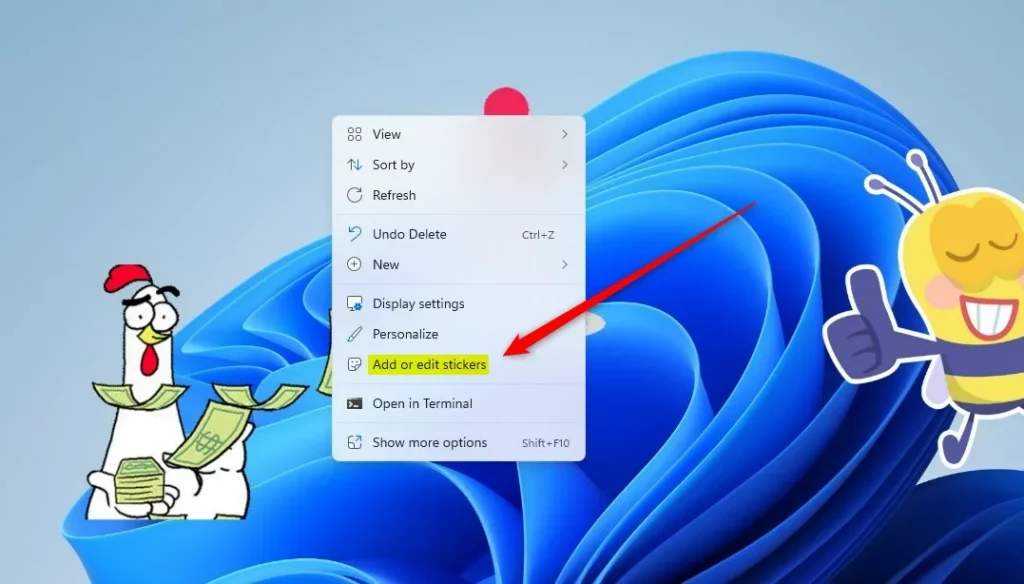
Edit desktop stickers by right-clicking an empty desktop area and selecting “Add or edit stickers.” You can then resize stickers by dragging their corner dots or move them by clicking and dragging. Click the close button to exit the editor.
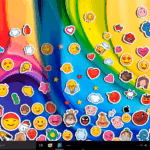
Edit stickers on your desktop in 🪟 Windows 11
As mentioned above, stickers are not ready for use in Windows, and you need to make changes in the Windows registry to enable them. This isn’t something we recommend doing.
If you did enable stickers, here is how to edit them.
You use the same context menu command to add and edit stickers. To do that, right-click on a blank area of your desktop, then select Add or edit stickers.
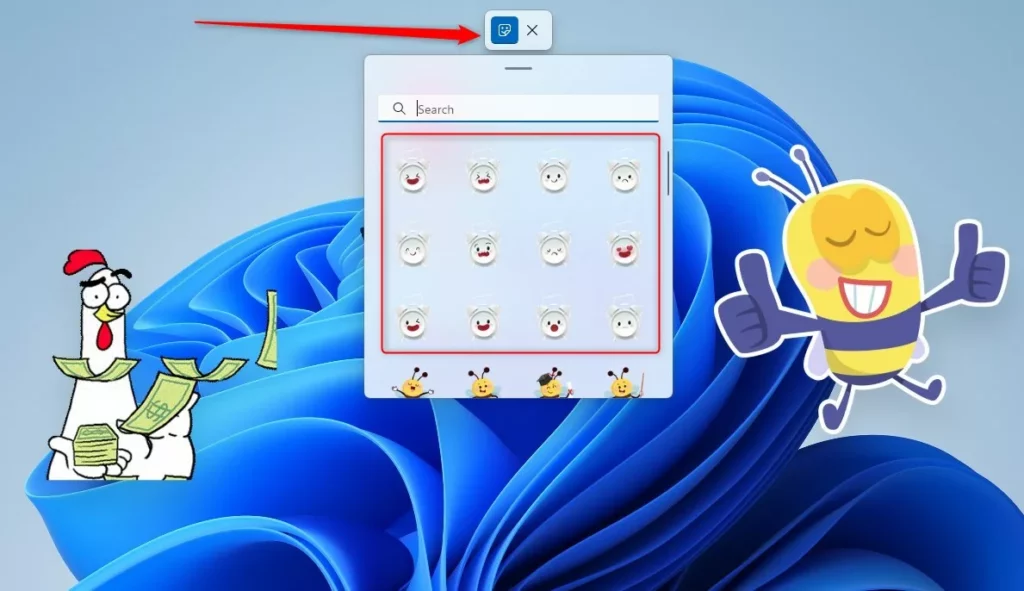
After that, use the button on the stickers pane to add more stickers.
Hover over or click on a sticker on your desktop to edit it. Selecting an existing sticker allows you to
- Drag the border dots to resize the sticker to be smaller or larger.
- Drag and drop the sticker where you want it on your desktop.
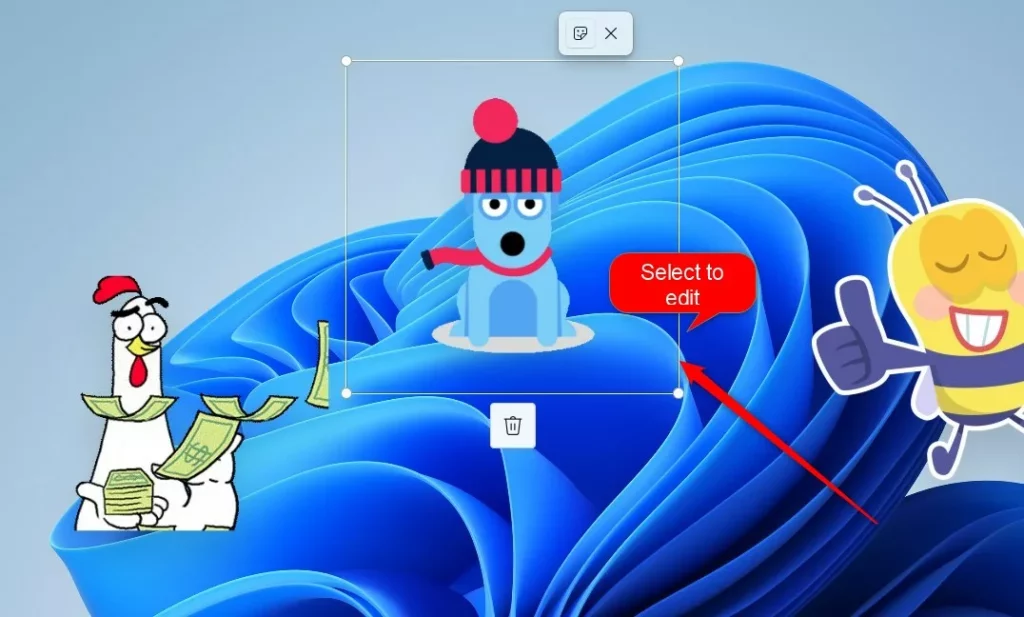
When you finish editing, click the Close (X) button on the toolbar to close the sticker editor

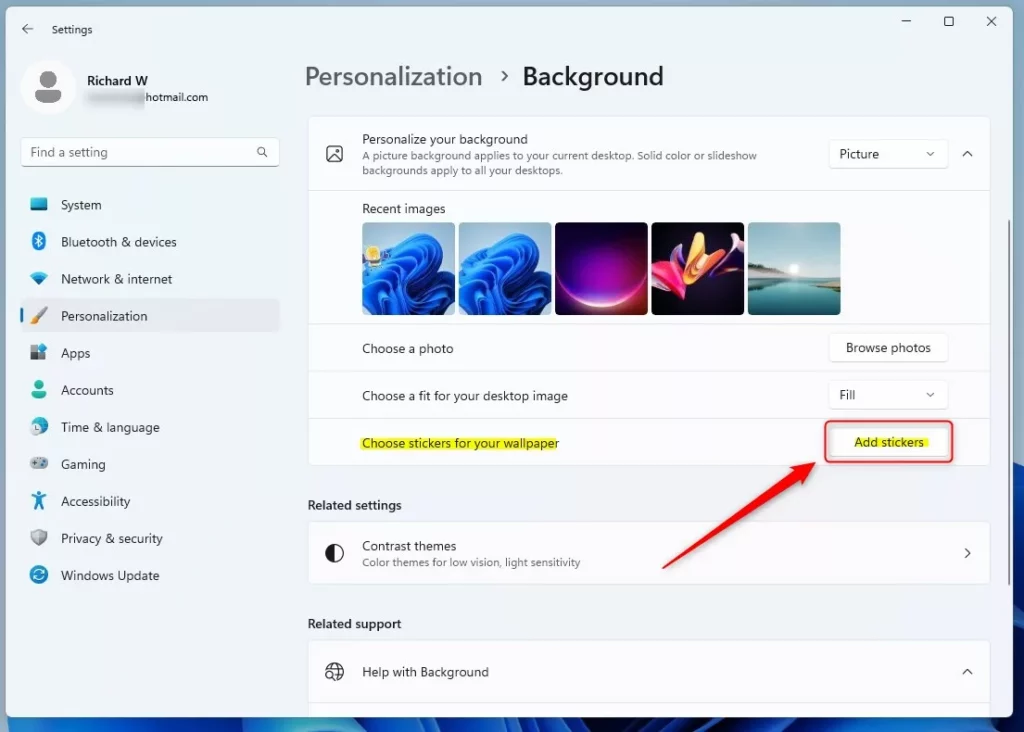
You can also use the Settings app to launch the sticker’s editor. Go to Start > Settings > Personalization > Background.
Click on the Choose stickers for your wallpaper tile and click on Add stickers button.
That’s how you do it!
Conclusion:
- Enabling and editing desktop stickers on Windows 11 involves delving into the Windows registry, which is not recommended due to its complexity and potential to cause system instability.
- If you’ve successfully enabled stickers, you can add, resize, move, and replace them on your desktop by right-clicking on a blank area, selecting “Add or edit stickers,” and using the stickers pane to make adjustments.
- Additionally, you can access the sticker editor through the Settings app by navigating to “Start > Settings > Personalization > Background” and selecting “Choose stickers for your wallpaper” to add stickers.
- Keep in mind that while desktop stickers can add a personalized touch to your desktop, enabling this feature requires caution and might not be suitable for all users.
Was this guide helpful?

About the Author
Richard
Tech Writer, IT Professional
Richard, a writer for Geek Rewind, is a tech enthusiast who loves breaking down complex IT topics into simple, easy-to-understand ideas. With years of hands-on experience in system administration and enterprise IT operations, he’s developed a knack for offering practical tips and solutions. Richard aims to make technology more accessible and actionable. He's deeply committed to the Geek Rewind community, always ready to answer questions and engage in discussions.

No comments yet — be the first to share your thoughts!