How to Reset Default Firewall Settings in Windows 11
This article explains how to restore Microsoft Defender Firewall to its default settings in Windows 11.
Open Windows Security, go to Firewall & network protection, and click Restore firewalls to default. Confirm the reset in the pop-up window. This action restores your firewall settings to their original configuration.
Why Reset Your Firewall?
You might need to reset your Windows Firewall settings if you’ve accidentally changed something or if a program messed with them, helping to get your computer’s security back to how it was when you first got it.
On Windows 11, you can use the Windows Security app to view and manage your firewall. You can turn it on or off anytime.
Method 1Using the Windows Security App
The easiest way to reset your Windows Firewall to its default settings is by using the Windows Security app; it’s a simple process that most people can follow without any trouble.
- Click on Start and select Settings from the Start menu.

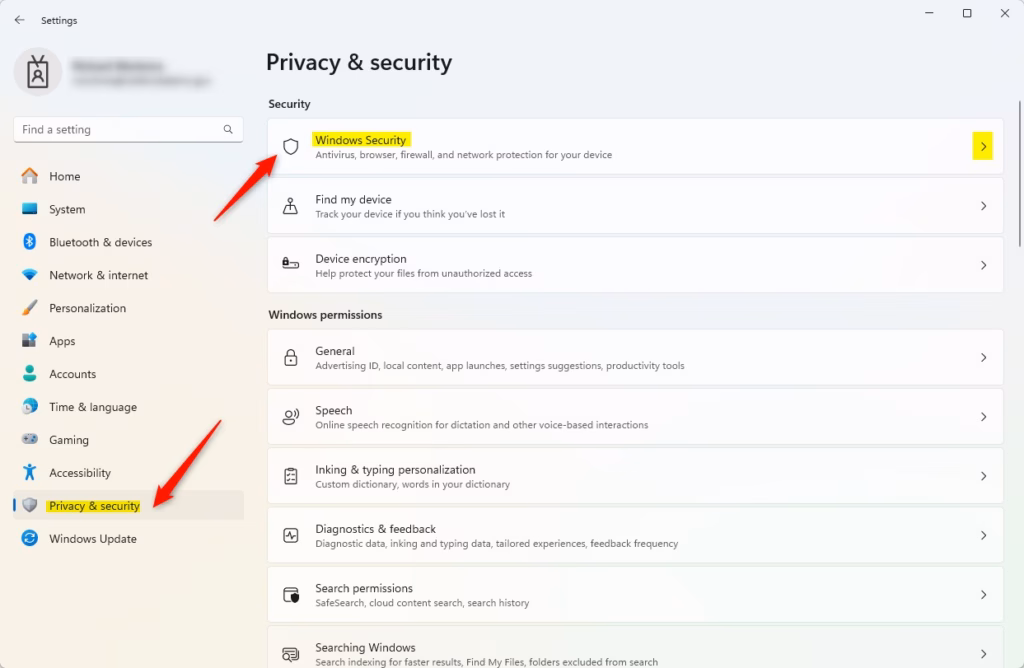
- In the Settings app, click Privacy & security and then click the Windows Security tile.
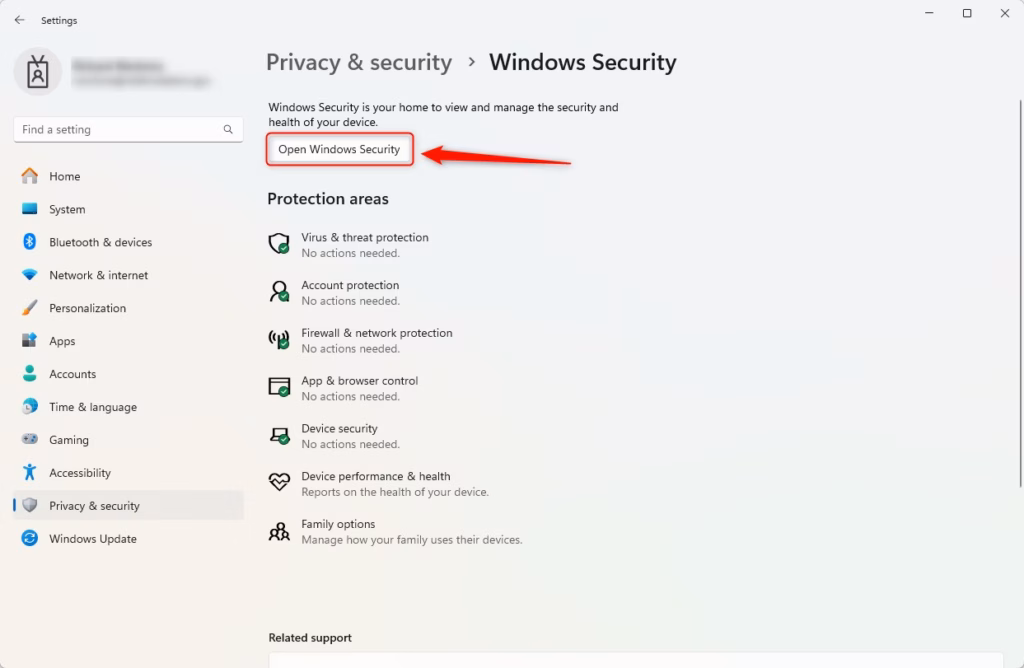
- Click the Open Windows Security button.
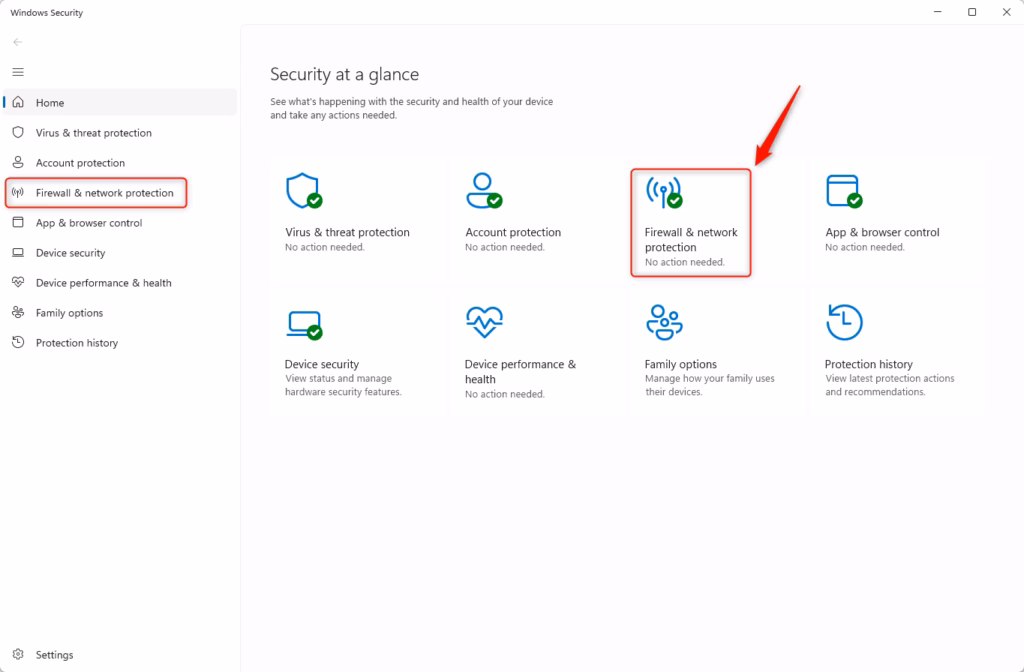
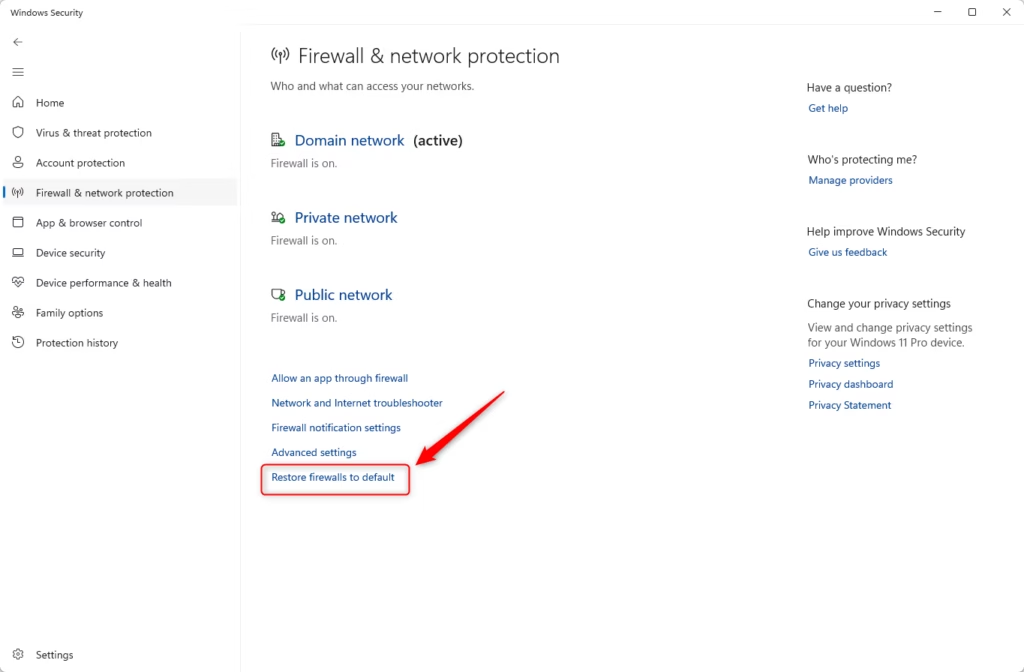
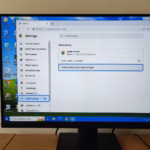
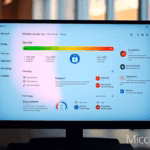
- In the Windows Security app, select Firewall & network protection or use this shortcut: Firewall & network protection
- Click on the Restore firewalls to default link at the bottom.
- In the pop-up window, click Restore defaults to restore the firewall settings.
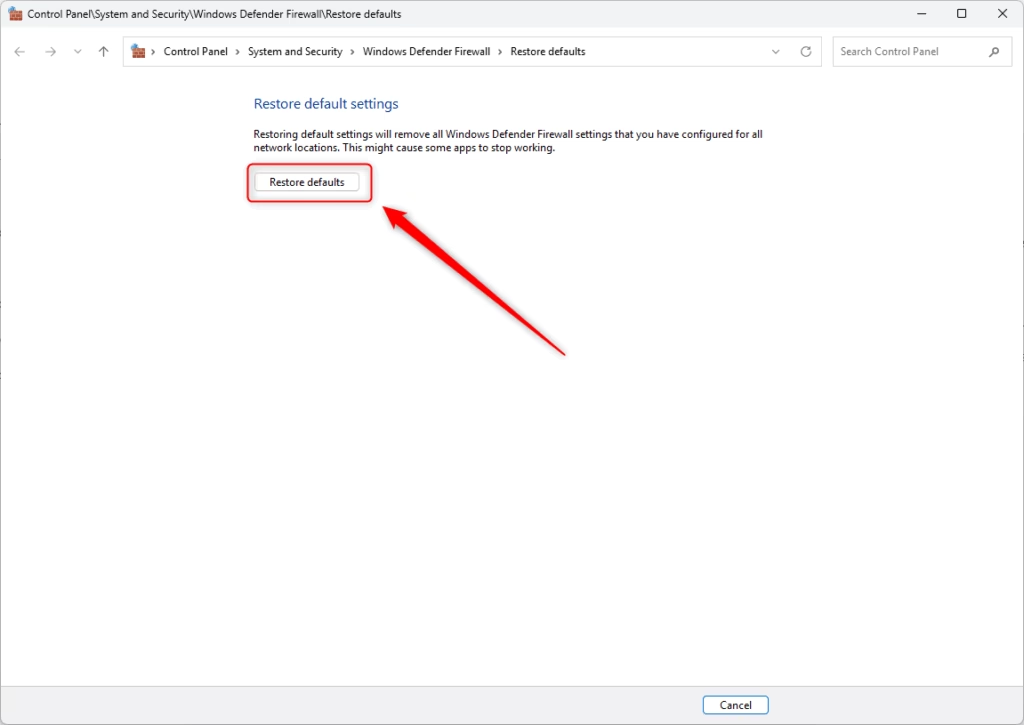
- Click Yes when asked if you want to reset the firewall to default.
Method 2Using Windows Defender Firewall with Advanced Security
If you want more control over your firewall, you can use the Windows Defender Firewall with Advanced Security tool to reset it, which gives you more detailed options than the basic settings.
- Open Windows Defender Firewall with Advanced Security (type
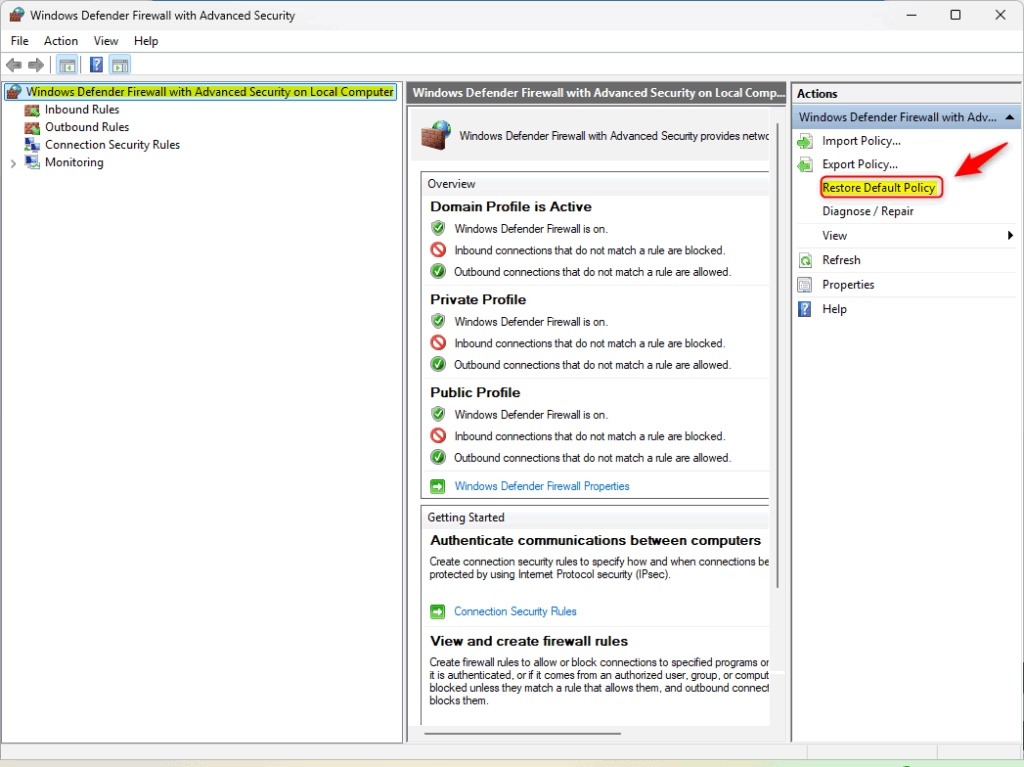
wf.mscin the search box). - On the left side, select Windows Defender Firewall with Advanced Security on Local Computer.
- On the right side under Actions, click Restore Default Policy to restore the firewall to its defaults.
Method 3Using Command Prompt
This method uses the command line. Here’s how:
- ⚠️ Admin Required: Open Command Prompt as administrator and select the Command Prompt tab.
- Type and run this command:
netsh advfirewall resetThis command resets the firewall to its default settings.
Method 4Using PowerShell
PowerShell is another way to reset your firewall. Here’s how:
- ⚠️ Admin Required: Open PowerShell as administrator and select the PowerShell tab.
- Type and run this command:
(New-Object -ComObject HNetCfg.FwPolicy2).RestoreLocalFirewallDefaults()That’s it! Your firewall is now reset to default.
Summary
You’ve learned a couple of ways to reset your Windows Firewall, including a simple method using the Windows Security app and a more advanced option for those who like more control.
- Windows Security App: The easiest method. Just click a few buttons.
- Advanced Security: Offers more detailed options for advanced users.
- Command Prompt: A quick method using a simple command (requires admin rights).
- PowerShell: Another command-line option (requires admin rights).
Why This Matters: Resetting your firewall helps protect your computer from unauthorized access and threats. If unwanted changes were made to your firewall, these methods let you quickly fix the problem and restore your security.
Choose whichever method you feel most comfortable with. All four methods work well and will get your firewall back to normal.
What does resetting the Windows Firewall do?
Resetting Windows Defender Firewall restores all security settings to their default state, resolving configuration errors and network access problems.
Is it safe to reset firewall settings?
Resetting the firewall to its default state is a safe troubleshooting step when apps can't connect to the network, network file sharing stops working, or you want to remove all user-defined rules and start fresh. However, this process doesn't remove any of the system default firewall rules.
How do I fix my firewall from blocking the internet?
Check your device firewall first Windows firewall settings: Search and open Windows Defender Firewall → Check “Allow an app through firewall”. That should do the trick if a Windows firewall is blocking incoming connections.
Was this guide helpful?

About the Author
Richard
Tech Writer, IT Professional
Richard, a writer for Geek Rewind, is a tech enthusiast who loves breaking down complex IT topics into simple, easy-to-understand ideas. With years of hands-on experience in system administration and enterprise IT operations, he’s developed a knack for offering practical tips and solutions. Richard aims to make technology more accessible and actionable. He's deeply committed to the Geek Rewind community, always ready to answer questions and engage in discussions.

No comments yet — be the first to share your thoughts!