How to Install Custom Fonts on Windows 11
You install custom fonts on Windows 11 by either dragging font files directly into the Fonts folder or by using the dedicated Fonts section within the Settings app.
Adding new fonts lets you personalize your PC and use unique typography in various applications, from Microsoft Word to Adobe Photoshop. Windows 11 readily supports popular font formats like TrueType (.ttf) and OpenType (.otf).
This capability gives you creative freedom to make your documents and designs stand out with your chosen style or brand identity, moving beyond the standard system fonts.
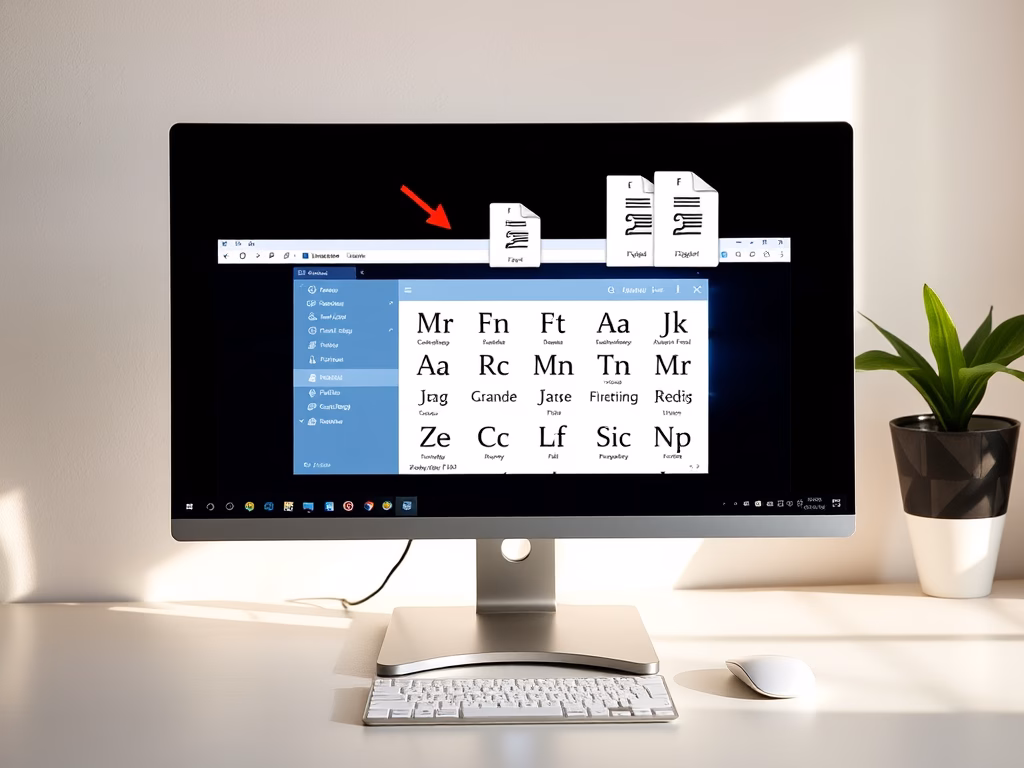
Download font files, then right-click and select “Install” or “Install for all users.” Alternatively, open Settings, go to Personalization, select Fonts, and drag your font files into the designated area.
Understanding Font Formats
Before you begin, it helps to know the difference between common font files. Most fonts you download will be either TrueType or OpenType.
| Format | Extension | Best For |
|---|---|---|
| TrueType | .ttf | General use and compatibility |
| OpenType | .otf | Advanced typography and design |
How to Install New Fonts
Installing new fonts on Windows 11 is simple: first, find and download a font file you like from a trusted website, usually ending in .ttf or .otf.How to Manage or Remove Fonts
You can easily manage or remove fonts in Windows 11 through the Settings app.Advanced Font Management and Troubleshooting
If your new fonts aren’t showing up correctly in Windows 11, try restarting the app you’re using.
Summary
Installing custom fonts on Windows 11 lets you personalize your PC easily by downloading, extracting, and installing font files.
Why are my custom fonts not showing up in Word?
If your fonts are missing, try restarting the application. Some programs only load fonts during startup. If that fails, ensure the font is installed correctly in the Windows Settings menu. Additionally, check if the font supports embedding, as some restricted fonts will not display in exported documents like PDFs.
How do I delete fonts that are currently in use?
You cannot delete a font while an application is actively using it. Close all programs, including web browsers and word processors. If the system still says the file is in use, restart your computer to release the file lock, then proceed to uninstall the font via the Settings menu.
Was this guide helpful?

About the Author
Richard
Tech Writer, IT Professional
Richard, a writer for Geek Rewind, is a tech enthusiast who loves breaking down complex IT topics into simple, easy-to-understand ideas. With years of hands-on experience in system administration and enterprise IT operations, he’s developed a knack for offering practical tips and solutions. Richard aims to make technology more accessible and actionable. He's deeply committed to the Geek Rewind community, always ready to answer questions and engage in discussions.

[…] Fonts you install are saved in the C:WindowsFonts folder. You can also add fonts by dragging font files into that folder. […]
[…] If you want to learn more about fonts on Windows 11, check out this easy guide on how to install fonts in Windows 11. […]