How to Configure Startup Applications from File Explorer in Windows 11

- 8 steps
- Needs administrator rights
- Includes a restart or sign-out
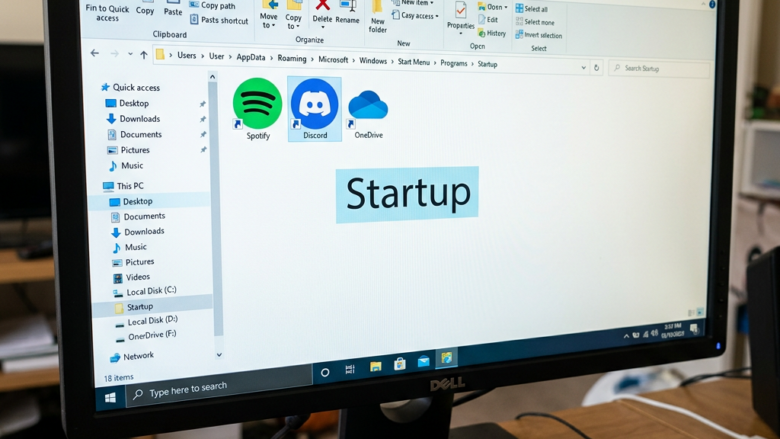
Startup applications in Windows 11 are programs that open automatically the moment you sign in to your PC. You can manage them from File Explorer by putting shortcut files into a special system folder that Windows checks every time you sign in.
Too many programs in this folder slow down sign-in and use memory in the background. Managing the shortcuts by hand is a quick way to stop unwanted apps from running, and you don’t need to open the Settings app. The steps are the same on Windows 11 Home and Pro.
Manage startup applications by opening the Run box (Win+R), typing shell:startup for your apps or shell:common startup for all users, and then dragging or deleting application shortcuts in the opened File Explorer window.
What are Startup Folders?
Startup folders are special system directories that tell Windows which apps to open when you sign in. Windows reads them during sign-in, so your usual tools are ready without you launching them one by one. There are two versions of this folder on your PC: one for your own user account and one for every user on the system.
- The Current User’s Startup FolderApps in this folder only start when your account signs in. Think of it as your personal startup list.
- The All Users Startup FolderApps in this folder start for anyone who signs in to the computer. Use it when several people share the PC and you want certain programs ready for all of them. Changing it needs administrator permission.
You don’t have to click through File Explorer to find these folders. Windows 11 lets you type “shell commands” into the Run box, and each one opens the matching folder directly. That is the method used below.
How to Add Startup Apps Using File Explorer
Adding or removing startup programs through File Explorer gives you direct control over what runs at sign-in, and you never need to dig through Settings menus. Work through the steps in order.
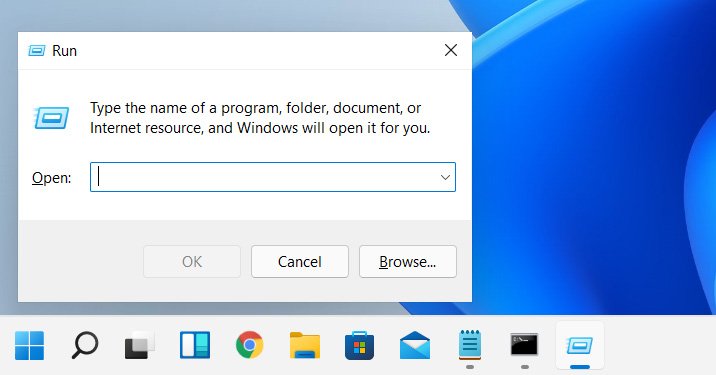
- Open the Run box. Press the Win and the R key together. A small Run window appears with a text box.
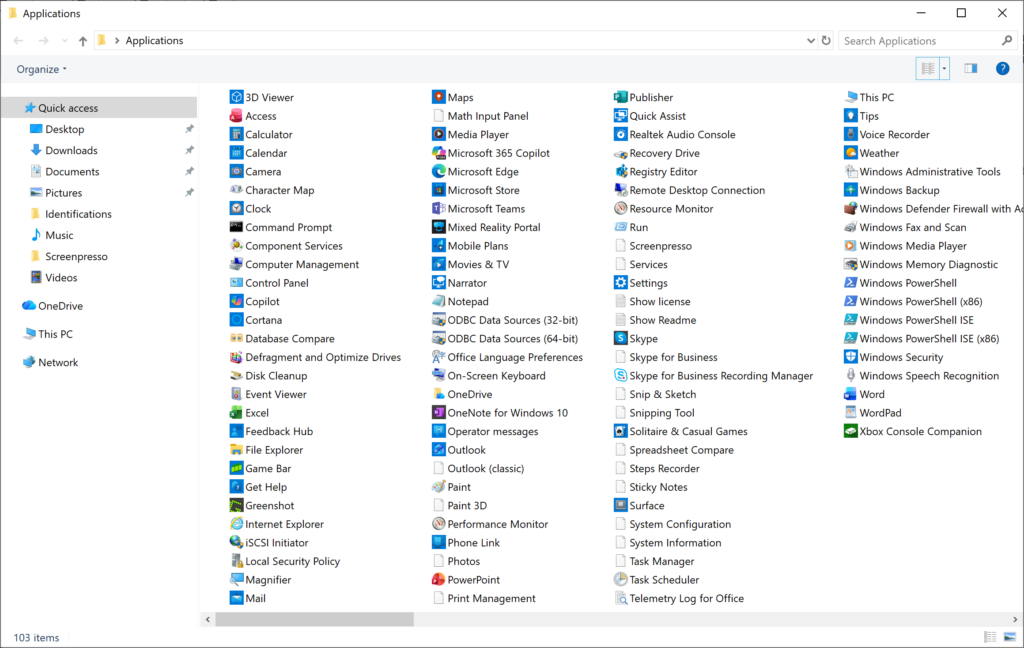
- Open the list of all applications. In the Run box, type
shell:AppsFolderand press Enter or click OK. A File Explorer window opens showing almost every app installed on your computer. Keep this window open. You will drag apps out of it later. - Open the Run box a second time. Press Win + R again. You now choose which startup folder to open.
- Type the command for the folder you want, then press Enter.
- To change startup apps for your account only, type
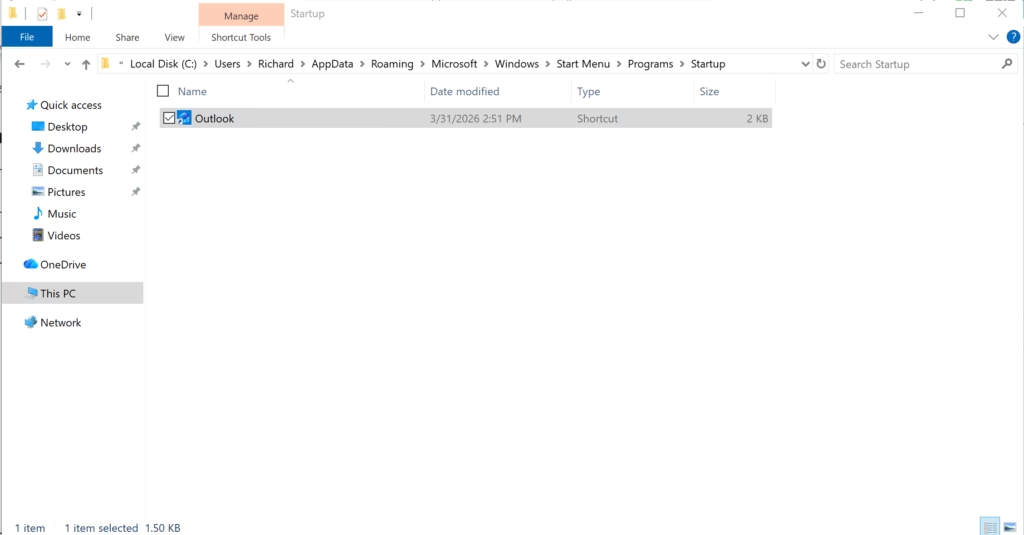
shell:startupand press Enter. - To change startup apps for all users on the computer, type
shell:common startupand press Enter.
shell:startup. It is the most common choice for personal apps. - To change startup apps for your account only, type
- Add an app to startup. Arrange the two windows side by side. In the all-applications window, click the app you want and drag it into the startup folder window. Windows creates a shortcut to the app in the startup folder. The shortcut now appears in the startup folder, and the app opens automatically the next time you sign in. If you chose the All Users folder and Windows asks for permission, click Continue and approve the prompt. If you are not an administrator, you will be asked for an admin password.
- Remove an app from startup. Go to the startup folder window (the second one you opened) and find the shortcut for the app you want to stop. Right-click it and select Delete. Confirm if asked. The shortcut goes to the Recycle Bin , and the app no longer launches at sign-in. This only deletes the shortcut. The app itself stays installed. It also does not close the app if it is already running. It simply won’t start on its own the next time you sign in.
To undo either change, delete the shortcut you added, or restore a deleted shortcut from the Recycle Bin. No restart is needed. Changes take effect the next time you sign out and back in, or restart. If an app still starts after you delete its shortcut, it is probably set to launch another way. Check Settings Apps Startup for it.
Reference:
Summary
You can manage which apps start automatically when you sign in to Windows 11 by using File Explorer and its two startup folders. Use the current user folder for your own apps and the All Users folder for apps everyone should get. Add a shortcut to start an app at sign-in, and delete the shortcut to stop it. Keep the list short, because every extra app slows down sign-in a little.
Have a question about this guide?
Answered by AI from this guide. Good questions may be added to this page — please don't include personal details.
Did this guide fix your problem?

About the Author
Richard
Tech Writer, IT Professional
Richard is a writer at Geek Rewind who turns complex IT tasks into clear, step-by-step guides. He draws on years of hands-on experience in system administration and enterprise IT operations, focusing on Windows, Linux and WordPress: the problems people actually run into, and the fixes that work. His server and WordPress guides come from systems he runs himself. Richard builds and maintains the platform behind Geek Rewind, from its Ubuntu servers and Nginx configuration to its custom WordPress plugins. Many new tutorials start with readers' questions, and he's always glad to answer them in the comments.
No comments yet — be the first to share your thoughts!