How to Turn On or Off Lock Screen Background Motion in Windows 11
This guide will help you turn on or off the moving background on your Windows 11 lock screen.
Open Settings, go to Personalization, then Lock screen. Toggle the “Make the lock screen image react when I move my PC” option on or off to control background motion. Administrators can use Group Policy or Registry Editor for system-wide changes.
What is the Lock Screen?
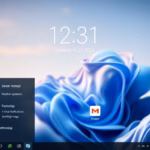
The lock screen is the first screen you see when you start your PC or lock it (by pressing ⊞ Win+L). You need to dismiss this screen to get to the sign-in area.
What is Lock Screen Background Motion?
Windows 11 lock screen motion is a feature that makes your background picture gently move and shift as you move your device, thanks to a sensor called an accelerometer.
If you prefer a still picture without this motion, you can turn the feature off.
Option 1Turn On or Off Lock Screen Motion for Your Account Using Settings
- Press ⊞ Win+I to open Settings.
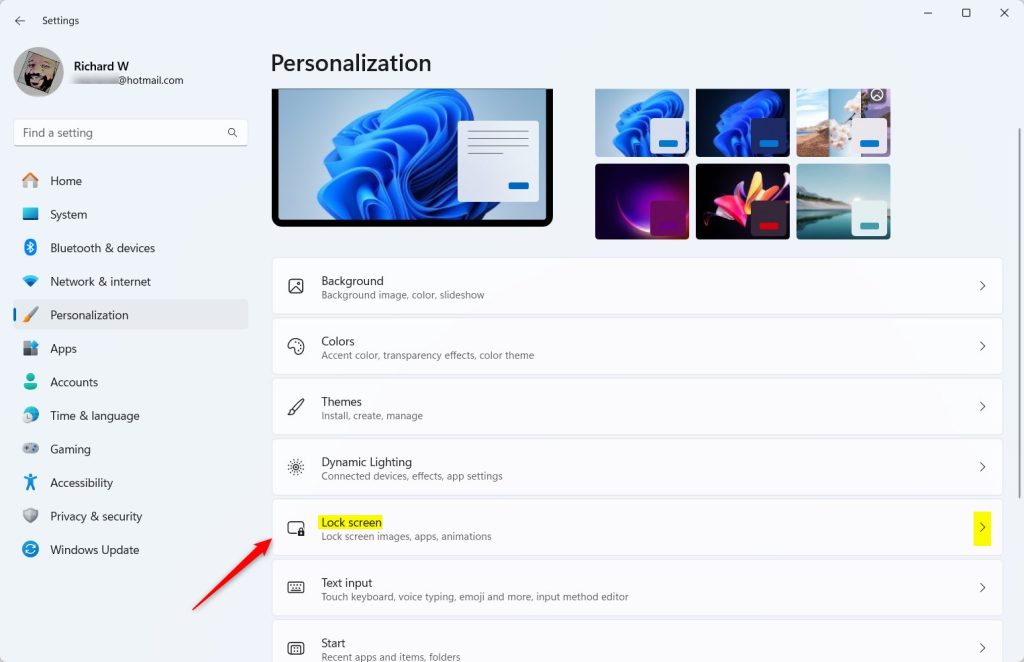
- Click on Personalization from the left menu.
- Select Lock screen on the right.
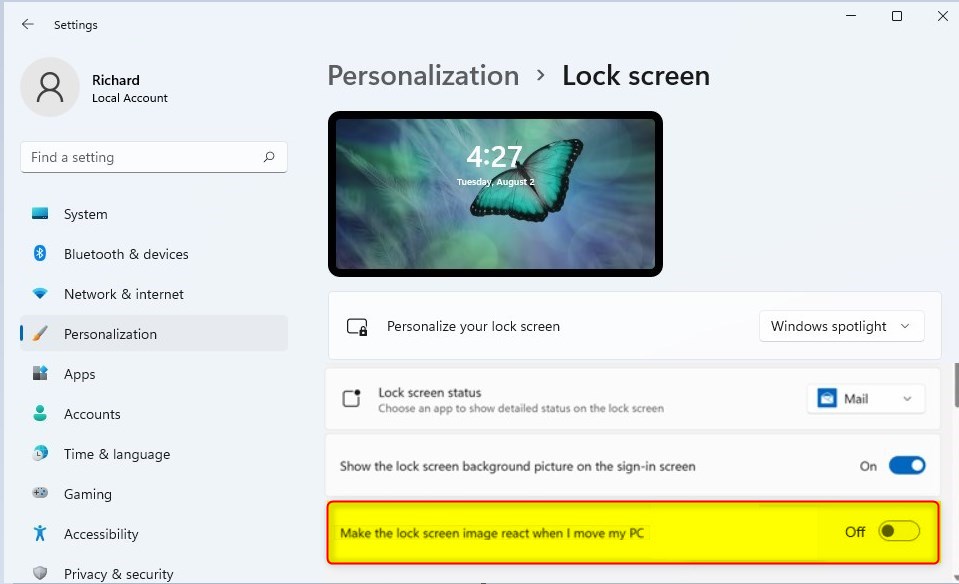
- Find the option called Make the lock screen image react when I move my PC and toggle it On or Off depending on what you want.
- Close Settings when done.
You can easily turn the Windows 11 lock screen motion on or off for just your user account using the Settings app.
Option 2Turn On or Off Lock Screen Motion for All Users Using Group Policy Editor
If you’re an administrator on Windows 11 Pro, Enterprise, or Education, you can use the Group Policy Editor to turn the lock screen motion on or off for all users on the computer.
- Press ⊞ Win+R, type
gpedit.msc, and press Enter to open the Local Group Policy Editor. - In the left panel, go to:
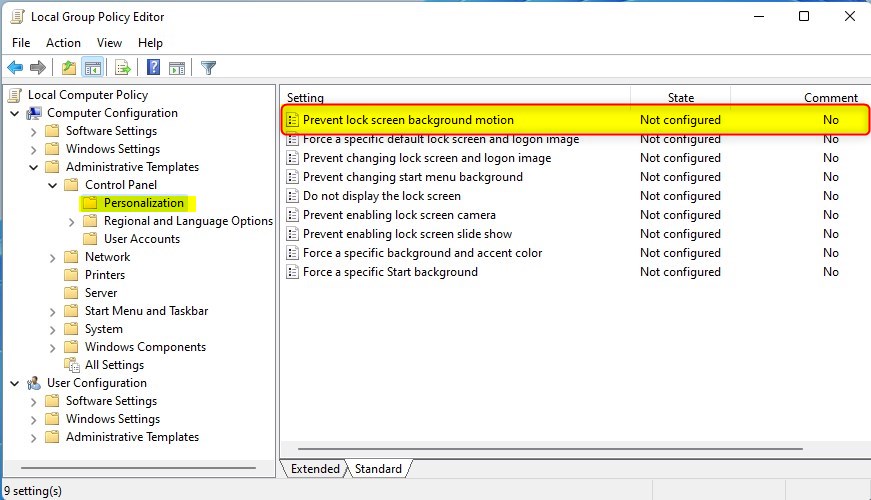
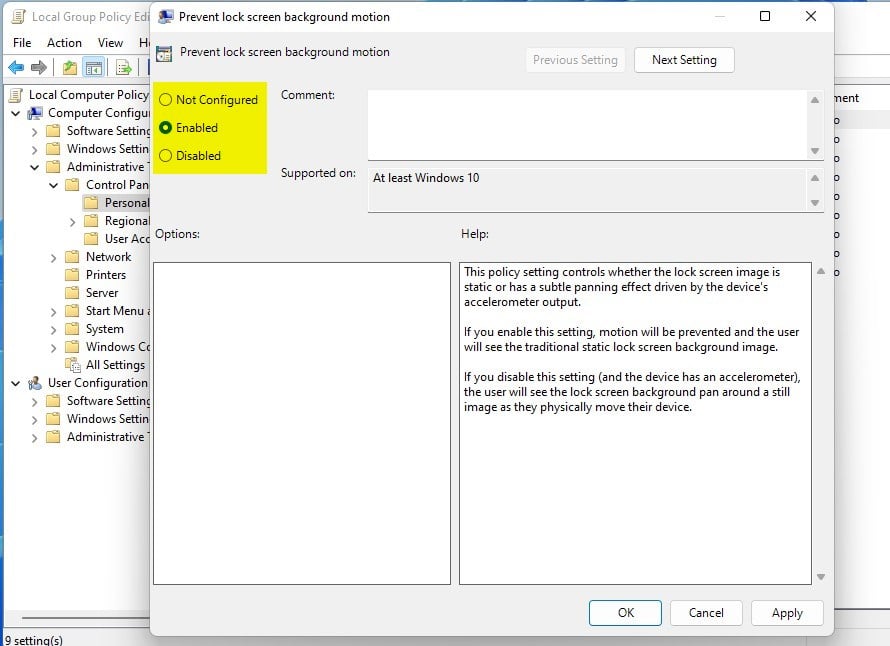
Computer Configuration > Administrative Templates > Control Panel > Personalization - In the right panel, double-click
Prevent lock screen background motion. - To enable motion for all users: select Not Configured or Disabled, then click OK.
- To disable motion for all users: select Enabled, then click OK.
- Close the Local Group Policy Editor.
Option 3Turn On or Off Lock Screen Motion for All Users Using the Registry Editor
For advanced users, the Registry Editor allows you to turn the Windows 11 lock screen motion on or off for all users, but be very careful as mistakes can cause issues.
To let motion happen for all users:
reg delete "HKEY_LOCAL_MACHINE\SOFTWARE\Policies\Microsoft\Windows\Personalization" /v AnimateLockScreenBackground /fTo stop motion for all users:
reg add "HKEY_LOCAL_MACHINE\SOFTWARE\Policies\Microsoft\Windows\Personalization" /v AnimateLockScreenBackground /t REG_DWORD /d 1 /fTo apply these changes, you can save the text as a .reg file and double-click it to merge it into your registry. Alternatively, you can open the Registry Editor (a system tool), navigate to the correct location, and change the values yourself.
Summary
The Windows 11 lock screen motion feature makes your background image move slightly as you move your device, but you can turn it off if you prefer a still picture.- The lock screen shows when you start or lock your PC.
- If your device has an accelerometer, the lock screen background can move slightly as you move your device.
- You can turn off this moving background if you prefer a still image.
- Use the Settings app to change this for just your user account.
- Administrators can use the Group Policy Editor to control this for all users.
- Advanced users can edit the Windows Registry to enable or disable this feature.
- Some options require administrator rights.
- Choose the method that works best for you to customize how your lock screen looks in Windows 11!
How to Lock screen from moving on 🪟 Windows 11?
Click ‘Edit’. The setting is currently ‘Not Configured’, so click ‘Enabled’. Then click ‘Apply’, followed by ‘OK’. Now the setting is enabled. You can close the Group Policy Editor (a tool for administrators).
How to set dynamic Lock screen in 🪟 Windows 11?
If your device isn’t connected, you’ll receive a notification. You can easily pair your phone by going to ‘ Bluetooth & devices’ in the left-hand menu, and then clicking ‘Add device’.
Was this guide helpful?

About the Author
Richard
Tech Writer, IT Professional
Richard, a writer for Geek Rewind, is a tech enthusiast who loves breaking down complex IT topics into simple, easy-to-understand ideas. With years of hands-on experience in system administration and enterprise IT operations, he’s developed a knack for offering practical tips and solutions. Richard aims to make technology more accessible and actionable. He's deeply committed to the Geek Rewind community, always ready to answer questions and engage in discussions.
No comments yet — be the first to share your thoughts!