Setting Up NFS Server on Ubuntu 24.04

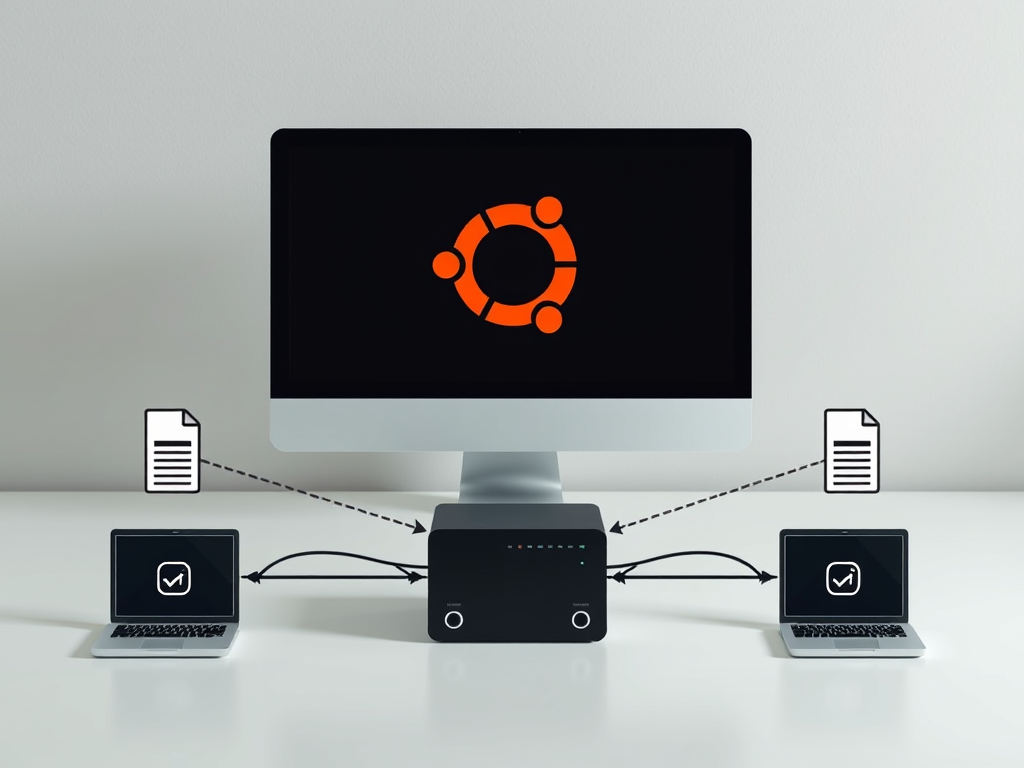
Network File System (NFS) lets you share folders between computers on your local network on Ubuntu 24.04 without needing a USB drive. This tool acts like a digital bridge so directories on your Linux machine appear directly on other PCs as if they live right there.
Getting this file sharing working requires installing the nfs-kernel-server package and choosing which folders you want to make available to other devices.
Install the `nfs-kernel-server` package using `sudo apt install nfs-kernel-server`. Then, export your desired directory by editing `/etc/exports` and restart the service with `sudo systemctl restart nfs-server`.
Install NFS Server
To set up an NFS server Ubuntu 24.04 system for sharing files across your local network, you must install the nfs-kernel-server package. Open your terminal and run the commands sudo apt update and sudo apt install nfs-kernel-server to download and set up the required software on your machine.
Run the command below to install the [nfs-kernel-server] package.
sudo apt update
sudo apt install nfs-kernel-server
sudo nano /etc/idmapd.conf
Uncomment and change the highlighted line to match your domain name.
[General]

Verbosity = 0
# set your own domain here, if it differs from FQDN minus hostname
 Domain = example.com

[Mapping]

Nobody-User = nobody
Nobody-Group = nogroup
Save and exit the file.
Export NFS Share
An NFS share Ubuntu 24.04 configuration makes a specific folder on your server available to other computers on your network. You define these shared directories and set access rules by editing the exports file using the terminal command sudo nano /etc/exports.
For this tutorial, we will be exporting a folder in our home directory [/home/nfsshare].
To do that, run the command below to open the NFS exports config file.
sudo nano /etc/exports
Then, add a line to export the directory mentioned.
# /etc/exports: the access control list for filesystems which may be exported
# Example for NFSv4:
# /srv/nfs4        gss/krb5i(rw,sync,fsid=0,crossmnt,no_subtree_check)
# /srv/nfs4/homes  gss/krb5i(rw,sync,no_subtree_check)
#
#
/home/nfsshare 192.168.156.0/24(rw,no_root_squash)
Additional options one can use with NFS exports.
| Option | Description |
| no_root_squash | It will enable only read requests on a NFS volume. |
| rw | It allows both read and write requests on a NFS volume. |
| ro | It will enable only read requests on an NFS volume. |
| sync | It replies to requests only after the changes have been committed to stable storage. (Default) |
| root_squash | It maps requests from uid/gid 0 to the anonymous uid/gid. |
| async | This option allows the NFS server to violate the NFS protocol and reply to requests before any changes made by that request have been committed to stable storage. |
| secure | This option requires that requests originate on an Internet port less than IPPORT_RESERVED (1024). (Default) |
| insecure | This option accepts all ports. |
sudo  mkdir /home/nfsshare
sudo systemctl restart nfs-server
Setup NFS Client
Setting up an NFS client Ubuntu 24.04 system allows your computer to connect to a remote file server over the network. You need to install the nfs-common package by running sudo apt install nfs-common in your terminal before you can access any shared folders.
If you haven't done so, run the command below to install the NFS server client packages on the client computer.
sudo apt install nfs-common
After installation, please open the configuration file below and add your domain name.
sudo nano /etc/idmapd.conf
Uncomment and change the highlighted line to match your domain name.
[General]

Verbosity = 0
# set your own domain here, if it differs from FQDN minus hostname
 Domain = example.com

[Mapping]

Nobody-User = nobody
Nobody-Group = nogroup
Save and exit the file.
Mount NFS share on client
Mounting an NFS share Ubuntu 24.04 file system lets your client computer access remote files by connecting the network folder to a local directory. Run the sudo mount command with your server address and share path to complete the connection immediately.
sudo mount -t nfs srv1.example.com:/home/nfsshare /mnt
To view your file system, run the command below.
df -hT
You should see output similar to the one below.
Filesystem                      Type   Size  Used Avail Use% Mounted on
tmpfs                           tmpfs  336M  2.1M  334M   1% /run
/dev/sda2                       ext4    49G  9.5G   37G  21% /
tmpfs                           tmpfs  1.7G     0  1.7G   0% /dev/shm
tmpfs                           tmpfs  5.0M  8.0K  5.0M   1% /run/lock
srv1.example.com:/home/nfsshare nfs4    40G  9.8G   28G  27% /mnt
If you want to mount the NFS share automatically every time, open the /etc/fstab file.
sudo nano /etc/fstab
Add a new line at the end of the file.
# /etc/fstab: static file system information.
#
# <file system> <mount point>   <type>  <options>       <dump>  <pass>
# / was on /dev/sda2 during curtin installation
/dev/disk/by-uuid/3fe5d1b3-fd02-4c71-80df-eaf44cbec7d5 / ext4 defaults 0 1
/swap.img       none    swap    sw      0       0

srv1.example.com:/home/nfsshare /mnt               nfs    defaults     0 0
Save and exit.
Mount with AutoFS
Mounting network storage with AutoFS Ubuntu 24.04 tools automatically connects your NFS shares whenever you try to open them. Install the autofs package using your terminal and configure the master file to manage your network mounts in the background without manual intervention.
Run the command below to install the tool.
sudo apt install autofs
Once installed, open its master file.
sudo nano /etc/auto.master
Then, add a new line at the end of the file.
/- /etc/auto.mount
Save and exit.
Next, open the [auto.mount] config file.
sudo nano /etc/auto.mount
Then, add a new line to the file.
# [mount point]  [option]         [location]
/mnt           -fstype=nfs,rw     srv1.example.com:/home/nfsshare
Save and exit.
Restart AutoFS services.
sudo systemctl restart autofs
Verify the mount.
df -hT /mnt
You should see an output similar to the one below.
Filesystem                      Type  Size  Used Avail Use% Mounted on
srv1.example.com:/home/nfsshare nfs4   40G  9.8G   28G  27% /mnt
That should do it!
Conclusion:
In conclusion, setting up an NFS server on Ubuntu 24.04 enables efficient file sharing across a network. Following the outlined steps, you can successfully configure the server and client. Here are the key takeaways:
- NFS Overview: The network file system (NFS) allows files and directories to be shared over a network.
- Installation Steps: Use
sudo apt install nfs-kernel-serverto install the NFS server. - Configuration: Modify the
/etc/idmapd.conffile to set your domain name and manage user permissions effectively. - Exporting Shares: Edit the
/etc/exportsfile to export specific directories, controlling access with various options. - Client Setup: Install NFS client packages (
nfs-common) and configure the client to access the server shares. - Mounting NFS Shares: Use commands like
mountor modify/etc/fstabfor automatic mounting. - AutoFS Tool: For automatic mounts accessible to all users, install and configure AutoFS.
These steps ensure a secure and efficient NFS setup on your Ubuntu system.
Was this guide helpful?

About the Author
Richard
Tech Writer, IT Professional
Richard is a writer at Geek Rewind who turns complex IT tasks into clear, step-by-step guides. He draws on years of hands-on experience in system administration and enterprise IT operations, focusing on Windows, Linux and WordPress: the problems people actually run into, and the fixes that work. His server and WordPress guides come from systems he runs himself. Richard builds and maintains the platform behind Geek Rewind, from its Ubuntu servers and Nginx configuration to its custom WordPress plugins. Many new tutorials start with readers' questions, and he's always glad to answer them in the comments.

[…] How to install and export NFS share on Ubuntu […]