Setting Up Apache WebDAV on Ubuntu 24.04
Apache WebDAV lets you manage files on your Ubuntu 24.04 server using a web browser. It’s like having a shared drive you can access from anywhere.
WebDAV stands for Web-based Distributed Authoring and Versioning. It adds features to the standard web protocol (HTTP) that allow you to edit and organize files on a web server as if they were on your own computer. You can create, delete, and move files directly through your web server without needing separate tools like FTP.
This makes it super useful for teams working on projects or for accessing your files remotely. Setting it up on Ubuntu 24.04 involves installing specific Apache software packages.
Install the `apache2-utils` package, create a WebDAV directory, configure an Apache virtual host with `Alias` and `Location` directives, and create a user account using `htpasswd`. Finally, enable the WebDAV module, your site, and restart Apache.
Set up Apache WebDAV
The `apache2-utils` package provides the tools needed for Apache WebDAV. Installing the `apache2-utils` package is accomplished by opening your terminal and running the command `sudo apt install apache2-utils`. This command installs the package on your Ubuntu 24.04 system.
Note that this post assumes Apache is already installed on the Ubuntu machine. If not, read the post below to learn how to install Apache.
Install Apache on Ubuntu Linux.
Run the command below to install the Apache utility package.
The WebDAV directory requires creation, and its folder permissions must be adjusted so the Apache web server can interact with the `/srv/webdav` folder. This ensures Apache has the necessary access to read and write files within the WebDAV directory.
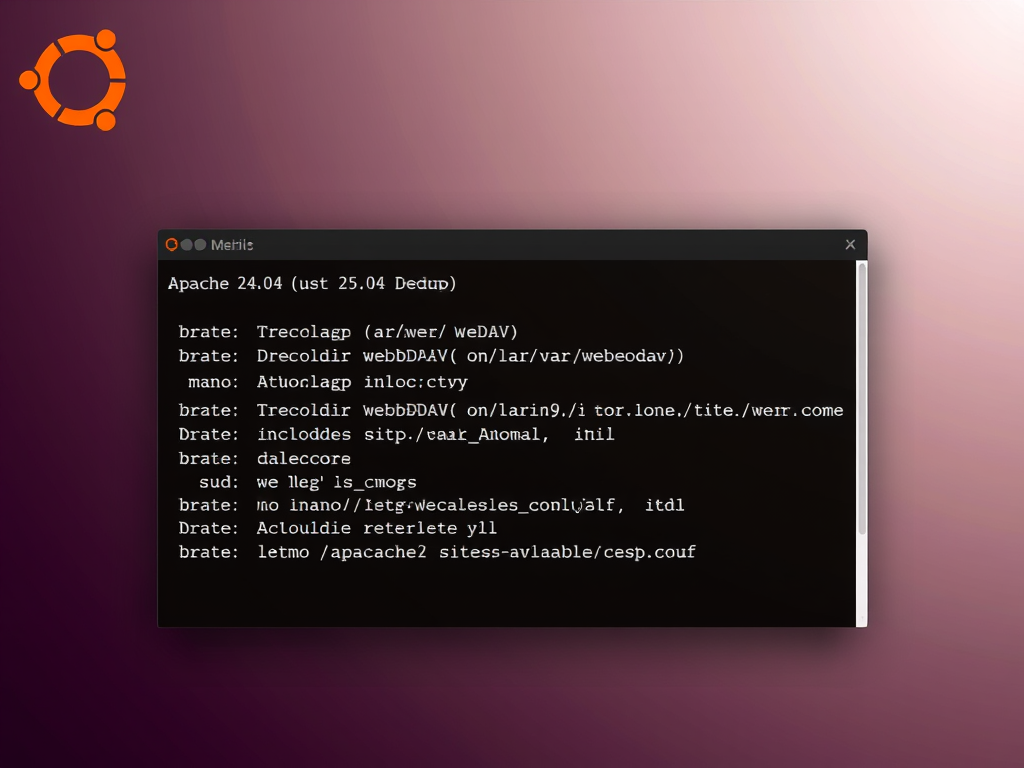
The `webdav.conf` file manages your WebDAV folder for Apache on Ubuntu 24.04. You will create the `webdav.conf` file within the `/etc/apache2/sites-available/` directory. This file holds the specific instructions that turn on WebDAV and tell Apache the location of your stored files.
sudo nano /etc/apache2/sites-available/webdav.conf
Then, copy the block below, paste it into the file, and save it.
Alias /webdav /var/www/webdav
<Location /webdav>
    DAV On
    SSLRequireSSL
    Options None
    AuthType Basic
    AuthName WebDAV
    AuthUserFile /etc/apache2/.htpasswd
    <RequireAny>
        Require method GET POST OPTIONS
        Require valid-user
    </RequireAny>
</Location>
Exit the file when you are finished.
Create user account
Apache’s basic authentication system creates a user account for WebDAV on Ubuntu 24.04. You can set up a username and password using the `htpasswd` command. The command `sudo htpasswd -Bc /etc/apache2/.htpasswd username` creates a new user. It securely stores these login details for WebDAV access.
For more on Apache’s basic authentication, read the post below.
Set up Apache basic authentication
Run the command below to create a basic user account.
sudo htpasswd -Bc /etc/apache2/.htpasswd username
Replace the username with the account name you want to use.
When prompted to create a password, enter and confirm a new password for the account.
Next, you must enable the Apache WebDAV module, `mod_dav.so`, and the virtual host file named `dav.conf` that you created. Enabling these components allows Apache to handle WebDAV requests. After enabling them, restart Apache services to apply these changes.
sudo a2enmod dav*
sudo a2ensite webdav
sudo systemctl restart apache2
Connect to the WebDAV
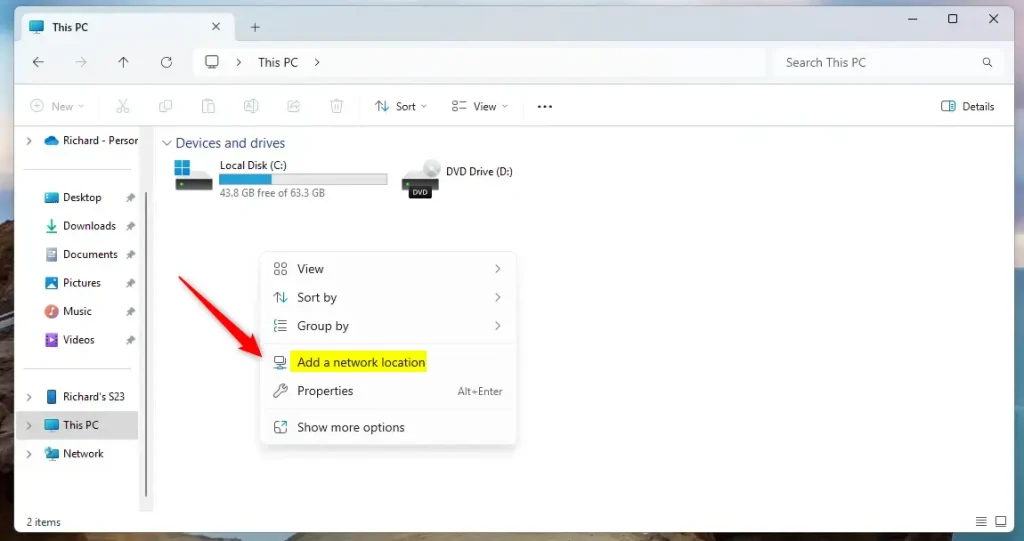
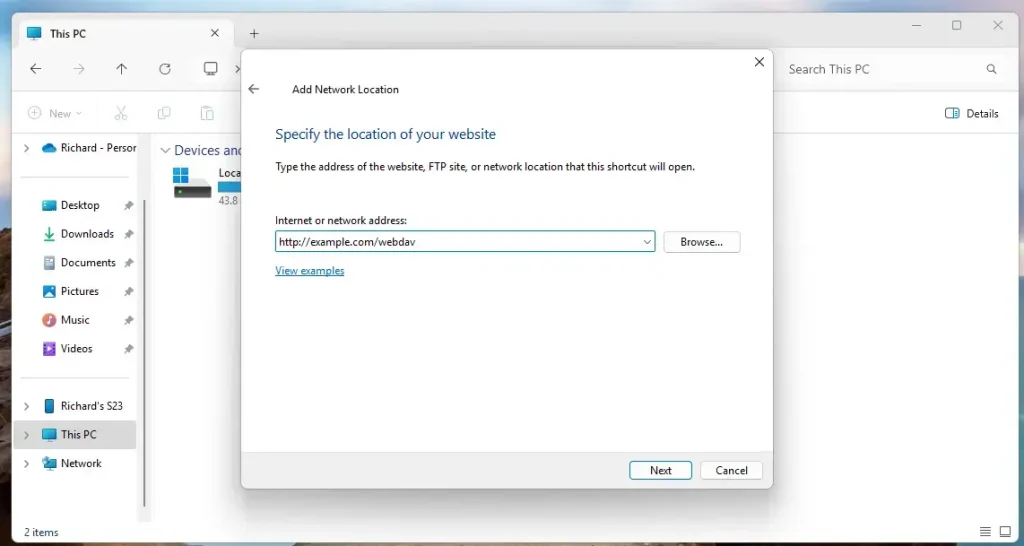
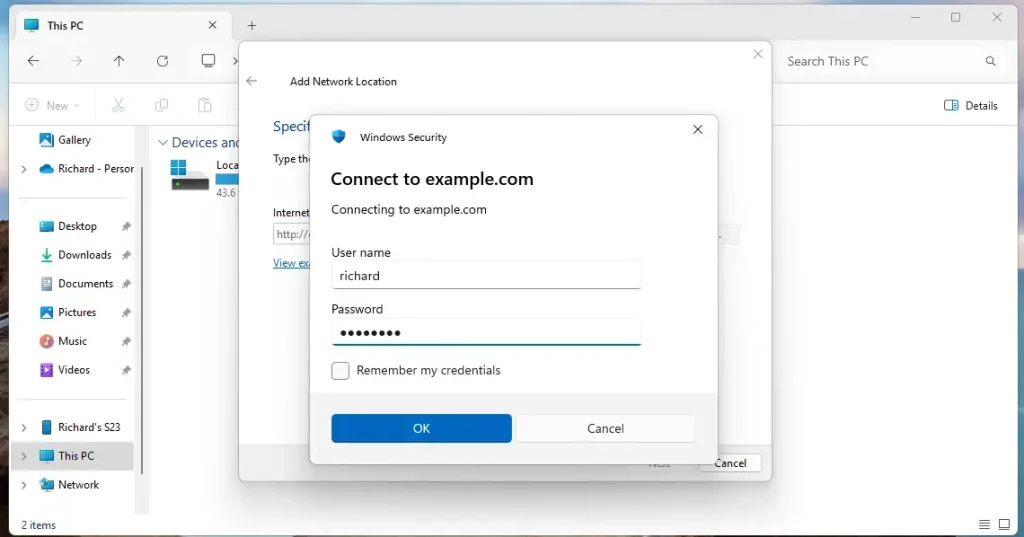
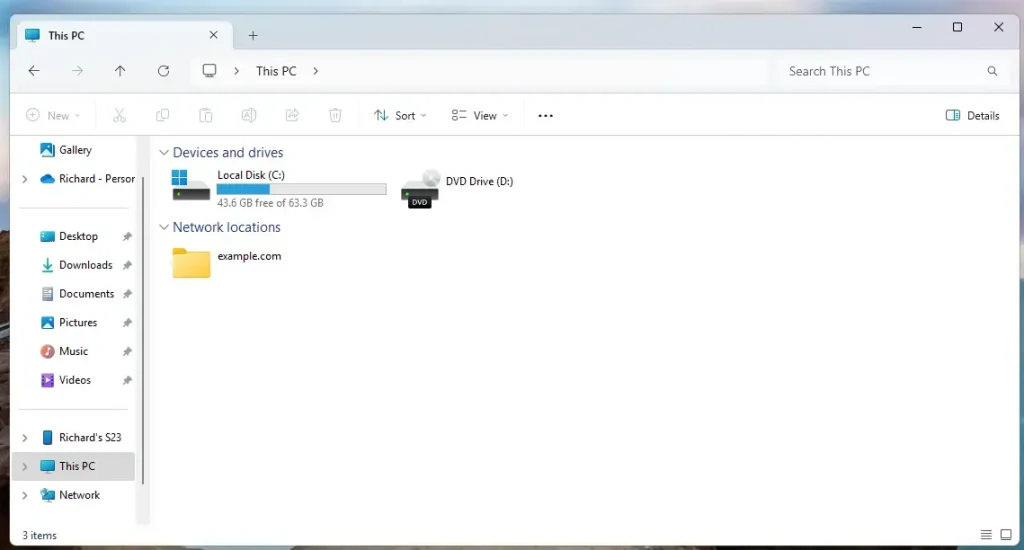
Connecting to your WebDAV server from Windows feels much like adding a network drive. Open File Explorer, right-click on ‘Home’, and select ‘Add a network location.’ You’ll then enter your WebDAV address, such as `http://example.com/webdav`, and provide the username and password you created.
Add a network location in Windows.
Right-click File Explorer home and select ‘Add a network location.’
Type in the WebDAV address.
http://example.com/webdav
When prompted, type in the account you created above.
Continue and complete the setup.
That should do it!
Conclusion:
So, to wrap things up, setting up Apache WebDAV on Ubuntu 24.04 gives you a really powerful way to manage files collaboratively. With WebDAV, you can efficiently manage files on a remote server without a separate FTP client. Here are the key takeaways:
- Easy File Management: WebDAV allows direct editing, creation, and deletion of files on the server.
- Authentication: Utilizing basic authentication enhances security with username and password protection.
- Cross-Platform Compatibility: While Windows requires SSL for WebDAV, workarounds are available.
- Scalability: The setup can be adapted for larger systems as needed by adjusting configurations and permissions.
- Community Resources: Numerous tutorials and guides exist for troubleshooting and expanding WebDAV capabilities.
This setup process allows you to collaborate on files much more effectively, boosting your productivity by providing a shared space for document management.
What replaced WebDAV?
If you’re looking for alternatives to WebDAV, secure options like FTPS and SFTP (SSH File Transfer Protocol) are commonly used for transferring files securely.
Was this guide helpful?

About the Author
Richard
Tech Writer, IT Professional
Richard, a writer for Geek Rewind, is a tech enthusiast who loves breaking down complex IT topics into simple, easy-to-understand ideas. With years of hands-on experience in system administration and enterprise IT operations, he’s developed a knack for offering practical tips and solutions. Richard aims to make technology more accessible and actionable. He's deeply committed to the Geek Rewind community, always ready to answer questions and engage in discussions.

No comments yet — be the first to share your thoughts!