How to Set Up Apache Basic Authentication in Ubuntu 24.04

Apache Basic Authentication in Ubuntu 24.04 requires a username and password to access your web server’s content.
This security feature is perfect for protecting parts of your website, like private dashboards or development areas, from unwanted visitors.
You set this up by telling Apache to use a special file called `.htaccess` and a tool named `htpasswd` to manage who can log in. This usually happens within the `/etc/apache2/sites-available/` folder.
This method makes sure only people with the correct login details can see the protected pages.
Install Apache utilities with `sudo apt install apache2-utils`. Create a virtual host file in `/etc/apache2/sites-available/` to define the protected directory and authentication settings. Then, use `htpasswd -Bc /etc/apache2/.htpasswd username` to create user credentials.
Protect directories with Apache basic authentication
Apache basic authentication in Ubuntu 24.04 lets you add a username and password to protect specific folders on your website. This protection means only people with the correct login details can see files inside those folders. To begin this setup, run `sudo apt install apache2-utils` in your terminal to install the necessary tools.
sudo apt install apache2-utils
With the utilities installed, continue below to protect a directory with a username and password.
For this post, we’ll protect /var/www/html/sensitive-doc with a password. Anyone who wants to access this directory must type a username and password.
To do that, first, create an Apache virtual host file for this configuration. Run the command below to create a file called basic-auth.conf.
sudo nano /etc/apache2/sites-available/auth-basic.conf
Next, copy and paste the content below into the file and save it.
<Directory /var/www/html/sensitive-doc>
    AuthType Basic
    AuthName "Basic Authentication"
    AuthUserFile /etc/apache2/.htpasswd
    require valid-user
</Directory>
Create accounts
After setting up the configuration above, use the command below to create an account for logging into the directory.
sudo htpasswd -Bc /etc/apache2/.htpasswd username
Replace username with the username you’d like to use.
Create the protected directory
Creating the directory you want to protect is the first step for Apache basic authentication on Ubuntu 24.04. Make a folder, like ‘sensitive-doc’, inside ‘/var/www/html’ by using the command ‘sudo mkdir /var/www/html/sensitive-doc’. This command sets up the location Apache will manage.
Activating Apache virtual hosts makes the file you created active, allowing Apache to recognize your website’s settings. After activating the virtual host, reload Apache’s services to apply these changes. Run `sudo systemctl reload apache2.service` to reload Apache.
sudo a2ensite auth-basic.conf
sudo systemctl reload apache2
Next, run the command below and add a basic HTML ‘index.html‘ file.
sudo nano /var/www/html/sensitive-doc/index.html
Copy and paste the lines below into the file and save.
<html>
<title>My basic authentication HTML page</title>
<body>
<p style="width: 100%; font-weight: bold; font-size: 60px; text-align: center;">
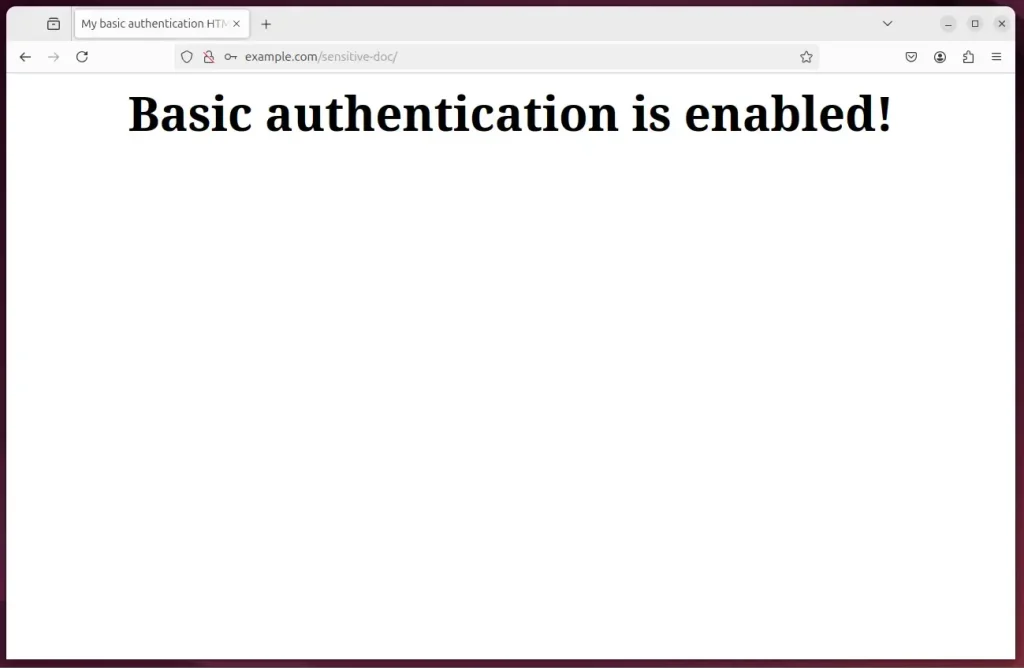
Basic authentication is enabled!
</p>
</body>
</html>
Save the file and exit.
Test Apache basic authentication
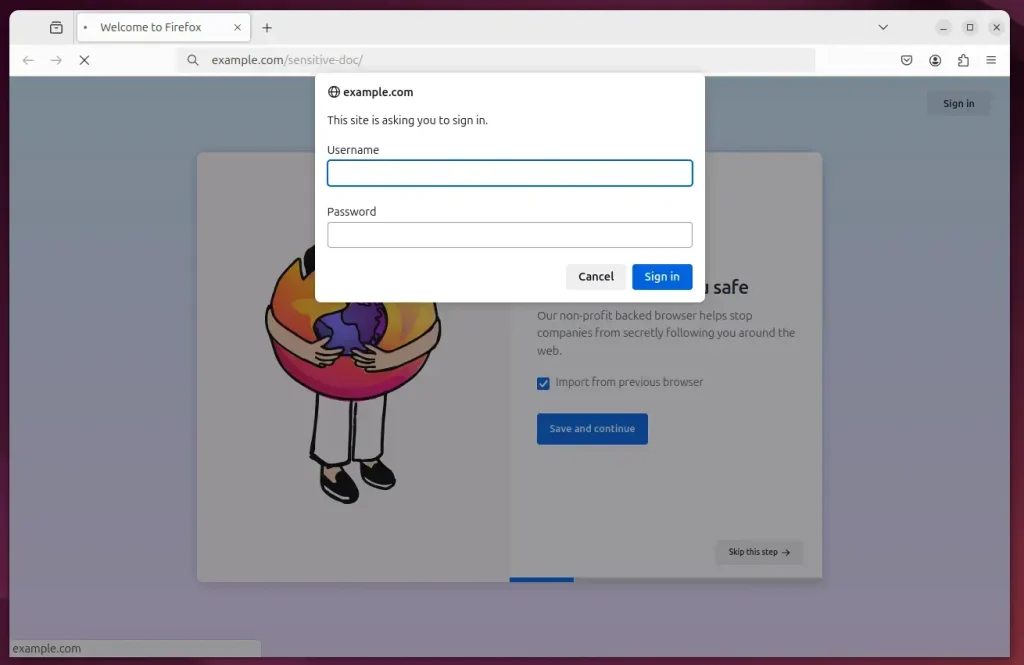
Testing your Apache basic authentication setup on Ubuntu 24.04 is a good way to verify its functionality. Open your web browser and visit the protected directory’s web address, such as http://example.com/sensitive-doc/. A pop-up box asking for a username and password should appear, showing that your setup is working correctly.
http://example.com/sensitive-doc/
A prompt will appear to enter a username and password.
That should do it!
Conclusion:
Setting up Apache Basic Authentication on Ubuntu 24.04 is an effective way to secure sensitive directories. Following the steps above takes significant measures to protect your web resources. Here’s a quick summary of what you’ve accomplished:
- Enhanced Security: Basic Authentication adds a layer of protection by requiring users to authenticate with a username and password.
- SSL/TLS Implementation: Remember to set up SSL/TLS to encrypt the data exchanged, ensuring that credentials are not sent in plain text.
- Directory Protection: You can easily protect any directory by creating a virtual host configuration and an account for access.
- Test Access: Verify your setup by accessing the protected directory and ensuring the authentication prompts function as intended.
- Ongoing Management: Maintain your credentials and manage user access as needed for optimal security.
With these measures, you can confidently secure your web applications and sensitive data.
Was this guide helpful?

About the Author
Richard
Tech Writer, IT Professional
Richard, a writer for Geek Rewind, is a tech enthusiast who loves breaking down complex IT topics into simple, easy-to-understand ideas. With years of hands-on experience in system administration and enterprise IT operations, he’s developed a knack for offering practical tips and solutions. Richard aims to make technology more accessible and actionable. He's deeply committed to the Geek Rewind community, always ready to answer questions and engage in discussions.


[…] Apache Basic Authentication is a method used to restrict access to web resources on an Apache server by requiring users to provide a username and password. […]