How to Check Active Power Plans in Windows 11
You can check your active power plan in Windows 11 by looking at the Power Options within the Control Panel or Settings app.
A power plan is a set of hardware and system settings designed to manage how your computer uses energy. These plans directly influence your PC’s performance and battery life.
Windows 11 typically offers plans like “Balanced,” “Power saver,” and “High performance.” For example, the “Balanced” plan is the default for most users, aiming for a good mix of performance and energy saving.
Knowing which plan you’re currently using helps you troubleshoot performance issues or optimize battery longevity.
Open Control Panel, go to Hardware and Sound, then Power Options. The active power plan is indicated by a dot or asterisk next to its name. You can also use the command line by typing powercfg -getactivescheme in an administrator terminal.
Understanding Power Modes vs. Power Plans
Windows 11 uses two systems, Power Modes and Power Plans, to manage your computer's energy use. Power Modes, like "Balanced" or "Best power efficiency," offer quick settings for general power saving. Power Plans, which include detailed settings such as processor power management, provide more granular control over how your device consumes electricity.
How to Check Your Power Plan via Control Panel
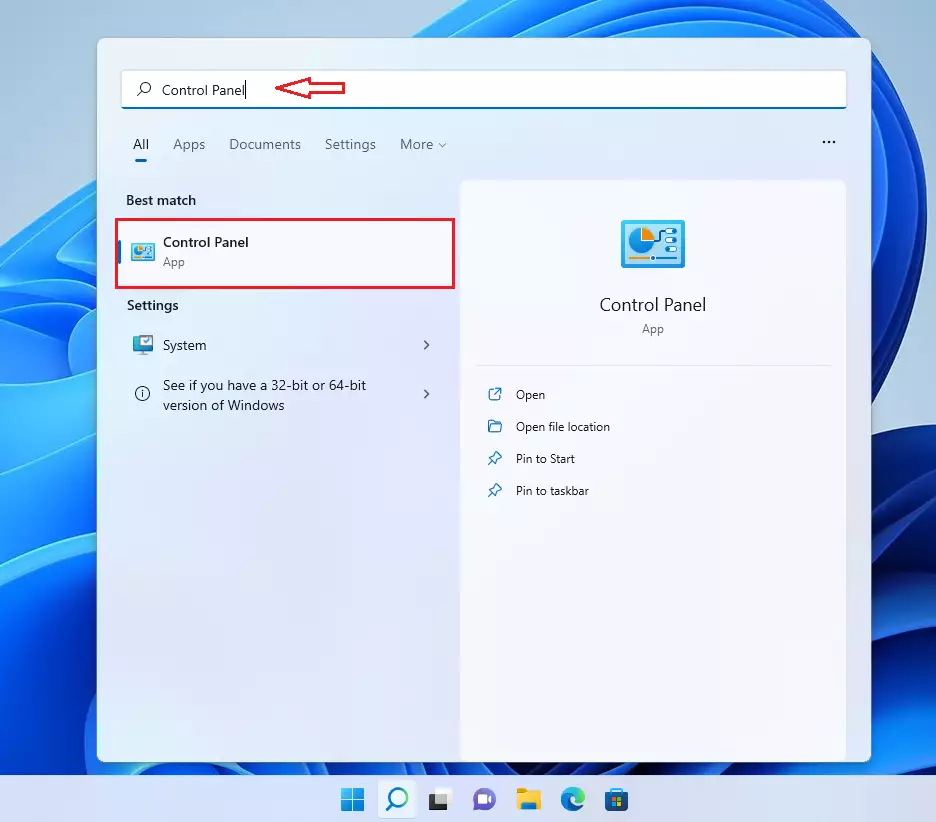
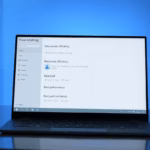
You can easily check your current power plan in Windows 11 by opening the Control Panel. This tool lets you see which power setting is active on your computer, helping you manage battery life or performance. Just type ‘Control Panel’ into the Start menu search bar and click on the result to open it.
1. Click the Start button and type Control Panel. Select the app from the results.
control.exe /name Microsoft.PowerOptions in the Run dialog.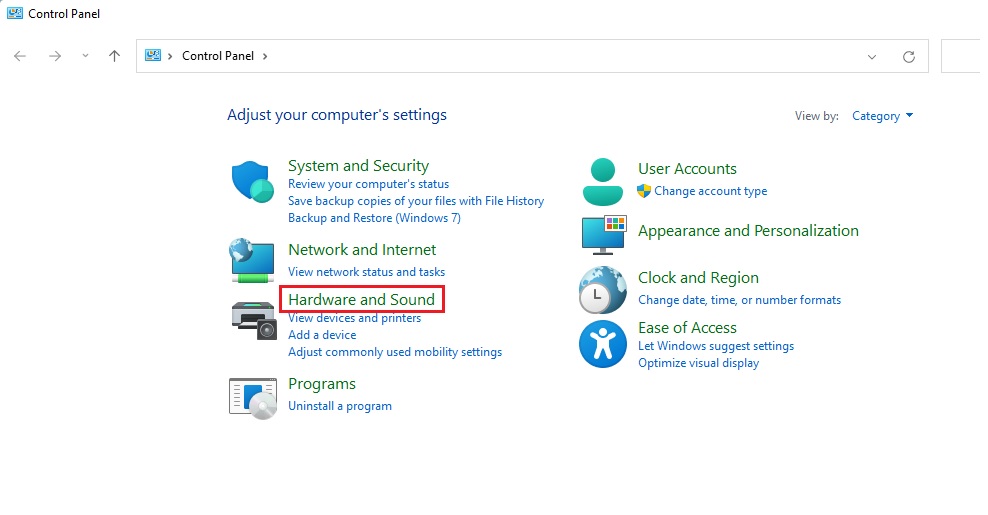
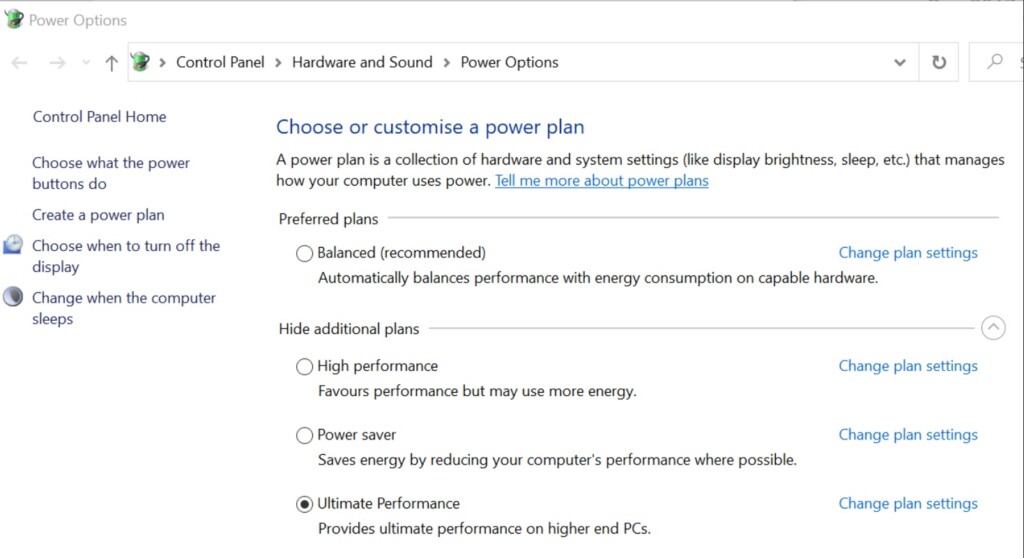
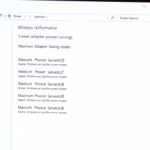
The Power Options window displays a list of available power plans. You will see a dot or asterisk next to the active plan, showing which plan is currently in use.
Using the Command Line to Check Power Plans
Checking your active power plan in Windows 11 using the command line is a quick way to see all your power options. You can use a simple command to find out exactly which power plan is currently running. This method is helpful if you prefer using text commands or need to quickly check your system’s settings.
- Right-click the Start button and select Terminal (Admin) or Command Prompt (Admin).
- Type the following command and press Enter:
powercfg -getactivescheme
3. The list will show all available power schemes on your system. The one with an asterisk is your active plan.
Summary
Checking your power plan in Windows 11 helps you manage your computer’s energy use for either better performance or longer battery life.
Why does 🪟 Windows 11 only show the Balanced power plan?
Why does 🪟 Windows 11 only show the Balanced power plan?
Many modern Windows 11 computers use Modern Standby (S0). This feature is designed to keep your device connected and ready. Because of this, Microsoft hides legacy power plans like High Performance or Power Saver by default to prevent conflicts with the system’s power management features.
How do I restore missing power plans in 🪟 Windows 11?
You can restore missing power plans, like the High Performance option, in Windows 11 using the Command Prompt. If you find that a specific power plan isn’t showing up in your settings, a simple command can add it back. This is useful if you want to easily switch between different performance modes for your computer.How do I restore missing power plans in 🪟 Windows 11?
If you need a specific plan like High Performance, you can restore it using the command prompt. Run the terminal as an administrator and type: powercfg -duplicatescheme 8c5e7fda-e8bf-4a96-9a85-a6e23a8c635c. This command adds the High Performance plan back to your list of available options in the Control Panel.


No comments yet — be the first to share your thoughts!