How to Uninstall Windows Mixed Reality on Windows 11
Windows Mixed Reality Windows Mixed Reality lets you use your computer in a 3D space. While it is a cool feature, you might want to remove it.
Open Settings, go to Mixed Reality, click Uninstall, then click Next and Restart now. This removes the core platform and your personalized settings.
Why remove Windows Mixed Reality?
Uninstall Windows Mixed Reality if it’s causing computer problems, slowing down your PC, or if you need more storage space.
What happens when done?
After you uninstall Windows Mixed Reality, your personal settings like your Cliff House (the virtual home environment) and calibration data will be gone, but downloaded games stay.
Standard Uninstall via Settings
You can uninstall Windows Mixed Reality through the Windows Settings app. Go to the Mixed Reality section in Settings to begin the removal process. This is the quickest way to remove the software if it’s causing issues or you no longer need it.
- Open the Windows Settings app. You can do this by clicking the Start button and selecting the Settings icon, or by pressing the Windows key + I on your keyboard.
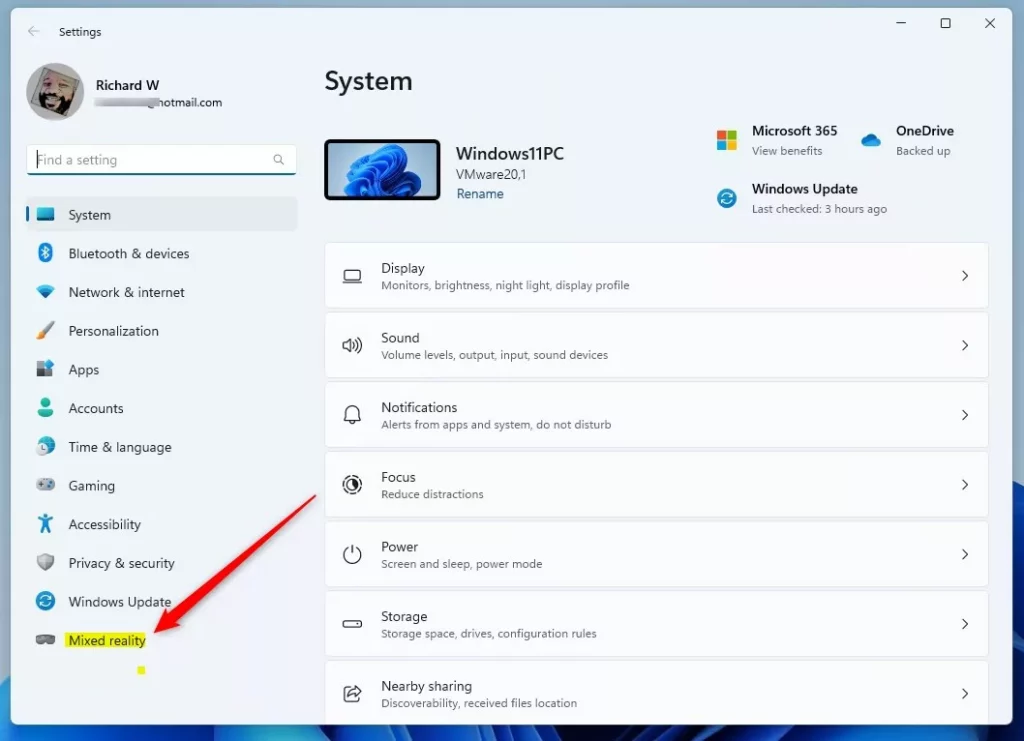
- Once the Settings window is open, click on the Mixed reality button located in the menu on the left side of your screen.
- On the right side of the screen, look for the Uninstall tile and click it to expand the options.
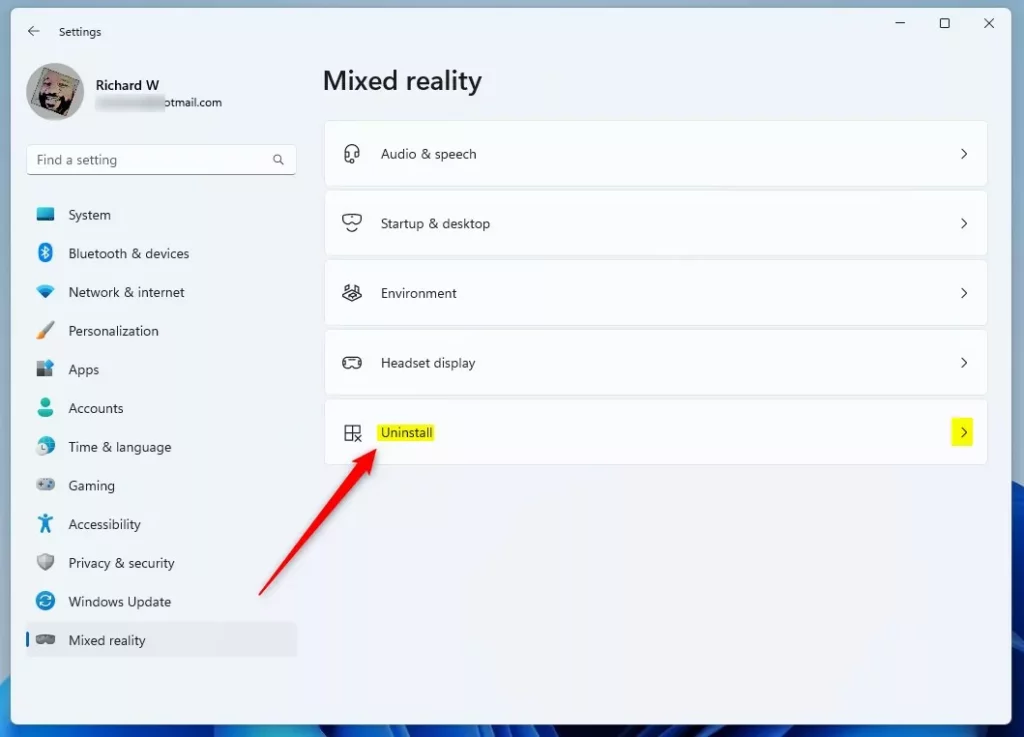
- Click the Uninstall button to begin the removal process.

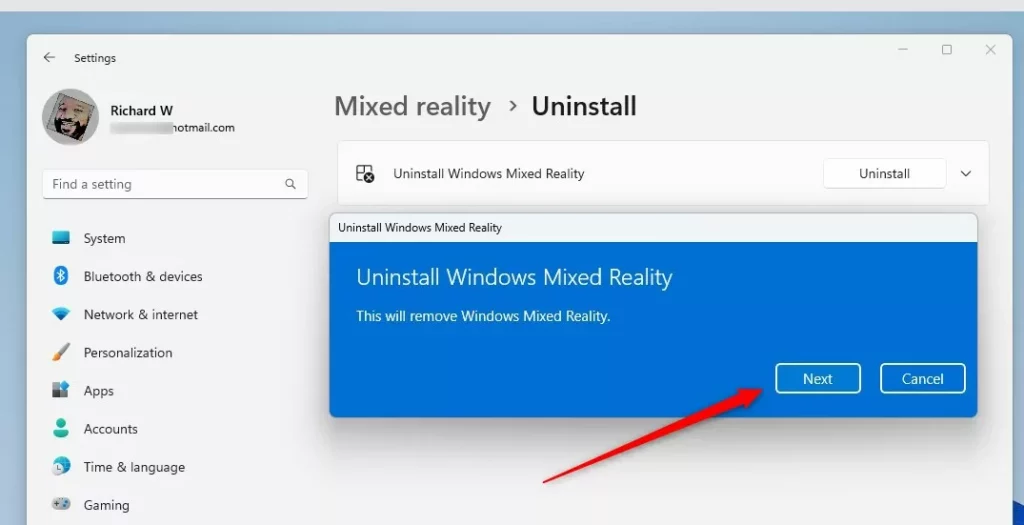
- When a prompt appears, click the Next button to confirm your choice.
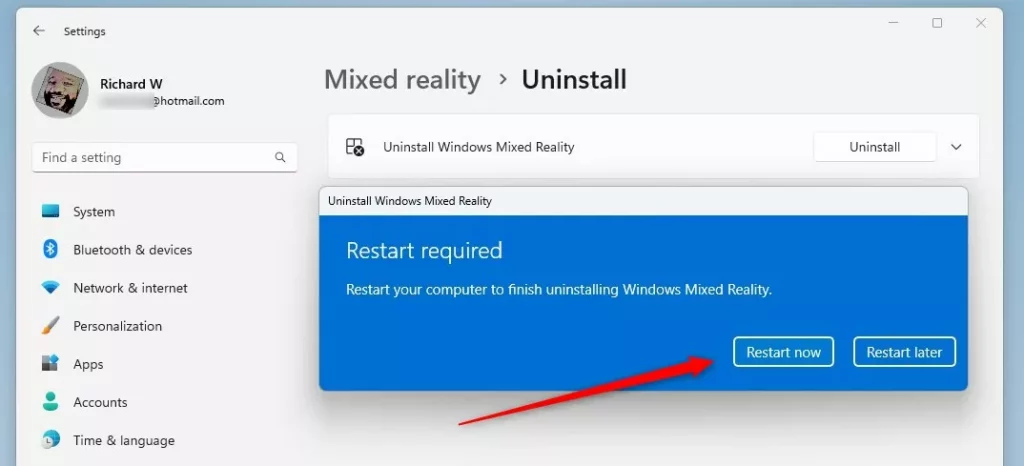
- Finally, click the Restart now button. This will finish removing the feature from your computer.
Advanced Removal via PowerShell
If the standard Settings method doesn’t work, you can use PowerShell to uninstall Windows Mixed Reality. This advanced method helps remove any remaining system parts of the software. It’s a powerful tool for cleaning up your system when standard uninstalls don’t work.
- Right-click the Start button and select Terminal (Admin) or PowerShell (Admin).
- Type the following command to list installed WMR packages:
Get-AppxPackage *MixedReality* - To remove the core portal, run:
Get-AppxPackage *Microsoft.MixedReality.Portal* | Remove-AppxPackage
Registry Cleanup
For a complete uninstall of Windows Mixed Reality, clean up leftover files in the Windows Registry Editor. Remember to back up the Registry Editor first.
Deleting the Windows Mixed Reality folder ensures a clean slate if you plan to reinstall the Windows Mixed Reality software later. This action removes all previously saved settings and data, preventing potential conflicts with a new installation.
Troubleshooting Uninstallation Errors
If you encounter errors, ensure your VR headset drivers are disconnected. Windows 10 v1709 or newer builds sometimes keep WMR services active. Visit the official Microsoft support documentation for further guidance on specific error codes.
Summary
Uninstalling Windows Mixed Reality helps keep your computer organized by removing the software, freeing up space, and fixing issues.
Can I reinstall Windows Mixed Reality after uninstalling it?
Yes, you can reinstall it. Open the Settings app, navigate to the Mixed Reality section, and follow the setup prompts to download the necessary components again. This is often recommended if you are troubleshooting persistent software bugs or performance issues with your VR hardware.
Does uninstalling Windows Mixed Reality delete my VR game save files?
No, uninstalling the Mixed Reality platform does not delete your VR game save files. These are typically stored in your user documents folder or within the specific game application’s data folder. However, it is always a good practice to back up your save files before removing major system software.
Why does Windows Mixed Reality keep reinstalling itself?
Windows may attempt to reinstall WMR if it detects connected VR hardware or if a system update triggers a feature restoration. To prevent this, ensure your headset is unplugged and disable the ‘Mixed Reality’ feature in the Windows Features menu if it appears as an optional component.
Was this guide helpful?

About the Author
Richard
Tech Writer, IT Professional
Richard, a writer for Geek Rewind, is a tech enthusiast who loves breaking down complex IT topics into simple, easy-to-understand ideas. With years of hands-on experience in system administration and enterprise IT operations, he’s developed a knack for offering practical tips and solutions. Richard aims to make technology more accessible and actionable. He's deeply committed to the Geek Rewind community, always ready to answer questions and engage in discussions.


No comments yet — be the first to share your thoughts!