How to Deactivate Windows 11 Activation Key
You deactivate your Windows 11 activation key by using specific commands in the Command Prompt.
Deactivating your Windows 11 activation key removes it from your current PC, allowing you to transfer your license to a new computer or sell your old one while retaining your license rights.
This process is crucial if you plan to reuse your Windows 11 product key, which could be a retail license purchased separately.
After deactivation, your Windows 11 installation will revert to an unactivated state, functioning without a license until a new key is applied.
This activation key removal method targets only your computer's local system, not Microsoft's central activation servers, preventing future unauthorized use on that specific device.
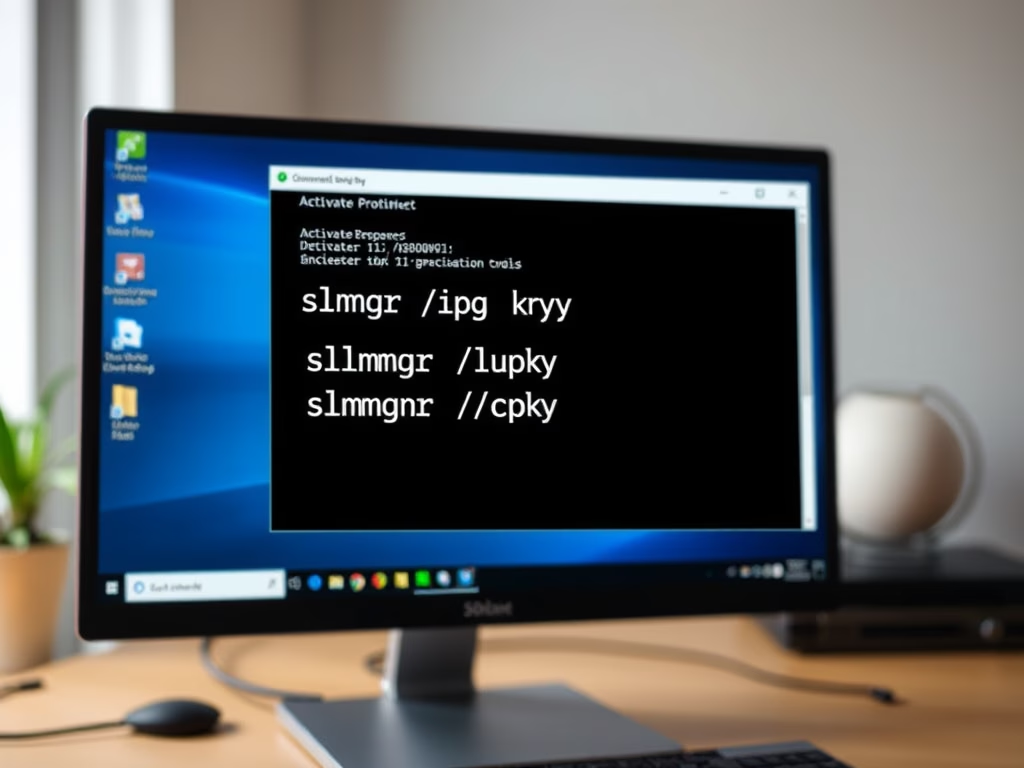
Open Command Prompt as administrator, then type slmgr /upk and press Enter to uninstall the product key. Next, type slmgr /cpky and press Enter to clear the key from the registry. Your Windows 11 will then be unactivated.
Summary
Deactivating your Windows 11 key is simple and only takes a couple of commands in the Command Prompt.
How do I disable the Windows key on 🪟 Windows 11?
To disable the Windows key, you need to use the Registry Editor. Navigate to 🗝️HKEY_LOCAL_MACHINE\SYSTEM\CurrentControlSet\Control\Keyboard Layout. Create a new 'Scancode Map' value and set its data to 00000000000000000300000000005B E000000000000053E0. Restart your PC.
Can Windows keys be deactivated?
Yes, Windows activation keys can be deactivated. This process removes the key from your current computer, freeing it up to be used on a new machine. It's useful if you're upgrading your hardware or selling your old PC.
What is this key VK7JG nphtm C97JM 9MPGT 3V66T?
The string 'VK7JG nphtm C97JM 9MPGT 3V66T' is a generic Windows 10/11 installation key. It's used to install Windows but does not activate it. You need a unique product key to activate your Windows copy.
How do I disable 🪟 Windows 11 permanently?
You cannot permanently disable Windows 11 itself. However, you can deactivate its activation key using the Command Prompt. This makes Windows unactivated, but the operating system will still run with some limitations.
Was this guide helpful?

About the Author
Richard
Tech Writer, IT Professional
Richard, a writer for Geek Rewind, is a tech enthusiast who loves breaking down complex IT topics into simple, easy-to-understand ideas. With years of hands-on experience in system administration and enterprise IT operations, he’s developed a knack for offering practical tips and solutions. Richard aims to make technology more accessible and actionable. He's deeply committed to the Geek Rewind community, always ready to answer questions and engage in discussions.


No comments yet — be the first to share your thoughts!