How to Manage Browsing Data in Microsoft Edge

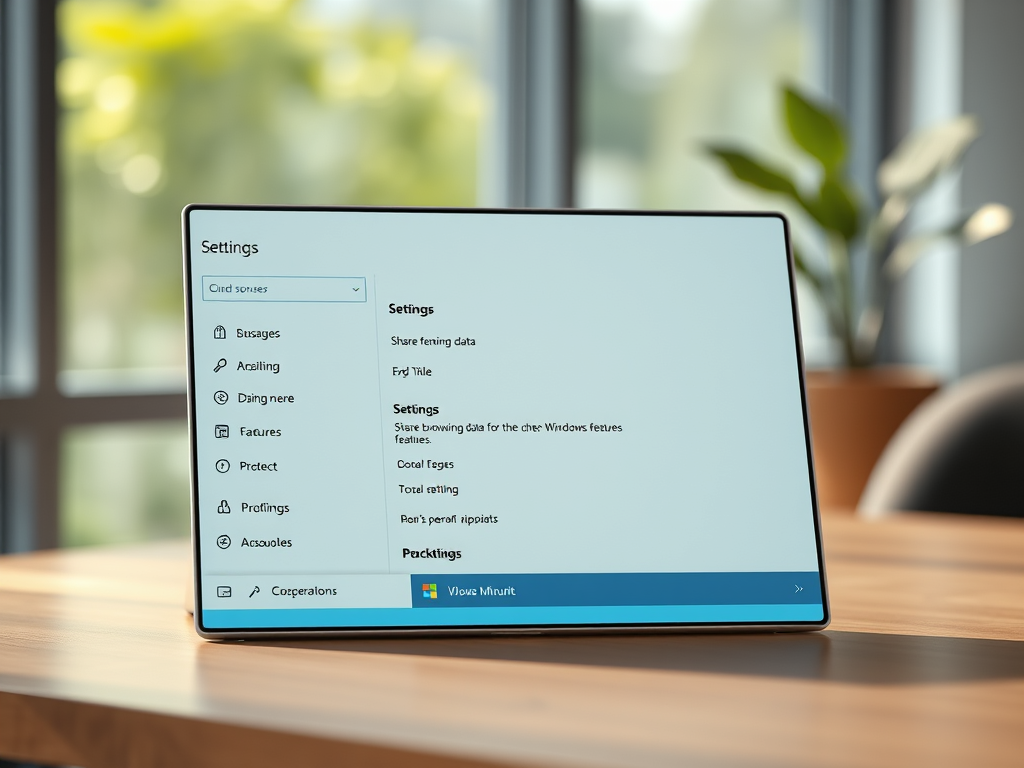
Managing browsing data in Microsoft Edge lets you control website history, open tabs, and saved favorites in the built-in web browser for Windows 10 and Windows 11. One setting decides whether Edge shares that data with other parts of Windows. Windows can use it to make search results and system suggestions more relevant to you.
Open Microsoft Edge, select the three dots at top right, then Settings. Choose Profiles from the left menu, find Share browsing data with other Windows features, and toggle it On or Off. The change saves immediately without restarting Windows.
The menu steps below are written for the current Edge on Windows 11. Edge updates often, so a label may differ slightly on an older build. If you can’t find the setting, check that Edge is up to date first.
To turn sharing on or off:
- Open Microsoft Edge.
- Select the three dots at the top right (Settings and more), then select Settings. A Settings page opens in a new tab, with a list of categories on the left.
- Select Profiles in the left-hand list. The page shows your profile and the sync and data options tied to it.
- Find Share browsing data with other Windows features and select it. If you can’t see it right away, scroll down the page.
- Switch the toggle On to share your browsing data, or Off to stop sharing it. The toggle changes colour straight away, and Edge saves the choice without a separate Save button.
You don’t need to restart Windows after changing this. To undo it, follow the same steps and flip the toggle back.
If the setting is greyed out or missing, your PC may be managed by an employer or school. In that case an administrator controls the option, and Edge usually shows a “Managed by your organization” message. An outdated Edge build can also lack the setting.
Summary
Sharing browsing data helps Windows give you better AI suggestions and faster search results . The trade-off is privacy. When the option is on, more of your history, open tabs, and favorites are available outside the browser. When it is off, that data stays in Edge.
If you share a PC or prefer to keep your browsing separate from the rest of the system, turn it off. If you like quick, personalised suggestions, leave it on. Either way, the whole decision takes one toggle in the Edge Profiles settings, so it’s easy to change later.
Have a question about this guide?
Answered by AI from this guide. Good questions may be added to this page — please don't include personal details.
Did this guide fix your problem?

About the Author
Richard
Tech Writer, IT Professional
Richard is a writer at Geek Rewind who turns complex IT tasks into clear, step-by-step guides. He draws on years of hands-on experience in system administration and enterprise IT operations, focusing on Windows, Linux and WordPress: the problems people actually run into, and the fixes that work. His server and WordPress guides come from systems he runs himself. Richard builds and maintains the platform behind Geek Rewind, from its Ubuntu servers and Nginx configuration to its custom WordPress plugins. Many new tutorials start with readers' questions, and he's always glad to answer them in the comments.
No comments yet — be the first to share your thoughts!