How to turn Change Adaptive Communication Sound Levels in Windows 11

Adaptive Communication Sound Levels in Windows 11 automatically lowers other app volumes when you use communication apps like Zoom or Discord.
This setting helps make your calls clearer by reducing background noise from music or games. You can find this feature under Sound settings and choose to turn it off if you prefer consistent audio across all programs.
Turning off this Windows 11 feature means other apps will not lower their volume when you are on a call. This ensures your audio playback remains at the same level regardless of your communication activity.
To disable adaptive communication sound levels in Windows 11, open Settings, navigate to System > Sound, and select “Do nothing” from the “Adaptive communication sound levels” dropdown. This prevents Windows from automatically lowering other audio when you’re on a call.
Option 1Using Windows Settings
You can disable adaptive communication sound levels in Windows 11 through the Settings app. This feature automatically adjusts your sound based on what you’re doing, but you can turn it off if you prefer manual control. It’s a simple way to manage your audio settings without needing complicated tools.
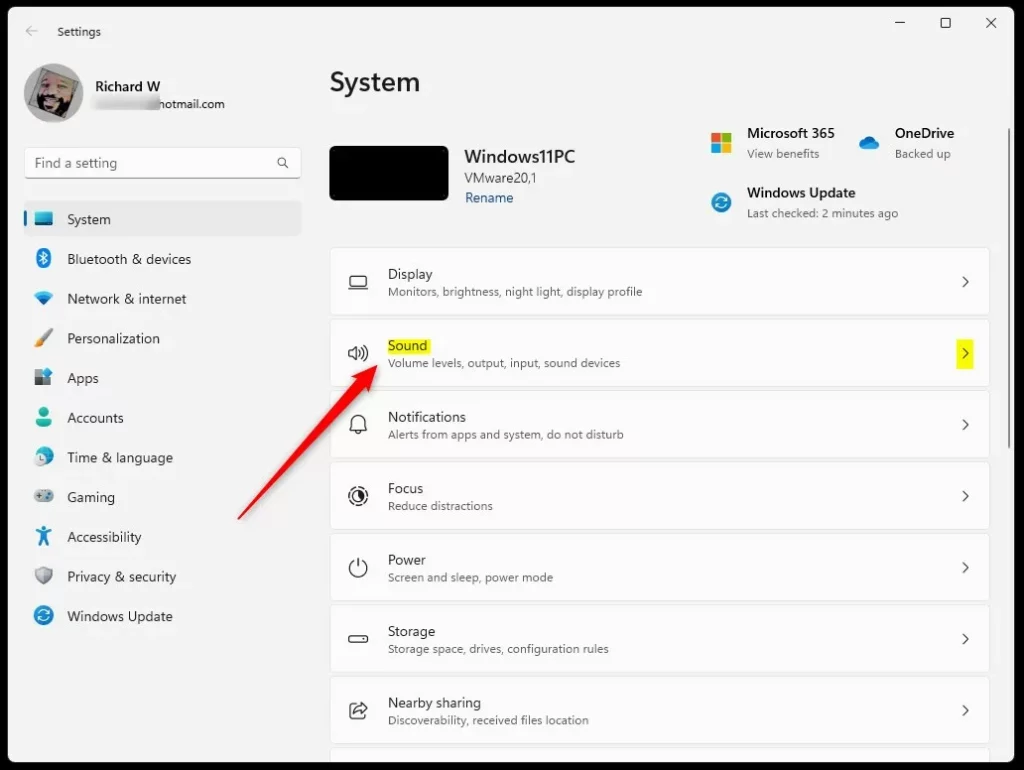
- Open Settings. You can do this by pressing the Windows key and the I key together on your keyboard.
- In Settings, click on System in the left-hand menu. Then, on the right side, click on Sound.
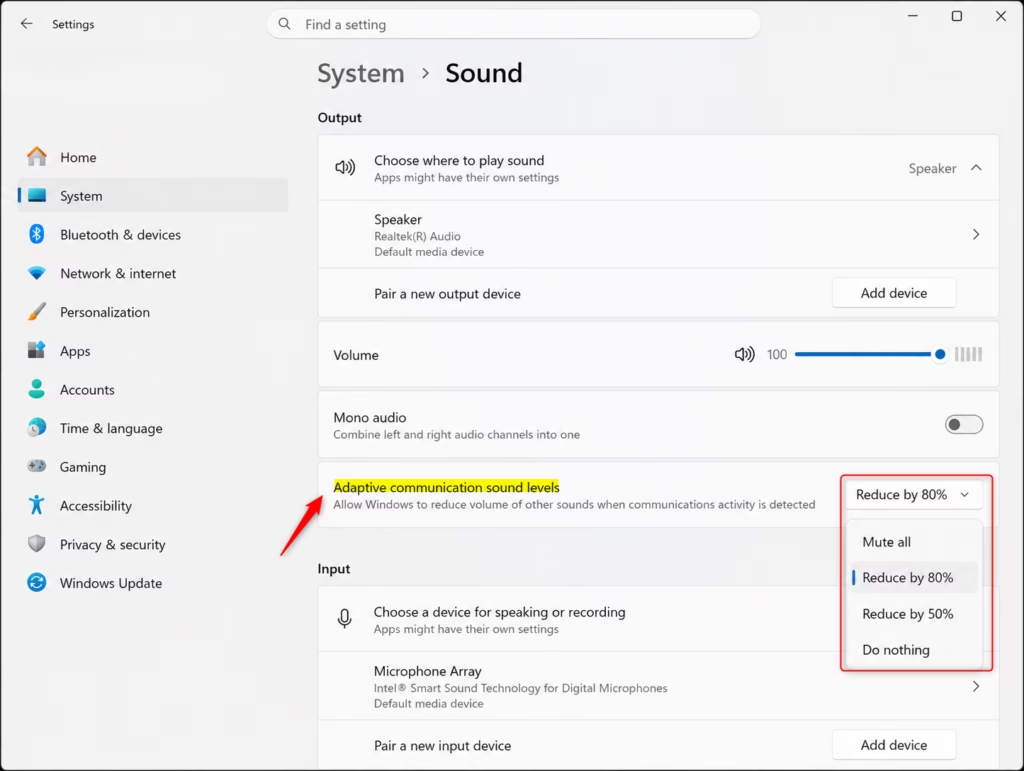
- Look for the Output section. You will see a setting called Adaptive communication sound levels. Click the drop-down menu next to it.
- Here’s what happens to other sounds when you’re on a call:
- Mute all: All other sounds will be completely silenced.
- Reduce by 80%: This is the default setting. Other sounds will become much quieter.
- Reduce by 50%: Other sounds will be reduced by half.
- Do nothing: Windows will not change the volume of other sounds.
- Once you’ve made your choice, you can close the Settings window.
Option 2Using the Windows Registry Editor
If the Settings option to disable adaptive communication sound levels isn’t available, you can use the Windows Registry Editor. This tool lets you change advanced Windows settings. Using the Registry Editor is a good alternative for disabling this sound feature when the standard Settings menu doesn’t offer the option.
- First, you need to open the Registry Editor. Press the Windows key and type
regedit. Then, click on Registry Editor when it appears in the search results. You might be asked for administrator permission; click Yes. - Navigate to the following location in the Registry Editor. You can type this path directly into the address bar at the top.
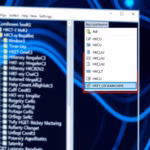
RegistryHKEY_CURRENT_USER\Software\Microsoft\Windows\CurrentVersion\Communications - Look for a value named
SmartVolume.UserDuckingPreference. If it doesn’t exist, you’ll need to create it.
SmartVolume.UserDuckingPreference to change its value.- 0 (or
00000000in hexadecimal): Mute all other sounds. - 1 (or
00000001in hexadecimal): Reduce volume of other sounds by 80% (default). - 2 (or
00000002in hexadecimal): Reduce volume of other sounds by 50%. - 3 (or
00000003in hexadecimal): Do nothing.
Summary
This guide shows you how to control how Windows 11 adjusts sound levels during calls, letting you choose whether other sounds are muted, lowered, or left alone.
Was this guide helpful?
0% of readers found this helpful (1 votes)

About the Author
Richard
Tech Writer, IT Professional
Richard, a writer for Geek Rewind, is a tech enthusiast who loves breaking down complex IT topics into simple, easy-to-understand ideas. With years of hands-on experience in system administration and enterprise IT operations, he’s developed a knack for offering practical tips and solutions. Richard aims to make technology more accessible and actionable. He's deeply committed to the Geek Rewind community, always ready to answer questions and engage in discussions.


No comments yet — be the first to share your thoughts!