

This article explains how to turn Auto-download photos and files On or Off in Skype on Windows 11.
Skype is a popular video chat and messaging application by Microsoft. It allows users to make voice and video calls, send instant messages, and share files with other Skype users for free over the internet.
One can configure many settings with Skype, including turning Global hotkeys on or off, turning on or off web searches, enabling location sharing, turning read receipts on or off, using translation & language auto-detection, turning on or off Truevoice IA, turning contact-only Skype calls on or off, hiding or unhiding the Today tab, and more.
When you use Skype, it will automatically download photos you received by default. This setting can also be turned on or off for files received in the Skype app. Photos and files you received will be saved in Downloads of your home directory.
For several reasons, enabling or disabling Skype’s auto-download photos and files feature can be useful. First, it can help you save storage space on your device, especially if you receive a lot of photos and files on Skype.
By disabling this feature, you won’t have to worry about Skype automatically downloading every photo and file you receive, which can quickly eat up your device’s storage.
Second, it can also help protect your privacy and security. By disabling auto-download, you can ensure that you only download photos and files that you need or want to save. This can help protect you from downloading harmful files or viruses that may be sent to you through Skype.
Turn Auto-download photos and files On or Off in Skype
As mentioned, Skype downloads photos you receive to your Downloads folder automatically. Files can also be automatically downloaded if you turn it on.
To protect against harmful files and viruses, you may want to turn these features off.
Here’s how to do that.
First, launch the app by clicking the Start menu and selecting it on the All Apps list.

You can also launch the app from the Taskbar or Taskbar overflow.

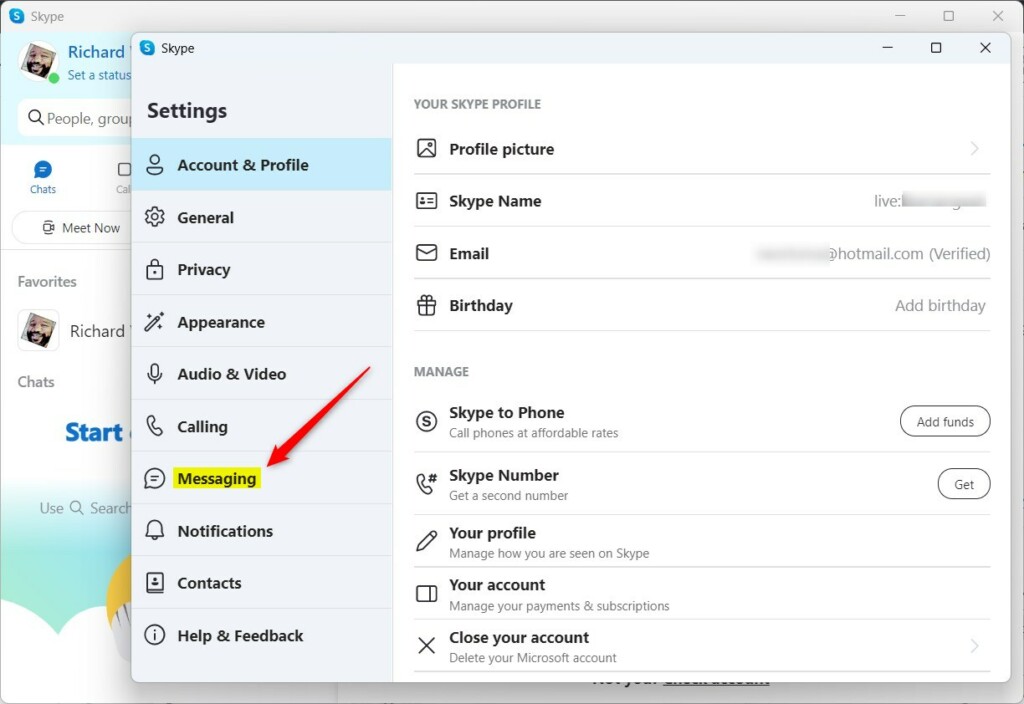
Click the Settings and more ( …) button in the Skype window next to your profile picture and select Settings on the menu.

On the Settings page, select the Messaging on the left.
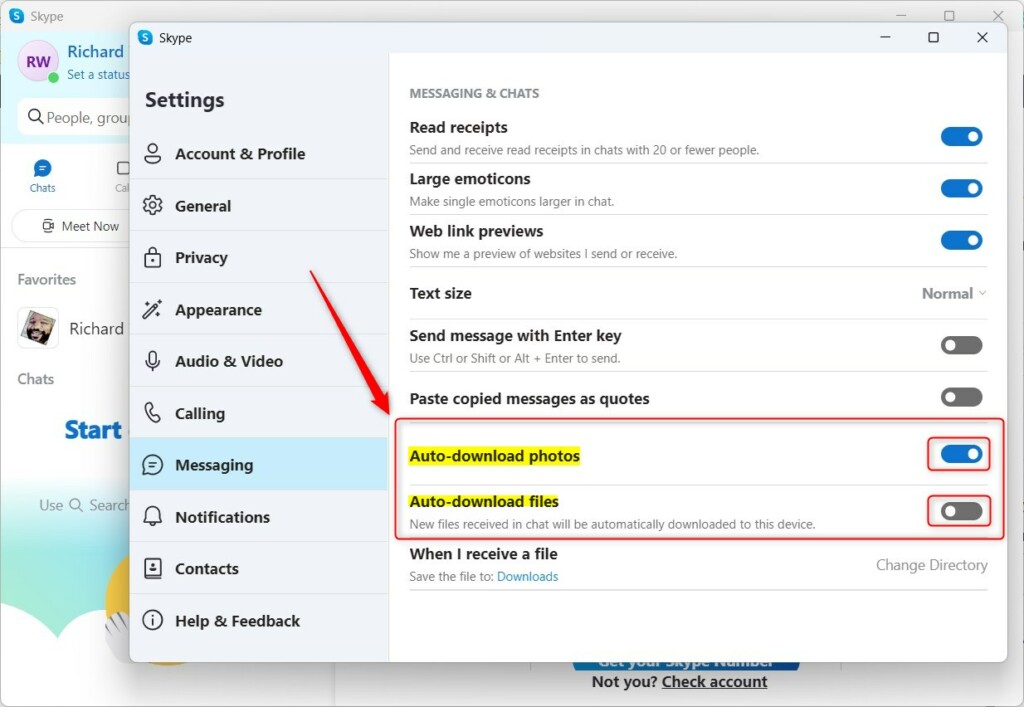
On the Messaging window, under MESSAGING & CHATS, select the “Auto-download photos” and “Auto-download files” tiles. To toggle the button to the On position on both tiles to enable the feature.
To disable it, toggle the button back to the Off position.
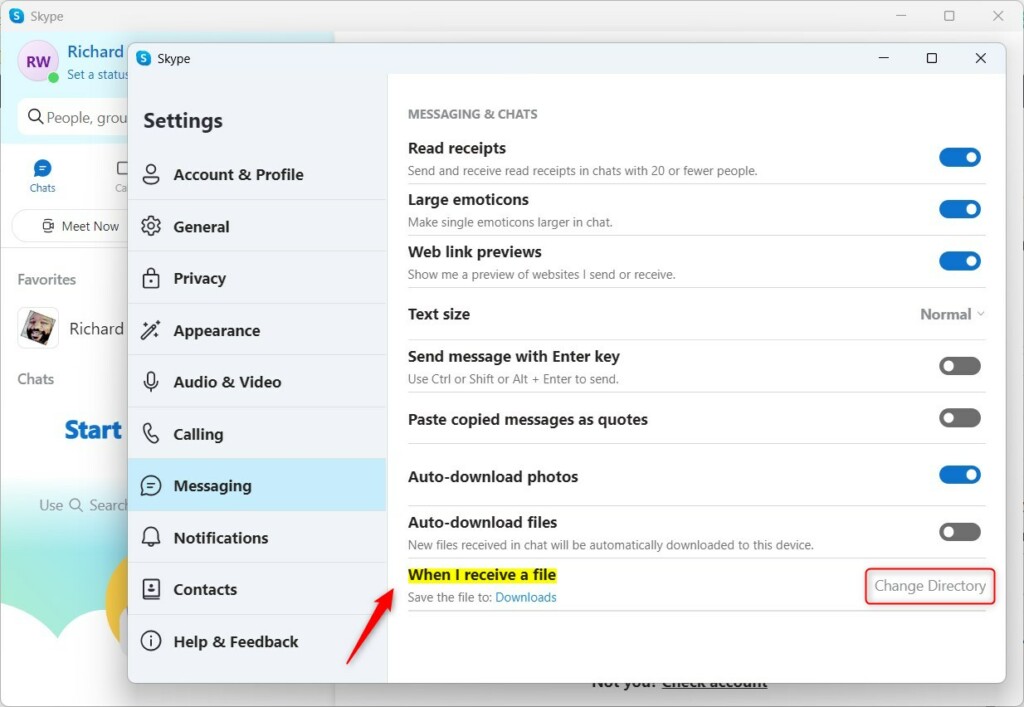
If you turn on auto-downloading for photos and files, you can also change where those files and photos are saved automatically.
Select the “When I receive a file” tile and click the Change Directory button to do that. Then
Then, select a new location to save the files and photos you receive on Skype.
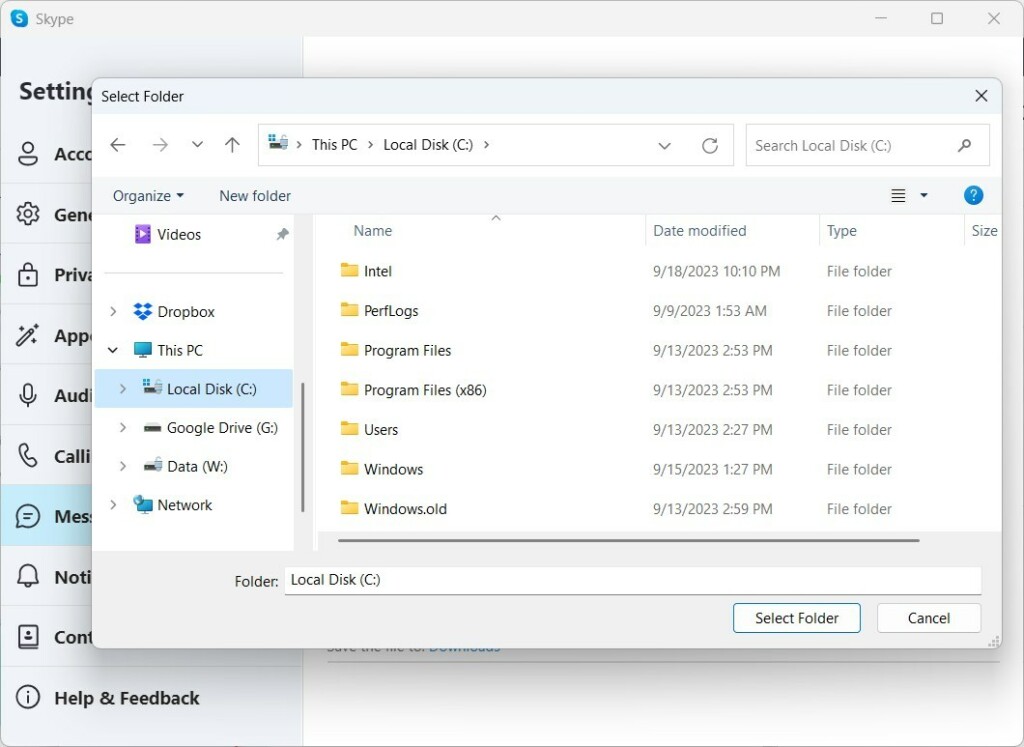
That should do it!
Conclusion:
- This guide provided detailed steps to turn auto-download photos and files on or off in Skype on Windows 11
- It explained the importance of managing this feature to save storage space and protect privacy and security
- Users were also instructed on how to customize the default download location for received files and photos
- If readers have any feedback or additional insights, they are encouraged to share their thoughts through the comments section below the article

Leave a Reply