How to Install Symfony 5 with Nginx on Ubuntu Linux


Symfony 5 is a free PHP framework (a collection of pre-made code blocks) that helps you build websites and web apps faster. Pairing it with Nginx, a high-performance web server, gives you a fast and reliable hosting environment for your projects on Ubuntu Linux.
This guide covers the exact steps to install Symfony version 5.4 or newer on an Ubuntu server so you can start writing code right away.
Install Nginx using `sudo apt install nginx`, then PHP 7.2-FPM and modules with `sudo apt install php7.2-fpm`. Download Symfony using Composer and configure Nginx by creating a new site file in `/etc/nginx/sites-available/`.
Install Nginx HTTP Server
To install Nginx on Ubuntu for your Symfony project, open your terminal and update your local package list by running sudo apt update. Next, install the Nginx web server by running the command sudo apt install nginx. Once the installation finishes, Nginx starts automatically and acts as the web server for your new Symfony application.
sudo apt update
sudo apt install nginx
After installing Nginx, the commands below can be used to stop, start, and enable the Nginx service to always start up with the server boots.
sudo systemctl stop nginx.service
sudo systemctl start nginx.service
sudo systemctl enable nginx.service
Now that Nginx has been installed, browse your browser to the URL below to test whether the web server works.
http://localhost
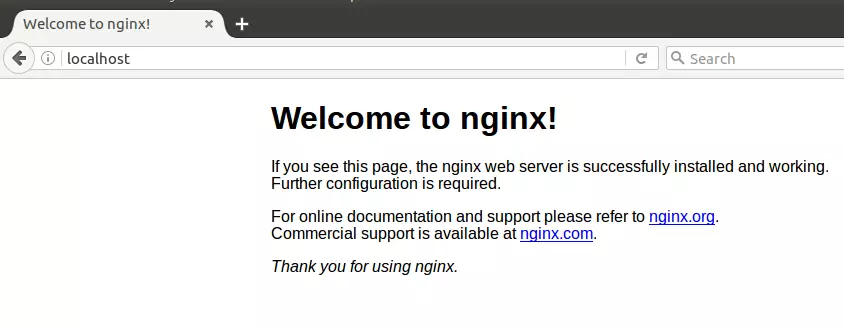
If you see the page above, then Nginx is successfully installed.
Install PHP 7.2-FPM and Related Modules
To install PHP 7.2-FPM and the required modules for Symfony on Ubuntu, add the Ondřej Surý PHP repository to your system sources if your default repositories do not have version 7.2. Run sudo apt-get install software-properties-common followed by sudo add-apt-repository ppa:ondrej/php, and then proceed to install PHP 7.2-FPM along with your needed extensions.
sudo apt-get install software-properties-common
sudo add-apt-repository ppa:ondrej/php
Then update and upgrade to PHP 7.2-FPM
sudo apt update
Next, run the commands below to install PHP 7.2-FPM and related modules.
sudo apt install php7.2-fpm php7.2-common php7.2-sqlite3 php7.2-mysql php7.2-gmp php7.2-curl php7.2-intl php7.2-mbstring php7.2-xmlrpc php7.2-soap php7.2-ldap php7.2-gd php7.2-bcmath php7.2-xml php7.2-cli php7.2-zip
After installing PHP 7.2-FPM, run the commands below to open Nginx's PHP default configuration file.
sudo nano /etc/php/7.2/fpm/php.ini
The lines below are a good setting for most PHP-based CMS. Update the configuration file with these and save.
file_uploads = On
allow_url_fopen = On
short_open_tag = On
cgi.fix_pathinfo = 0
memory_limit = 256M
upload_max_filesize = 100M
max_execution_time = 360
date.timezone = America/Chicago
Restarting the Nginx web server whenever you change the PHP configuration file would be best. To do so, run the commands below:
sudo systemctl restart nginx.serviceDownload Symfony's Latest Release
To download Symfony's latest release on your Ubuntu machine, you first need to install Composer, which is the dependency manager for PHP projects. Start by installing the required tools and curl utility on your system using the terminal command sudo apt install curl git, and then follow the official installer steps to set up Composer globally.
To install Composer on Ubuntu, run the commands below:
sudo apt install curl git
curl -sS https://getcomposer.org/installer | sudo php -- --install-dir=/usr/local/bin --filename=composer
After installing Composer above, change the Nginx home directory and download Symfony packages into a new project folder called symfony5.
cd /var/www/
sudo composer create-project symfony/skeleton symfony5
sudo chown -R www-data:www-data /var/www/symfony5/
sudo chmod -R 755 /var/www/symfony5/
Configure Nginx
To configure Nginx for a Symfony 5 project on Ubuntu, create a new server block configuration file inside the sites-available directory. Open your terminal and run the command sudo nano /etc/nginx/sites-available/symfony, then paste your domain name, document root pointing to your project public folder, and PHP-FPM socket settings.
sudo nano /etc/nginx/sites-available/symfony
Replace the highlighted line with your domain name and directory root location.
server {
    listen 80;
    listen [::]:80;

    server_name  example.com www.example.com;
    root   /var/www/symfony5/public;
    index  index.php;

    access_log /var/log/nginx/example.com.access.log;
    error_log /var/log/nginx/example.com.error.log;

    client_max_body_size 100M;

    autoindex off;

    location / {
    try_files $uri /index.php$is_args$args;
      }

    location ~ .php$ {
         include snippets/fastcgi-php.conf;
         fastcgi_pass unix:/var/run/php/php7.2-fpm.sock;
         include fastcgi_params;
         fastcgi_intercept_errors on;
    }
}
Save the file and exit.
Enable the Symfony
To enable your Symfony site in Nginx on Ubuntu, create a symbolic link from your configuration file in sites-available to the sites-enabled directory by running sudo ln -s /etc/nginx/sites-available/symfony /etc/nginx/sites-enabled/. After creating the link, test your configuration for syntax errors and restart the web server with sudo systemctl restart nginx.service to apply the changes.
sudo ln -s /etc/nginx/sites-available/symfony /etc/nginx/sites-enabled/
sudo systemctl restart nginx.service
Then, open your browser and browse to the host's domain name or server IP address. You should then see the Symfony 5 homepage.
http://example.com/
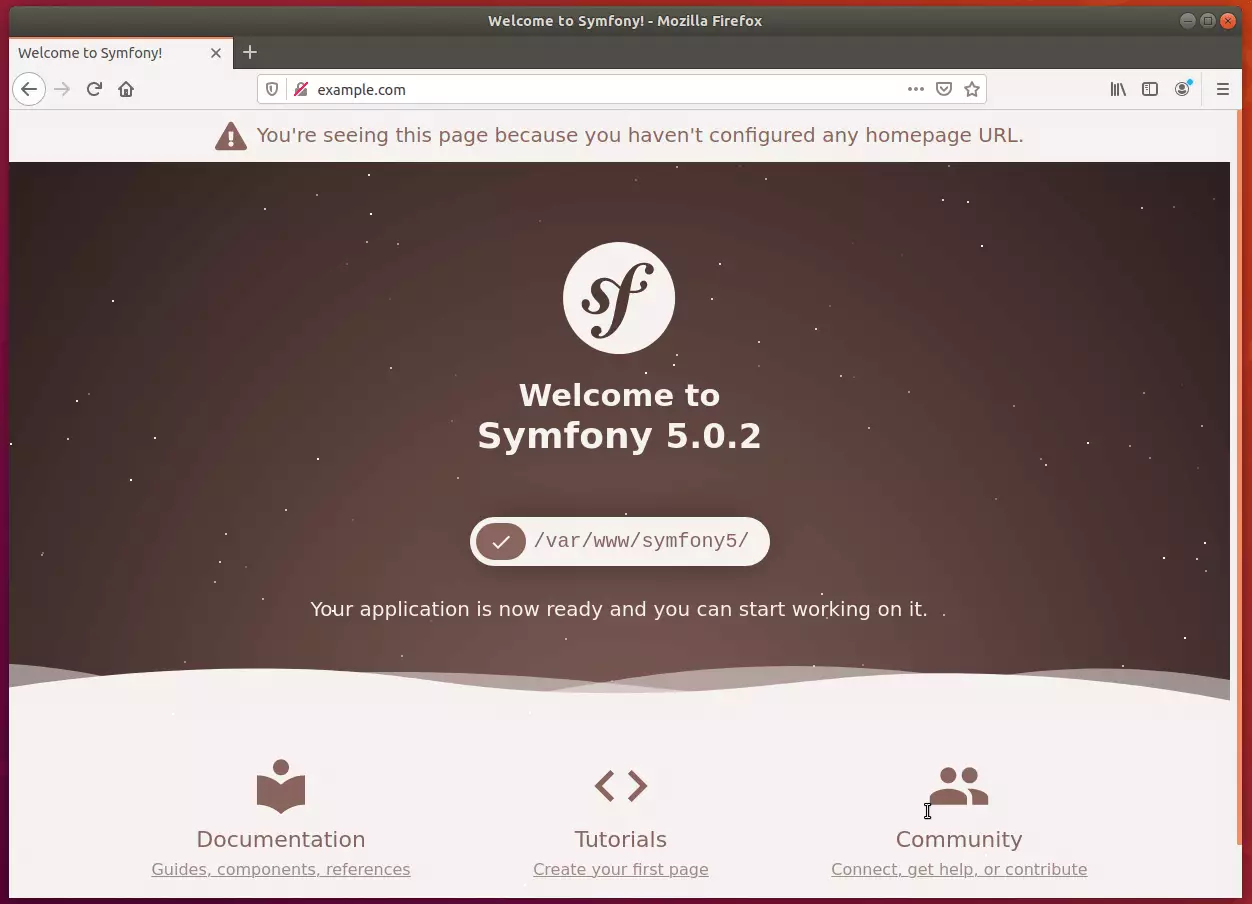
Symfony 5 framework application is now ready, and you can start working on it.
Conclusion:
This post shows you how to install the Symfony 5 framework on Ubuntu 18.04 | 16.04. If you find any error, please report it in the comment form below.
You may also like the post below:
Was this guide helpful?

About the Author
Richard
Tech Writer, IT Professional
Richard, a writer for Geek Rewind, is a tech enthusiast who loves breaking down complex IT topics into simple, easy-to-understand ideas. With years of hands-on experience in system administration and enterprise IT operations, he’s developed a knack for offering practical tips and solutions. Richard aims to make technology more accessible and actionable. He's deeply committed to the Geek Rewind community, always ready to answer questions and engage in discussions.




i get 404 not found message when lauch the project