How to Install VMware Workstation Player on Ubuntu Linux


VMware Workstation Player is a free program that lets you run other operating systems, such as Windows, inside your Ubuntu Linux computer as virtual machines. Setting it up takes just a few steps: downloading the official bundle installer file and running a quick command in your terminal.
Your Ubuntu PC needs a 64-bit processor and at least 2 GB of RAM to run the software properly, though 4 GB or more keeps things running smoothly. This tool gives you a safe space to test new software or run programs built for other operating systems without restarting your computer.
You also need an account with administrator (sudo) rights, because the installer adds system components. Hardware virtualization (Intel VT-x or AMD-V) should be turned on in your BIOS or UEFI settings. It is usually on by default, but if your virtual machines refuse to start later, check that setting first.
Install VMware Player on Ubuntu by running sudo apt install wget gcc build-essential linux-headers-generic linux-headers-$(uname -r) in Terminal, then downloading the official installer and running chmod +x getplayer-linux followed by sudo./getplayer-linux. The installer runs without a wizard and finishes with a success message. Your PC needs a 64-bit processor and at least 2 GB of RAM.
How to install packages on Ubuntu Linux
VMware compiles its own kernel modules during installation. Without a compiler and the matching kernel headers, the install can fail or the program can refuse to start your virtual machines.
To do that, open Terminal and run the commands below. You can open Terminal by pressing Ctrl+Alt+T.
sudo apt update
sudo apt install wget gcc build-essential linux-headers-generic linux-headers-$(uname -r)
How to download and install VMware Player
Wait until each command finishes and you see the prompt again. If Terminal asks for your password, type it and press Enter. Nothing appears on screen while you type, and that is normal.
You can successfully install VMware Player on Ubuntu by downloading the official installer from the Broadcom support site and running a few commands in Terminal. The process looks like this:
- Download the bundle file in your web browser.
- Open Terminal and move to your Downloads folder, where the browser saves the file by default.
- Run the installer script using bash to complete the setup on your Linux system.
Broadcom has changed its VMware downloads and licensing several times, so the download page, file name and version number may look different from the screenshots. If the Player download is no longer listed, look for the Workstation download for Linux on the same site.
You can get the installer from the official download page here:
https://my.vmware.com/web/vmware/downloads
Alternatively, run the commands below to download the latest version of VMware Workstation Player on the terminal console. This is handy on a server or over SSH, where you have no browser. If the download fails, the file link may have changed, so use the download page above instead.
cd /tmp
wget --user-agent="Mozilla/5.0 (X11; Ubuntu; Linux x86_64; rv:91.0) Gecko/20100101 Firefox/91.0" https://www.vmware.com/go/getplayer-linux
After downloading the file, run the commands below to make the package executable and install VMware Workstation Player. Run them from the folder that holds the file. Linux will not run a downloaded file until you mark it as executable, so do not skip the first command.
chmod +x getplayer-linux
sudo ./getplayer-linux
In Ubuntu, the installation will be run non-interactively. This means you won’t have to complete an installation wizard. Text scrolls by in Terminal while the files are copied and the services are set up, so just let it run.
After a brief moment, the installation should complete with a success message similar to the one below. Once you see the message below, you’re done. If you see an error instead, read the last few lines. A missing compiler or kernel headers error usually means the dependency step above did not finish, so run those commands again.
Extracting VMware Installer...done.

Installing VMware Player 16.1.2

    Configuring...

[######################################################################] 100%

Installation was successful.
After the installation above, launch VMware Workstation Player from the Activities dashboard.
- Click Activities at the top left of the screen, or press the Super (Windows) key.
- Click the Show Applications button at the bottom left. A grid of installed apps appears.
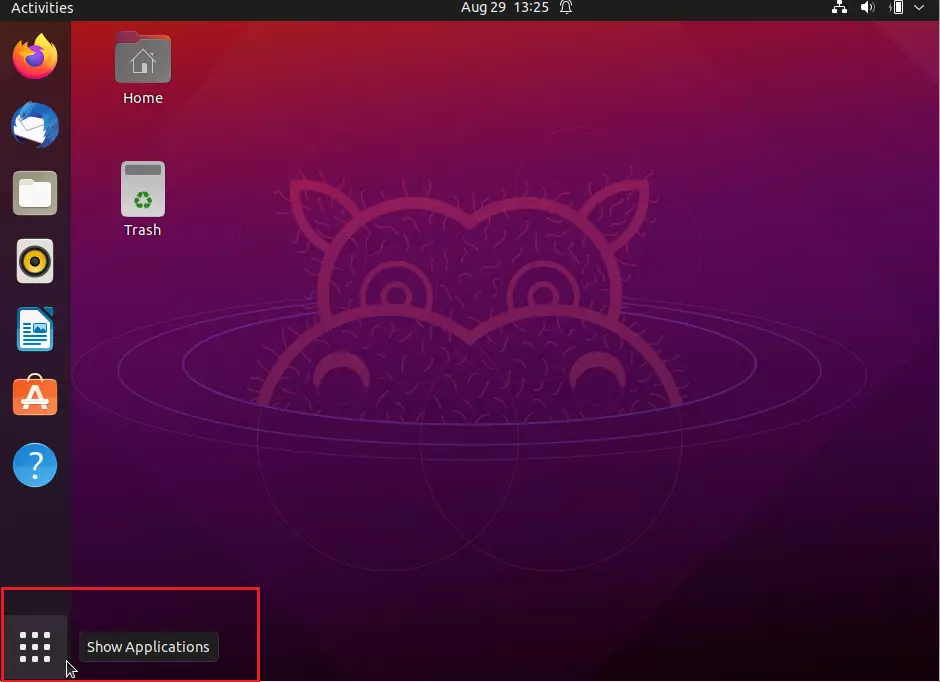
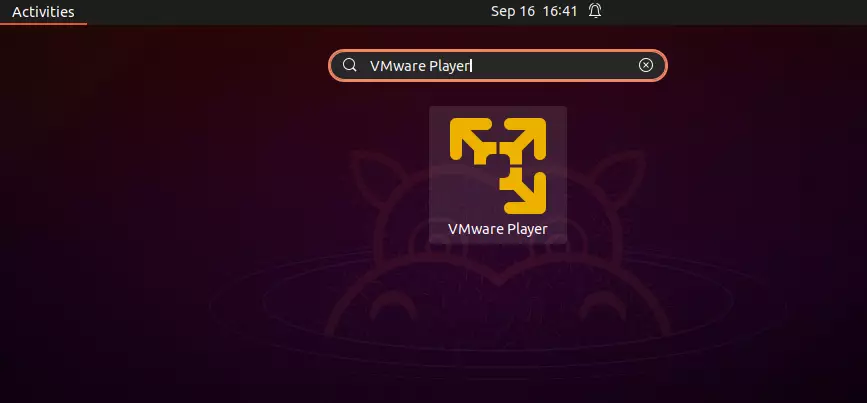
On the app’s dashboard, search for VMware Player and select it. If it does not show up, log out and back in, then search again. On some versions, the app is listed as VMware Workstation instead.
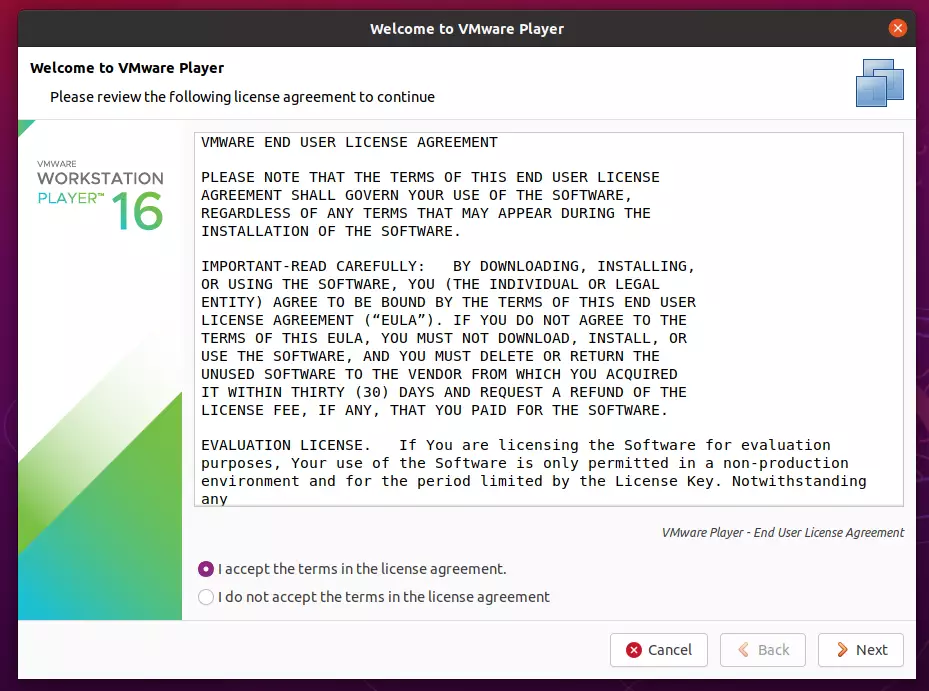
Accept the license terms to continue. The first launch may also ask for your password so it can load VMware’s kernel modules. If your PC uses Secure Boot, Ubuntu may ask you to set up a Machine Owner Key (MOK) and restart. Follow the on-screen prompts, because the modules cannot load without it.
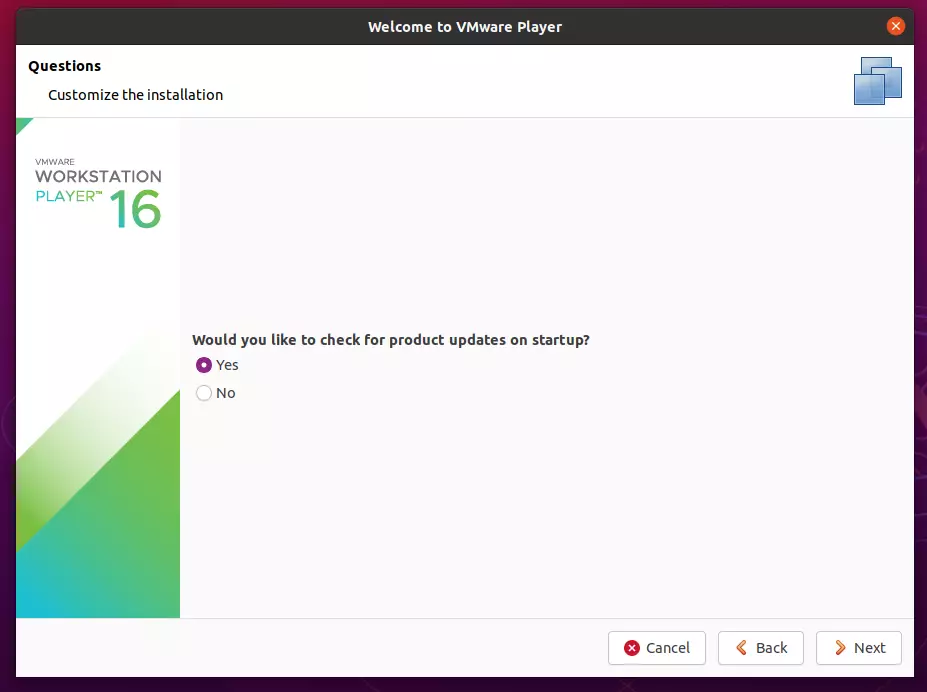
Accept to check for product updates on startup and continue. This keeps VMware current with security fixes. You can change the choice later in the preferences.
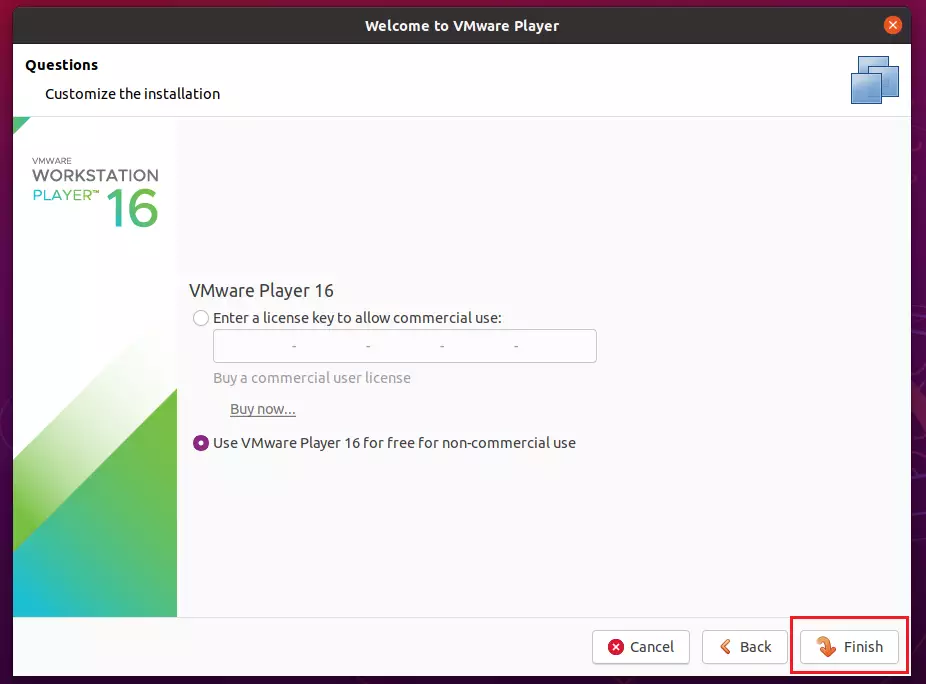
For personal use, choose “Use VMWare Player free for non-commercial use.” If you use it commercially, you should purchase a license key and enter it here or do it after installing the program. Broadcom’s licensing terms change from time to time, so check them on the Broadcom site if you are unsure which option applies to you.
Click Finish. The wizard closes and the main window opens.
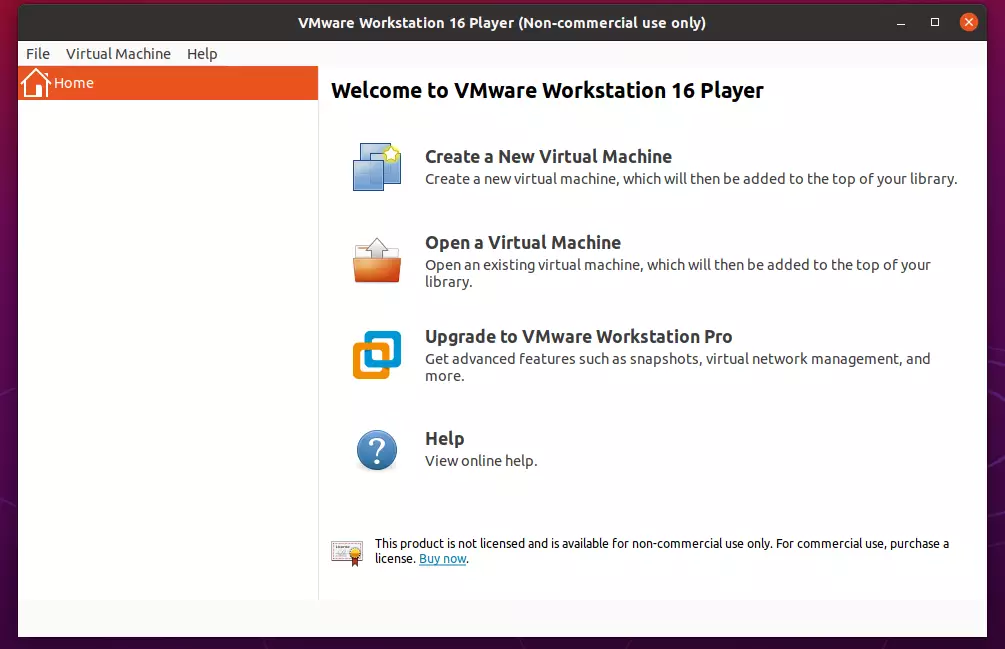
After that, the VMware Player console should open, ready to create guest machines. From here you can create a new virtual machine from an ISO file or open an existing one.
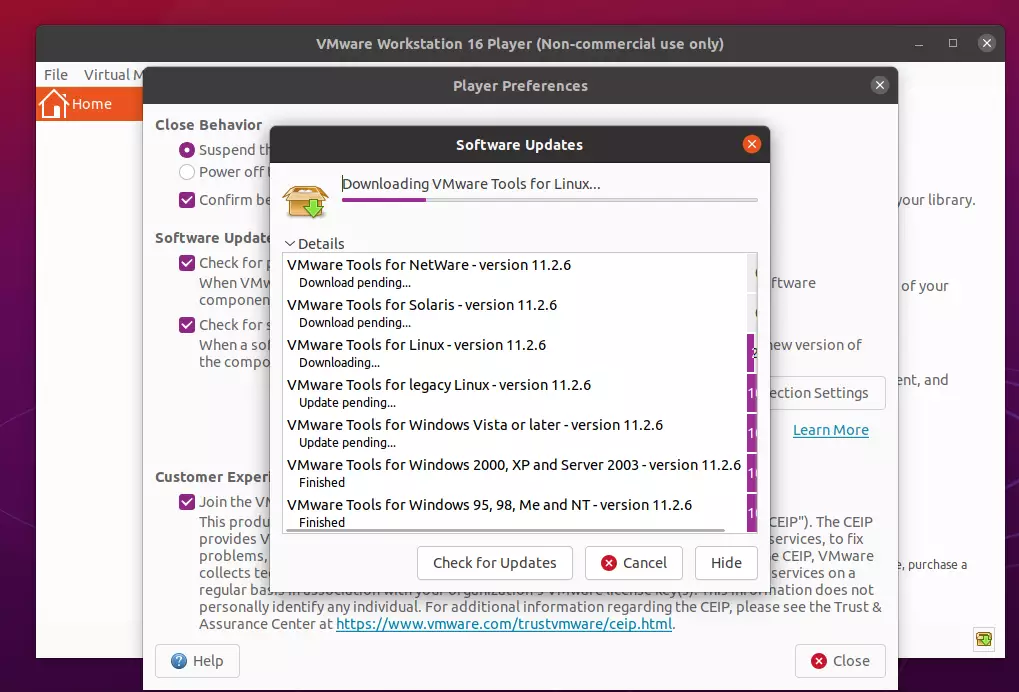
The first thing you'll want to do is update VMware Player components. To do that:
- Click File in the menu at the top of the VMware window.
- Select Player Preferences. The preferences window opens.
On the preferences screen, click the Download All Components Now button. Wait for all guest tools to finish downloading before creating VMs. The guest tools improve screen resolution, copy and paste, and shared folders inside your virtual machines. This step needs an internet connection, so check that you are online if the download does not start.
That should do it! VMware Player is now installed and ready to use. If you ever want to remove it, VMware's own uninstall tool from Terminal is the clean way, because the program was not installed through the normal Ubuntu package manager.
Conclusion:
This article explains how to install and use VMware Workstation Player on Ubuntu Linux. Readers can report errors or suggest additions using the comment form on the website, which is part of the Ubuntu Linux installation guide.
Have a question about this guide?
Answered by AI from this guide. Good questions may be added to this page — please don't include personal details.
Did this guide fix your problem?

About the Author
Richard
Tech Writer, IT Professional
Richard is a writer at Geek Rewind who turns complex IT tasks into clear, step-by-step guides. He draws on years of hands-on experience in system administration and enterprise IT operations, focusing on Windows, Linux and WordPress: the problems people actually run into, and the fixes that work. His server and WordPress guides come from systems he runs himself. Richard builds and maintains the platform behind Geek Rewind, from its Ubuntu servers and Nginx configuration to its custom WordPress plugins. Many new tutorials start with readers' questions, and he's always glad to answer them in the comments.
No comments yet — be the first to share your thoughts!