How to Install Redmine with Apache on Ubuntu 24.04

You install Redmine with Apache on Ubuntu 24.04 by setting up Apache to serve your Redmine project management application.
Redmine is a flexible, open-source web application designed to help you manage projects, track issues, and monitor changes. Apache HTTP Server, a powerful and common web server, handles the delivery of your Redmine instance to users.
This guide focuses on Ubuntu 24.04 LTS, the latest stable release of Canonical’s Linux operating system, ensuring you work with a current environment.
By following these steps, you will configure Apache to efficiently host Redmine, providing a robust platform for your team’s project management needs.
Install Apache and MariaDB, create a database for Redmine, then download and configure Redmine itself. You will use `apt install apache2` and `apt install mariadb-server` to install the necessary servers.
Install Apache
Install Apache on Ubuntu to create a web server that Redmine needs to work. This guide will walk you through adding Apache to your Ubuntu system using the terminal. Once Apache is ready, you can proceed with the rest of your Redmine install on Ubuntu.
To do that, open the Ubuntu terminal and run the commands below to install the Apache web server.
sudo apt update
sudo apt install apache2
Once Apache is installed, the commands below can start, stop, and enable the Apache web server to start automatically when your server boots up.
sudo systemctl stop apache2
sudo systemctl start apache2
sudo systemctl enable apache2
You can test that the Apache web server is running by opening your web browser and browsing to the server’s local host or IP address.

When you see the Apache2 Default Page, it means the Apache HTTP server is successfully installed.
Additional help on installing Apache on Ubuntu is in the link below.
Install MariaDB
Install MariaDB on Ubuntu to provide the database Redmine requires for storing all its information. This section explains how to add the MariaDB database server to your Ubuntu system, ensuring Redmine has a place to safely store its data.
To install and use the MariaDB database server, use the instructions below.
Open the Ubuntu terminal and run the commands below to install the MariaDB database server.
sudo apt update
sudo apt install mariadb-server
Once the MariaDB database server is installed, use the commands below to stop, start, and enable the MariaDB server to start automatically when the server boots.
sudo systemctl stop mariadb
sudo systemctl start mariadb
sudo systemctl enable mariadb
Run the following commands to validate and test if the MariaDB database server is installed successfully.
sudo mariadb
Once you run the commands above, it will log you onto the MariaDB console and display a message similar to the one below.
Welcome to the MariaDB monitor.  Commands end with ; or g.
Your MariaDB connection id is 32
Server version: 10.11.2-MariaDB-1 Ubuntu 23.04

Copyright (c) 2000, 2018, Oracle, MariaDB Corporation Ab and others.

Type 'help;' or 'h' for help. Type 'c' to clear the current input statement.

MariaDB [(none)]>
The message tells you that the server is installed successfully.
Additional help on installing MariaDB.
- How to install MariaDB on Ubuntu Linux
- MariaDB without password prompt
Create a Redmine database
Create a Redmine database after installing MariaDB to give Redmine a dedicated place to save its data. This process sets up a database named ‘redminedb’, a user ‘redminadbuser’, and grants the necessary permissions for Redmine to function on Ubuntu.
As part of the setup, we will create a redminedb database and a user account called redminedbuser.
The redminedbuser database user receives full access to the redminedb database, ensuring Redmine can read and write all necessary data for its operation.
All the database steps above can be done using the commands below:
But first, log on to the MariaDB database server:
sudo mariadb
Then run the commands below to complete the steps:
CREATE DATABASE redminedb CHARACTER SET utf8mb4 COLLATE utf8mb4_general_ci;
CREATE USER redminedbuser@localhost IDENTIFIED BY 'type_your_password_here';
GRANT ALL ON redminedb.* TO redminedbuser@localhost WITH GRANT OPTION;
FLUSH PRIVILEGES;
exit
Install Redmine
Install Redmine on Ubuntu by downloading the software and setting up necessary packages. This step ensures Redmine runs smoothly by providing the required dependencies for its operation on your system, following the Apache and MariaDB setup.
First, run the command below to install some package dependencies to support Redmine.
sudo apt install ruby ruby-dev build-essential libssl-dev libreadline-dev zlib1g-dev libcurl4-openssl-dev libmysqlclient-dev libpq-dev libaprutil1-dev libapr1-dev apache2-dev
Redmine is built on Ruby, so we must install the correct version.
This post will install and manage Ruby versions using RVM (Ruby Version Manager).
First, install the required dependencies for RVM:
sudo apt install gnupg2 curl
Then, install RVM by running the command below.
curl -sSL https://get.rvm.io | bash -s stable
source ~/.rvm/scripts/rvm
If the command above failed, run the command below to import the keys
curl -sSL https://rvm.io/mpapis.asc | gpg2 --import -
curl -sSL https://rvm.io/pkuczynski.asc | gpg2 --import -
Then, rerun the command to install RVM.
Install the latest stable version of Ruby.
rvm pkg install openssl
rvm get head
rvm install ruby 3.3
rvm use ruby 3.3 --default
Continue below to configure Redmine.
Configure Redmine
Configure Redmine on Ubuntu by creating a dedicated folder and downloading the latest source code. This setup process is a crucial step to get Redmine working correctly after installation and ensures all files are organized properly.
sudo mkdir /var/lib/redmine
sudo chown -R www-data:www-data /var/lib/redmine
Go and download the Redmine source code using the wget command below. Visit the download page to get the latest version to install.
cd /tmp
wget https://www.redmine.org/releases/redmine-6.0.3.tar.gz
Next, extract the downloaded file and copy the content to Redmine’s directory.
tar -xvzf redmine-6.0.3.tar.gz
sudo -u www-data cp -r redmine-6.0.3/* /var/lib/redmine
After that, copy the default database configuration ‘config/database.yml.example‘ to ‘config/database.yml‘.
sudo -u www-data cp /var/lib/redmine/config/database.yml.example /var/lib/redmine/config/database.yml
Next, open the database.yml configuration file by running the command below.
sudo -u www-data nano /var/lib/redmine/config/database.yml
Then, in the ‘production‘ section, change the details of the MySQL database and user. Type in the database account details created above.
# Default setup is given for MySQL 5.7.7 or later.
# Examples for PostgreSQL, SQLite3 and SQL Server can be found at the end.
# Line indentation must be 2 spaces (no tabs).

production:
  adapter: mysql2
  database: redminedb
  host: localhost
  username: redminedbuser
  password: "Type_password_here"
  # Use "utf8" instead of "utfmb4" for MySQL prior to 5.7.7
  encoding: utf8mb4
  variables:
    # Recommended `transaction_isolation` for MySQL to avoid concurrency issues is
    # `READ-COMMITTED`.
    # In case of MySQL lower than 8, the variable name is `tx_isolation`.
    # See https://www.redmine.org/projects/redmine/wiki/MySQL_configuration
    tx_isolation: "READ-COMMITTED"
Save the file and exit the editor when you are finished.
Install bundler by running the command below.
sudo gem install bundler
Next, change to Redmine’s directory and run the bundler command to install Ruby dependencies for the Redmine application.
cd /var/lib/redmine
sudo bundle config set --local without 'development test'
sudo bundle install
sudo -u www-data bin/rake generate_secret_token
sudo -u www-data bin/rake db:migrate RAILS_ENV="production"
In the following screenshot, you can see the Redmine secret token is generated and the process of Redmine database migration.
You load the default Redmine data into your Redmine installation by running the command `bundle exec rake redmine:load_default_data RAILS_ENV=production`. When the command asks you to choose a language, type `en` for English to proceed.
sudo RAILS_ENV=production bundle exec rake redmine:load_default_data
Next, install Phusion Passenger, which runs Rails applications like Redmine on Apache.
sudo gem install passenger
Then, execute the following command to build and install the module for Apache.
sudo passenger-install-apache2-module --auto --languages ruby
Run the command below to verify that the module is added to Apache.
sudo passenger-install-apache2-module --snippet
Take notes of the output, as you will need it in the configuration file below.
Once you have completed all the above steps, continue configuring the Apache web server below to serve the Redmine content.
Run the commands below to create an Apache virtual host file for Redmine.
sudo nano /etc/apache2/sites-available/redmine.conf
Then, copy and paste the content block below into the Apache server block.
<VirtualHost *:80>
  ServerName redmine.example.com
  ServerAdmin admin@example.com
  DocumentRoot /var/lib/redmine/public

<Directory "/var/lib/redmine/public">
  Require all granted
</Directory>

# Basic configuration for Passenger. Use the info gathered from running #the passenger command and update the lines below.

LoadModule passenger_module /var/lib/gems/3.2.0/gems/passenger-6.0.25/buildout/apache2/mod_passenger.so
<IfModule mod_passenger.c>
  PassengerRoot /var/lib/gems/3.2.0/gems/passenger-6.0.25
  PassengerDefaultRuby /usr/bin/ruby3.2
</IfModule>

# Allow access to Redmine's installation directory
<Directory /var/lib/redmine/public>
    Allow from all
    Options -MultiViews
    Require all granted
</Directory>
</VirtualHost>
Save the file.
You enable the Redmine virtual host and restart the Apache web server by running specific commands. This action makes the Redmine application accessible through your web browser. For example, you might run `sudo a2ensite redmine.conf` to enable the configuration file for Redmine and then `sudo systemctl restart apache2` to apply the changes.
sudo a2ensite redmine.conf
sudo systemctl restart apache2
Setup Let’s Encrypt SSL/TLS for Redmine
Setup Let’s Encrypt SSL/TLS for Redmine on Ubuntu to secure your website with a free certificate. This makes your Redmine site more trustworthy and protects user data by encrypting communication through Apache.
Please read the post below for additional resources on installing and creating Let’s Encrypt SSL certificates for Apache.
How to set up Let’s Encrypt SSL certificate for Apache on Ubuntu Linux
Once you have restarted the Apache web server, open your browser and browse to the server hostname or IP address defined in the Apache server block.
http://redmine.example.com
The Redmine portal should appear.
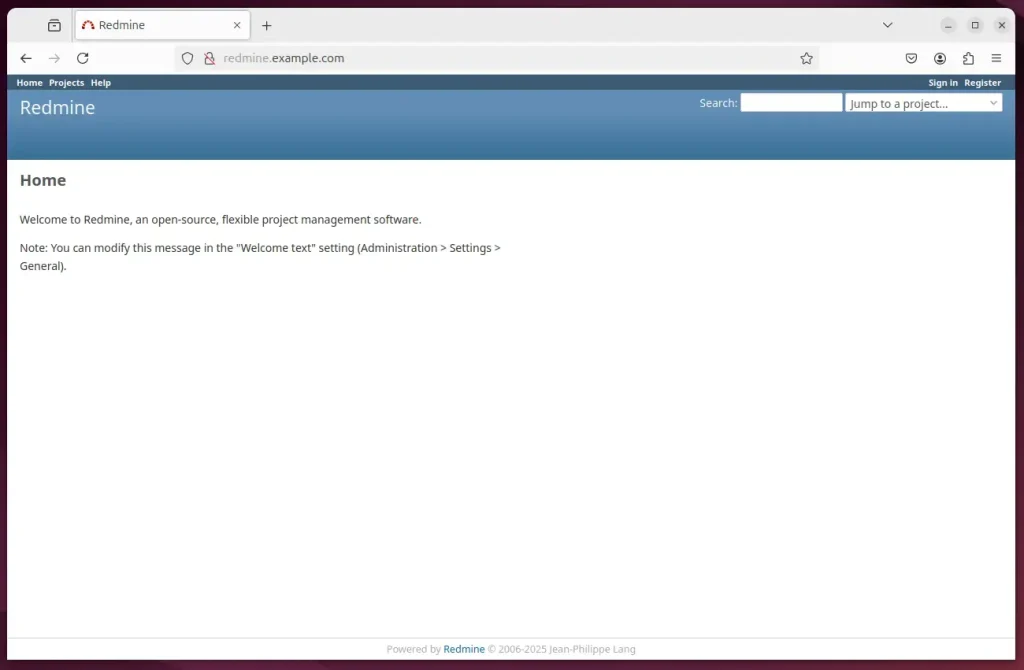
Login with credential:
- Username: admin
- Password: admin
That should do it!
Conclusion
Installing Redmine on Ubuntu 24.04 with Apache and MariaDB provides a powerful project management tool for team collaboration. Following the steps in this guide, you can set up Redmine successfully and enhance your project management capabilities.
- Redmine offers a flexible and open-source solution for effective project management.
- The installation process involves configuring necessary components such as Apache and MariaDB.
- Setting up a dedicated database for Redmine ensures data integrity and security.
- Utilizing Passenger allows Redmine to run efficiently on the Apache server.
- Securing your Redmine installation with an SSL certificate enhances security measures.
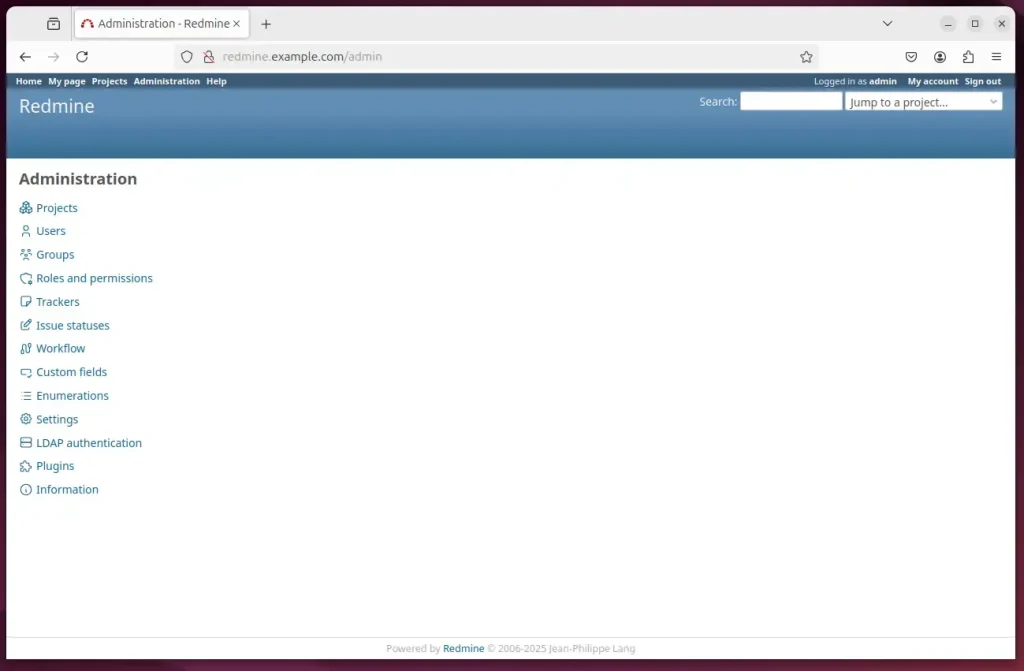
- The default admin credentials allow you to access and explore Redmine’s features after installation.
With the Redmine installation and Apache configuration steps complete, you can use Redmine for better project tracking and team collaboration.
Is Redmine free?
Redmine is free, open-source, and self-hosted with no licensing cost. Let's break down Redmine's features and support offerings a bit further: Redmine is ideal for software development teams, small to medium businesses, and industries that need issue tracking, time tracking, and Gantt charts.
How to add Redmine plugin?
So let's clone this. In. Let's check if this is done then the next thing we want to do is the migration task so this will get our plug-in installed.
Was this guide helpful?

About the Author
Richard
Tech Writer, IT Professional
Richard, a writer for Geek Rewind, is a tech enthusiast who loves breaking down complex IT topics into simple, easy-to-understand ideas. With years of hands-on experience in system administration and enterprise IT operations, he’s developed a knack for offering practical tips and solutions. Richard aims to make technology more accessible and actionable. He's deeply committed to the Geek Rewind community, always ready to answer questions and engage in discussions.


No comments yet — be the first to share your thoughts!