How to Hide Folders from Windows Search in Windows 11
This article explains how to hide specific folders from Windows search results in Windows 11.
Exclude folders from Windows 11 search by going to Settings, then Search, then Advanced search options, and adding the folders to the “Exclude these folders” list. This prevents their contents from appearing in search results.
Windows has a built-in search feature that allows you to search for documents from a particular folder or the entire PC.
The Windows Search service indexes content for faster results when searching for files and other content from defined locations. By default, Windows uses Classic indexing to index and return search results. The Classic indexing option will index content in the user profile folders, including Documents, Pictures, Music, and the Desktop.
With the Enhanced indexing option, Windows indexes your computer’s entire contents, including all hard drives and partitions, including your libraries and desktop, by default.
Whatever indexing options you use, you can hide specific folders you don’t want Windows searching through. The content you don’t want included in your search results, which may bog down your systems, can be hidden from the Windows Search service.
Hide content from Windows Search results in 🪟 Windows 11
As mentioned above, one can hide content in specific folders that they don’t want to be included in Windows search results.
For example, if you don’t want Windows to include web content in its search results, you can prevent Windows from including content from the web in its search results.
To start hiding specific folders from Windows Search, continue below.
Windows 11 has a centralized location for the majority of its settings. Everything can be done, from system configurations to creating new users and updating Windows from its System Settings pane.
To get to System Settings, you can use the Windows key + I shortcut or click on Start ==> Settings, as shown in the image below:

Alternatively, you can use the search box on the taskbar and search for Settings. Then select to open it.
In Windows Settings, click Privacy & security, and select Searching Windows tile on the right pane, as shown in the image below.

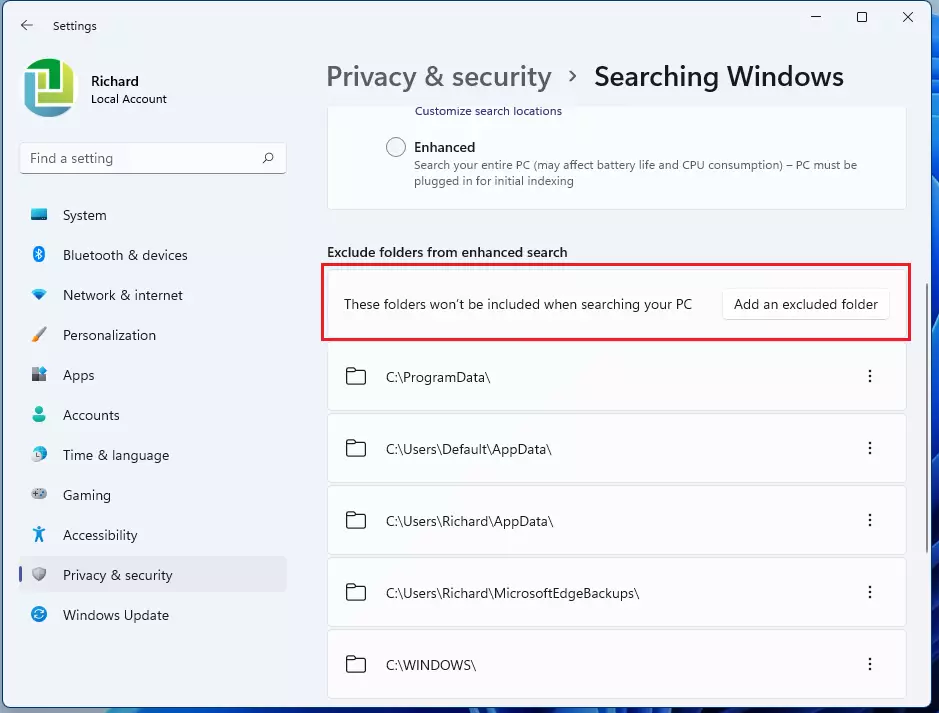
On the Searching Windows settings pane, under Exclude folders from enhanced search, select These folders won't be included when searching your PC.
Then click the Add an excluded folder button.
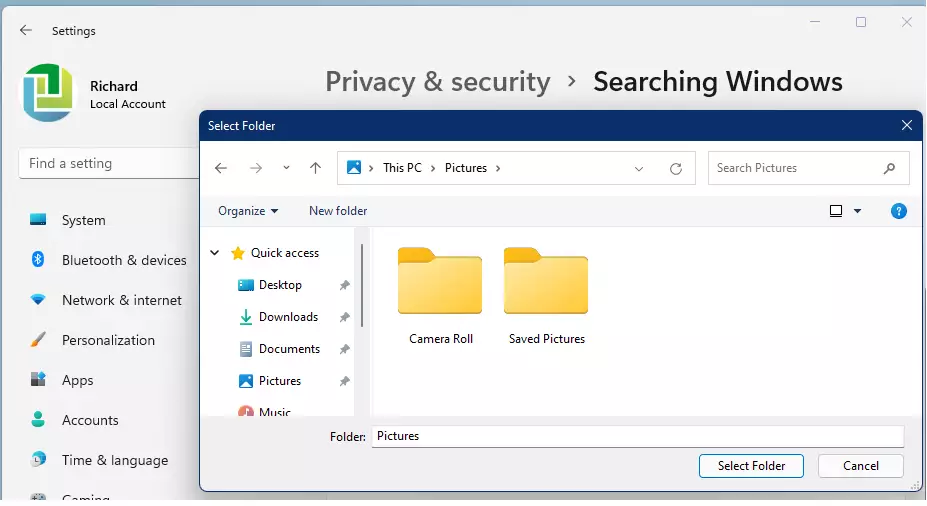
Next, browse the location and select the folder you want to exclude from Windows Search.
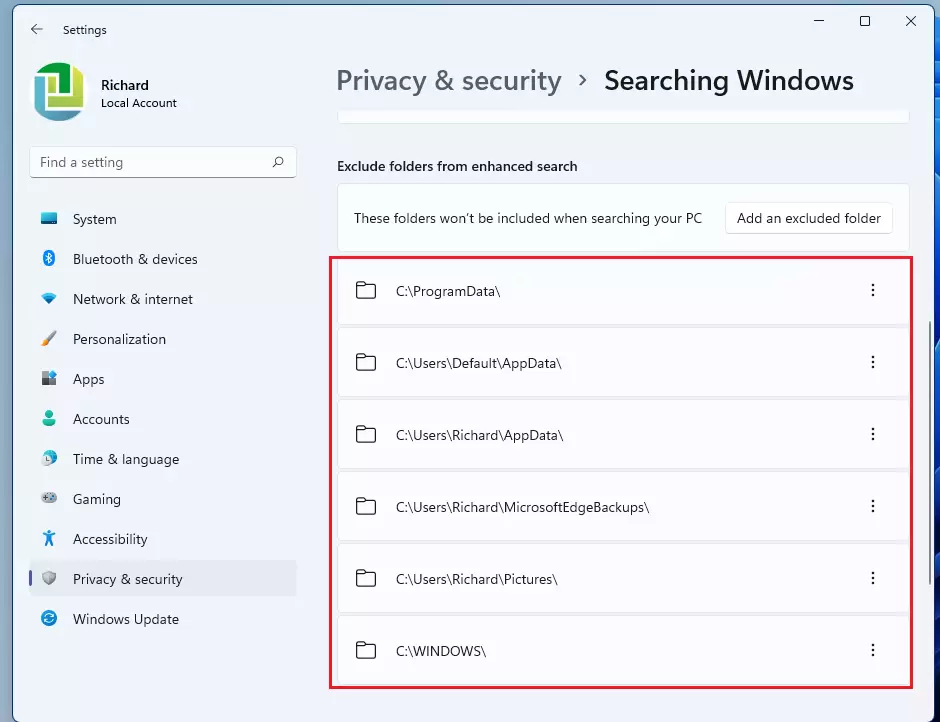
All the folders you exclude will be listed under Excluded folders from the enhanced search.
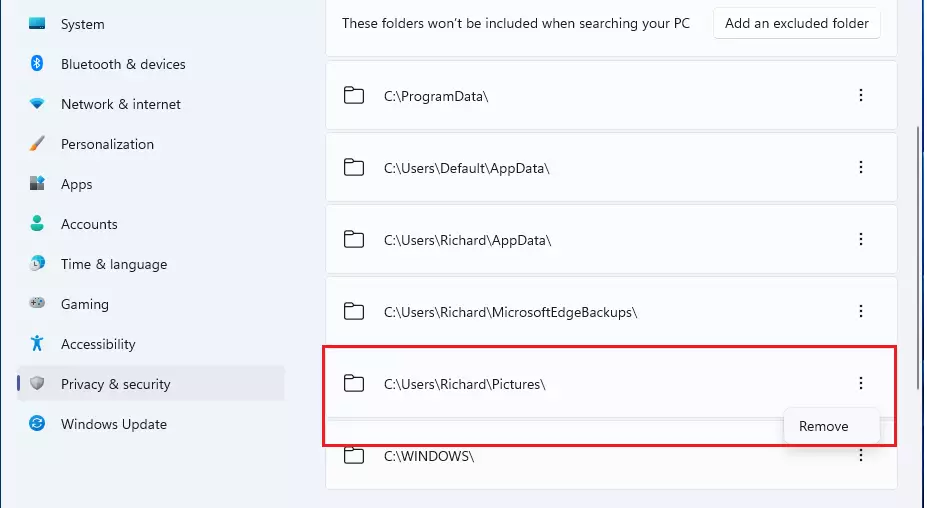
If you want to remove a folder from the excluded folder list, simply click on the vertical ellipse dots) and select Remove.
You can now close the Windows Settings app if you like.
That should do it!
Conclusion:
- Hiding specific folders from Windows Search can help streamline search results and improve system performance by excluding irrelevant content.
- Access the System Settings easily using the Windows key + I shortcut or through the Start menu.
- Navigate to Privacy & security, Search Windows Security, and then select the folders.
- Add or remove folders as needed to customize your search preferences.
- Ensuring that only relevant folders are indexed can enhance your overall search experience in Windows 11.
Was this guide helpful?

About the Author
Richard
Tech Writer, IT Professional
Richard, a writer for Geek Rewind, is a tech enthusiast who loves breaking down complex IT topics into simple, easy-to-understand ideas. With years of hands-on experience in system administration and enterprise IT operations, he’s developed a knack for offering practical tips and solutions. Richard aims to make technology more accessible and actionable. He's deeply committed to the Geek Rewind community, always ready to answer questions and engage in discussions.


No comments yet — be the first to share your thoughts!