How to Set Up a Wallpaper Slideshow on Windows 11
You set up a wallpaper slideshow on Windows 11 by selecting the Slideshow option in the Personalization > Background settings.
A wallpaper slideshow allows your Windows 11 desktop background to automatically cycle through a collection of your chosen images.
This personalizes your PC, bringing your favorite photos to your workspace. To start, create a dedicated folder and place all desired images, like JPG or PNG files, inside it.
Accessing the settings is easy: press Windows key + I. Navigate to Personalization, then select Background. Change the “Background” setting from “Picture” to “Slideshow.”
Click “Browse,” select your photo folder, and choose it. Your slideshow begins instantly, with options to control how often pictures change (from 1 minute to 1 day) and how they fit your screen.
Navigate to Settings > Personalization > Background, change the “Background” setting to Slideshow, and then click Browse to select your photo folder. Your desktop background will now cycle through your chosen images.
Advanced Configuration and Multi-Monitor Setup
Troubleshooting Persistent Settings
The command line lets users check settings paths, but administrator rights are required for this action. Modifying system settings can affect computer stability, necessitating these rights. For instance, to open the registry editor, a tool for viewing and changing settings, users type "regedit" into the command prompt with administrator rights.
reg query "HKEY_CURRENT_USER\Control Panel\Desktop" /v WallPaper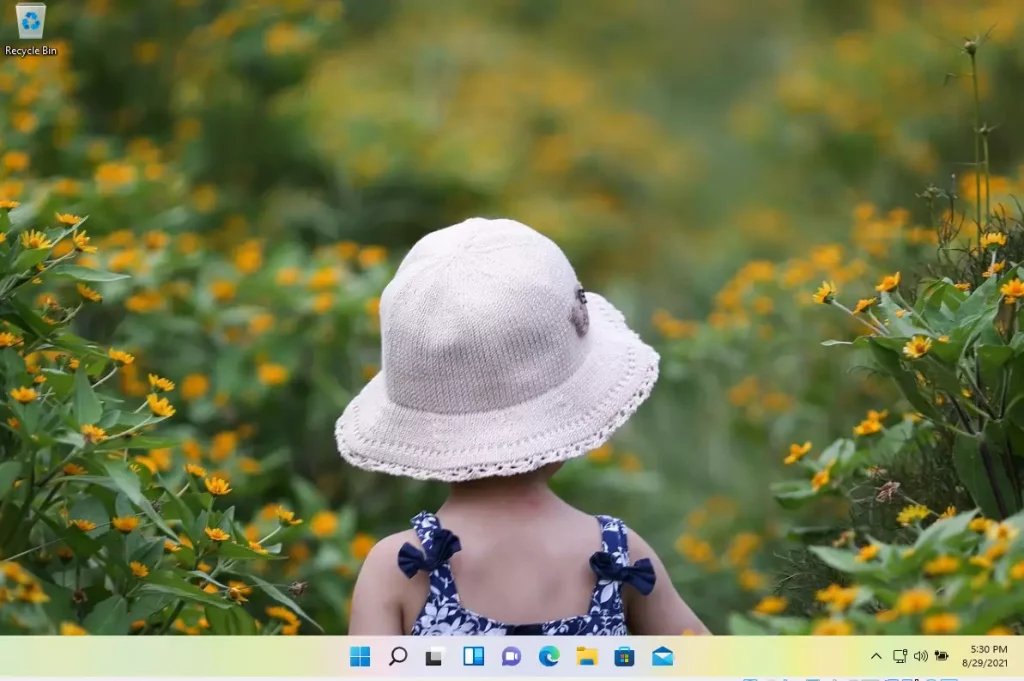
Need to clear your background path with a script? (Admin rights are required):
reg add "HKEY_CURRENT_USER\Control Panel\Desktop" /v WallPaper /t REG_SZ /d "" /f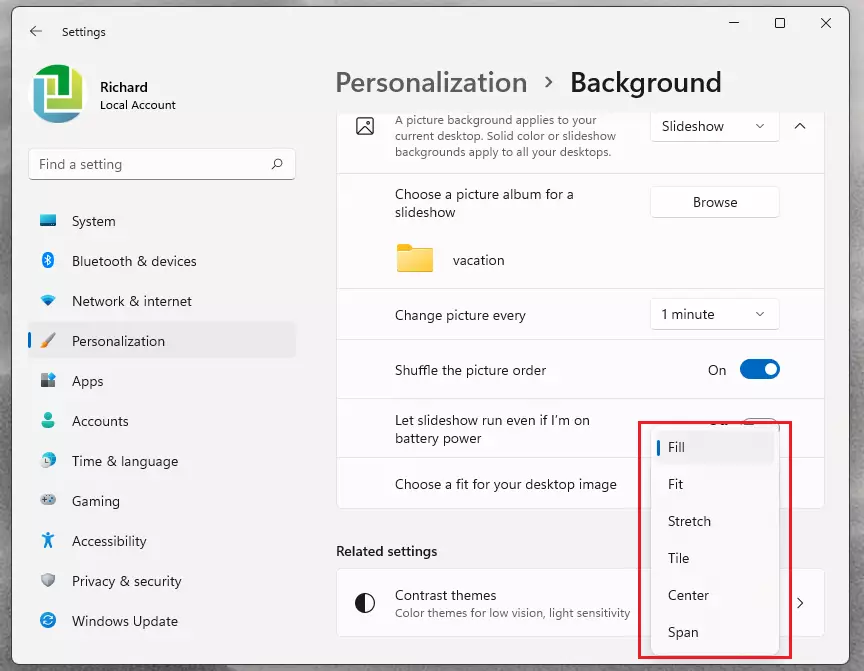
Summary
Setting up a Windows 11 wallpaper slideshow is simple and lets you easily change your desktop background.
Why does my 🪟 Windows 11 slideshow reset after restart?
This often happens if the folder path is inaccessible during boot or if power-saving modes are enabled. Ensure your images are stored on a local drive, such as 📁C:\Users\GenericUser\Pictures, rather than an external or cloud-synced drive that takes time to initialize when your computer starts up.
Does a wallpaper slideshow drain battery life?
A Windows 11 wallpaper slideshow does use a bit more battery power because your computer has to keep changing the pictures.
Was this guide helpful?

About the Author
Richard
Tech Writer, IT Professional
Richard, a writer for Geek Rewind, is a tech enthusiast who loves breaking down complex IT topics into simple, easy-to-understand ideas. With years of hands-on experience in system administration and enterprise IT operations, he’s developed a knack for offering practical tips and solutions. Richard aims to make technology more accessible and actionable. He's deeply committed to the Geek Rewind community, always ready to answer questions and engage in discussions.


Looking for just being able to do an immediate (not saved, not used as screen saver, not a lock screen) just a quick slide show of a selected folder/file or individual photos. A quick look at the photos you’ve taken so you can choose what needs to be tossed, what needs to be massaged, etc. It was in Windows 10 File Explorer under Picture format . . . Where is it now?
[…] wallpaper automatically. One is to use its slideshow feature, where you select a folder with pictures to change at intervals. The other is to use Windows […]
[…] allows you to customize the lock screen background using Windows Spotlight, Pictures, or a Slideshow that randomly displays your chosen […]
[…] can use interesting photos, slideshow, or Spotlight images as background […]
[…] a standard desktop background. Users can change or replace that background with a custom picture, slideshow, or Windows Spotlight […]
[…] can also configure a background slideshow and set it on a single […]
[…] How to set a Slideshow Background […]
[…] The Task View feature in Windows is a manager that lets you switch between apps on multiple desktops. Why use this? It keeps your work projects separate from your personal apps, reducing clutter and helping you focus. What happens when you use them? You get a cleaner screen and a faster way to switch tasks. Virtual desktops stay there even after you restart your computer until you manually close them. You can also give each one a different background, unless you use a solid color or a slideshow. […]