How to Clear Windows 11 Font Cache When Fonts Appear Blurry

Clearing the Windows 11 font cache fixes blurry, broken, or missing text. You delete the stored font data, and Windows rebuilds fresh copies from scratch. Windows 11 keeps active font data in the 📁C:\
Before you start, close all open apps and save your work. Windows blocks you from deleting font cache files while programs are running, and a browser or Office app can hold them open. You also need an administrator account. If you are signed in as a standard user, keep the administrator password ready, because Windows will ask for it when you stop services and delete files.
This process only removes cache files. It does not remove your installed fonts, and Windows rebuilds the cache on its own. So there is nothing to undo afterward. Do not delete anything inside 📁C:\
To clear the Windows 11 font cache, open Services, stop Windows Font Cache Service, then delete the.dat files in 📁C:\
How to Stop the Windows Font Cache Service
You must stop the Windows Font Cache Service before clearing corrupted font files, because this background program keeps the files locked in memory. Windows locks active font files to prevent data corruption. If you skip this step, Windows will refuse to delete the cache files later. The Services app is the same on Windows 11 Home and Pro.
Follow these steps to stop the Windows Font Cache Service:
- Click the Start button on your taskbar .
- Type the word
servicesinto the search box. - Click the app named Services in the search results. The Services window opens with a long alphabetical list.
- Scroll down the list until you find Windows Font Cache Service.
- Click once on Windows Font Cache Service to select it.
- Right-click the service and select Stop. The Status column should now be blank instead of showing “Running”. This pauses the service so you can work with the cache files.
- Look for a second service named Windows Presentation Foundation Font Cache 3.0.0.0. Right-click it and select Stop as well, just to be safe. If it is not running, Stop will be greyed out. In that case, leave it alone and move on.
Close the window, sign in with an administrator account, and try again.
Once you stop both services, Windows releases the font cache files in the C:\Windows\ServiceProfiles\LocalService\AppData\Local\FontCache folder. Until both helper services are stopped, you cannot delete these files. Leave the Services window open, because you will not need it again until after the restart.
How to Clear the Font Cache Files
You clear the Windows 11 font cache by deleting the cache files inside the system folders with File Explorer. You will work in two locations. The first is the FontCache folder. The second is C:\Windows\System32, where you look for any leftover font cache file. Windows replaces the deleted files with fresh ones the next time it starts.
Follow these steps to clear the font cache:
- Open File Explorer by clicking its icon on your taskbar or pressing the Windows key + E.
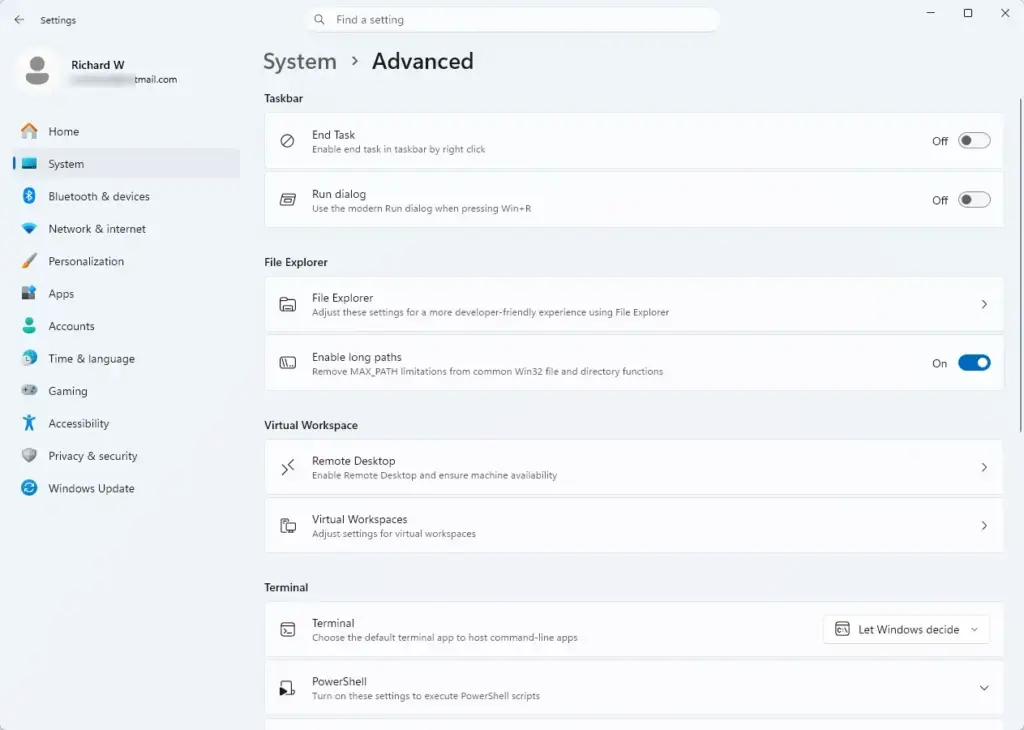
Settings > Advanced - Click the address bar at the very top of the File Explorer window. The current path becomes editable text.
- Type or paste the following exact folder path into the address bar and press Enter:
C:\Windows\ServiceProfiles\LocalService\AppData\Local\FontCache. If Windows says you do not currently have permission to access the folder, click Continue and approve the administrator prompt. - Look at the files in the FontCache folder. Find the files that end with the
.datextension, especially files with names that start withFNTCACHE(for example,FNTCACHE.DAT). - Press Ctrl + A to select all the cache files in this folder.
- Right-click the selected files and choose Delete. If a warning box asks whether you are sure, click Yes or Confirm. If your system says a file cannot be deleted because it is still open, close all your programs. Also go back to the previous section and make sure both services show as stopped.
- Look for any files ending with the
.logextension in the same folder and delete them as well.
Sometimes your system stores an additional backup or helper cache file in a different folder. Check that folder too, so everything is completely clean.
- Click the address bar in File Explorer again.
- Type or paste the following folder path and press Enter:
C:\Windows\Fonts - Look for a file named
FntCache.dator similar system cache files sitting directly in this folder. If you find them, right-click them and select Delete. If you do not see them here, do not worry. They might only exist in the first folder you cleaned.
It holds files Windows needs to run, so delete only the font cache file and nothing else.
Restarting Your Computer and Font Services
Restart your computer after clearing the font cache. This starts the Windows Font Cache Service again and forces Windows to build a fresh set of font data. A reboot starts all the background services properly again, so you do not need to change anything in the Services app.
Restarting does two important things:
- It turns the Windows Font Cache Service back on automatically. You do not need to start it manually in the Services app. When your computer starts up again, it sees that the service is set to run automatically and starts it.
- It forces your system to scan all your installed fonts and build a brand new font cache file. This new file will be clean, uncorrupted, and properly organized.
To restart, follow these steps:
- Click the Start button.
- Click the Power icon and select Restart. Use Restart rather than Shut down. With Fast Startup turned on, a shutdown does not always fully reset the system.
- Wait for the computer to turn off and back on. The first sign-in may take a little longer than usual while Windows rebuilds the cache.
- Once you reach your desktop, open a web page or a word processor and check your text. Your letters should look sharp, clear, and easy to read again.
If the text is still blurry, move on to the display scaling and ClearType checks below.
Unique Troubleshooting: Checking Display Scaling Settings
Display scaling can make text blurry even when the font cache is fine. This is the next thing to check if clearing the cache did not work. In Windows 11, you check scaling in the main display settings. Setting the Scale to the recommended percentage for your monitor often fixes blurry text.
If your scaling percentage is set incorrectly, your computer has to stretch your text digitally. This stretching causes the edges of your letters to look fuzzy or blurred. It is most common on laptops and on high-resolution monitors.
Follow these steps to check and fix your display scaling settings:
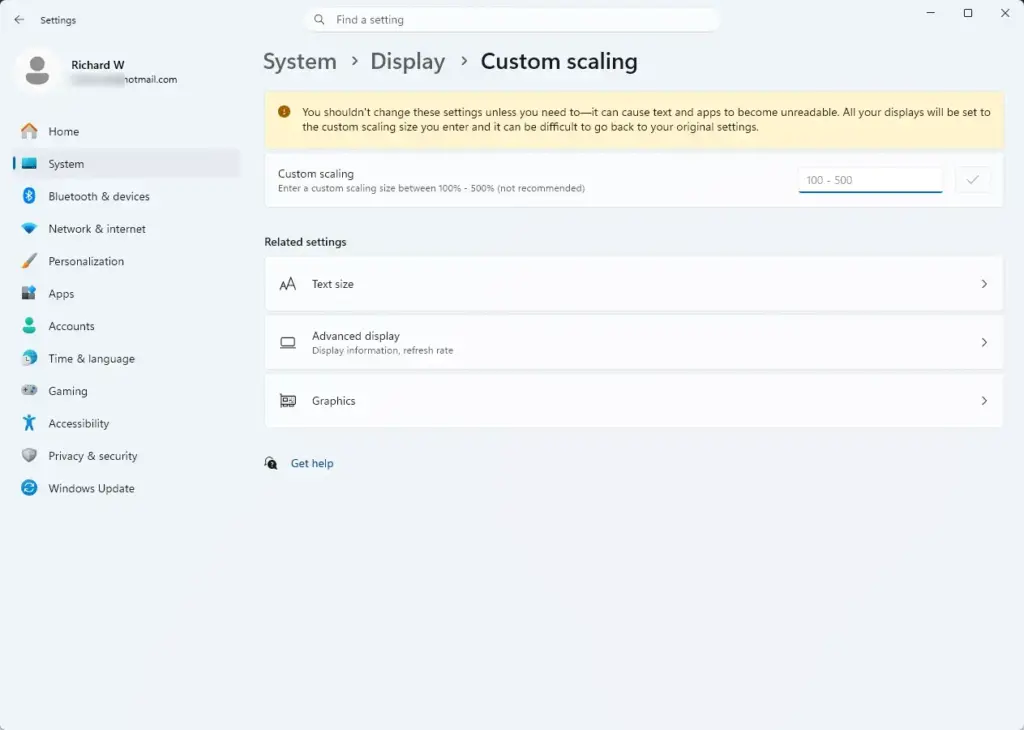
- Right-click any empty space on your desktop and select Display settings. The Settings app opens on the Display page (Settings System Display).
- Scroll down the page until you find the section labeled Scale & layout.
- Look at the setting next to Scale. Windows usually shows "(Recommended)" next to a specific percentage, such as 125% or 150%.
- If the scale is set to a custom number or anything other than the recommended value, click the drop-down menu and choose the percentage marked (Recommended). The screen will flicker briefly, and everything will resize.
- Check whether your text looks clearer. If you changed the scale, sign out of your user account and sign back in so all apps adjust properly. Some older apps only pick up the new scale after a fresh sign-in.
If you use more than one monitor, select each monitor at the top of the Display page and check its scale separately. Each screen has its own recommended value.
Unique Troubleshooting: Using ClearType Text Tuner
ClearType Text Tuner is a built-in Windows 11 tool that fixes fuzzy letters. It shows you sets of sample text and lets you pick the ones that look clearest on your screen. It is available on both Home and Pro.
Follow these steps to tune your text appearance:
- Click the Start button.
- Type
ClearTypeinto the search box. - Click the app named Adjust ClearType text in the search results. The ClearType Text Tuner window opens.
- Make sure the box next to Turn on ClearType is checked, then click Next.
- Wait while Windows checks that your monitor is set to its native resolution, then click Next. If you have more than one monitor, the tool first asks whether to tune all of them or just one.
- Look at the text samples on each of the following screens. Click the sample that looks clearest and easiest to read, then click Next. Expect about five of these screens.
- Keep going until you reach the final screen, then click Finish.
This tool adjusts how the pixels on your monitor light up around letters, making the edges look smooth instead of jagged or blurry. If you do not like the result, run the tool again and choose different samples. You can also uncheck Turn on ClearType to switch it off.
Summary
Fixing blurry text involves stopping the font cache services, deleting the broken cache files, restarting your system, and then checking your display scaling and ClearType settings. These steps give your computer a clean slate to rebuild smooth, easy-to-read fonts on your high-resolution screen. If the text is still blurry after all of them, check that your monitor is running at its native resolution and that your graphics driver is up to date.
Have a question about this guide?
Answered by AI from this guide. Good questions may be added to this page — please don't include personal details.
Did this guide fix your problem?

About the Author
Richard
Tech Writer, IT Professional
Richard is a writer at Geek Rewind who turns complex IT tasks into clear, step-by-step guides. He draws on years of hands-on experience in system administration and enterprise IT operations, focusing on Windows, Linux and WordPress: the problems people actually run into, and the fixes that work. His server and WordPress guides come from systems he runs himself. Richard builds and maintains the platform behind Geek Rewind, from its Ubuntu servers and Nginx configuration to its custom WordPress plugins. Many new tutorials start with readers' questions, and he's always glad to answer them in the comments.
No comments yet — be the first to share your thoughts!