How to Change the Text Cursor Blink Rate in Windows 11
The text cursor is the blinking vertical line you see when you type in Windows.
The cursor blink rate means how fast or slow that blinking line flashes on your screen.
By default, the cursor blinks about every half a second, but you can change it to blink faster, slower, or even stop blinking if you want.
Adjust the text cursor blink rate in Windows 11 through Settings > Accessibility > Text cursor. Move the slider under “Cursor blink rate” to your desired speed and click Apply. Alternatively, use the Keyboard properties in Control Panel or the Registry Editor for more advanced adjustments.
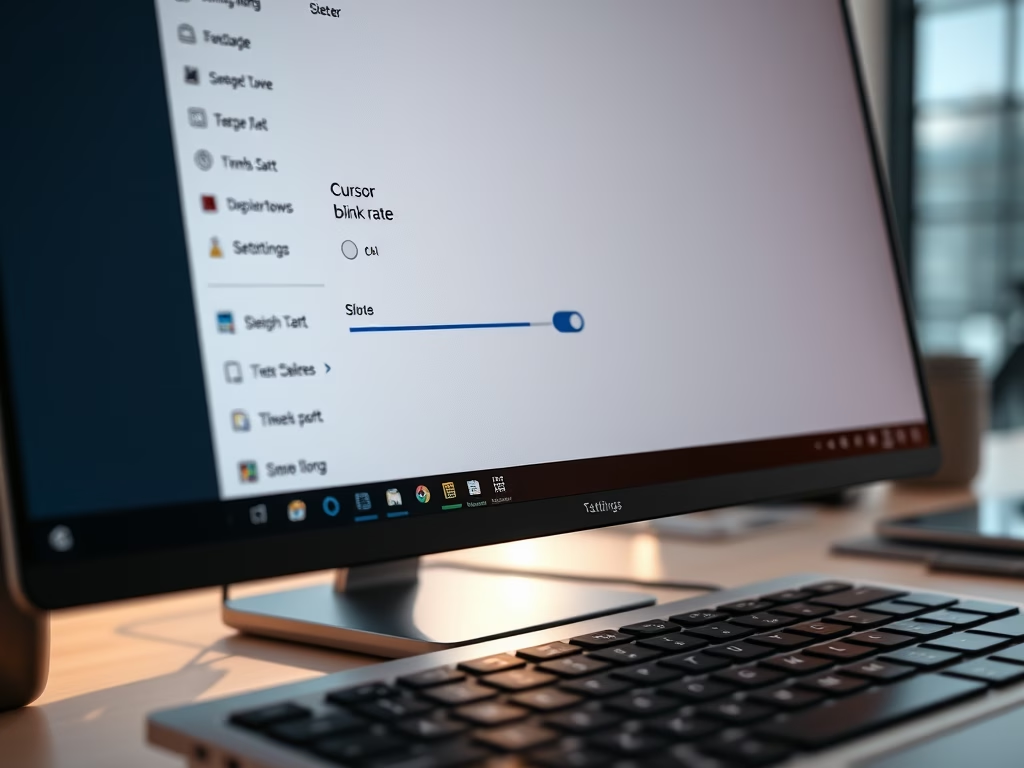
Option 1Change the Cursor Blink Rate Using Settings
- Press the Windows key + I on your keyboard to open Settings.
- On the left side, click Accessibility.
- On the right, scroll down and click Text cursor.
- Find the slider under Cursor blink rate.
- Move the slider left or right to choose a blink speed between 200 (fast) and 1300 (slow) milliseconds.
- Click Apply to save your changes.
- Close the Settings window when done.


Option 2Change the Cursor Blink Rate Using Control Panel
- Open Control Panel by typing it in the Start menu search and clicking it.
- Make sure the view is set to Icons (not Category).
- Click on the Keyboard icon.
- Click the Speed tab.
- Under Cursor blink rate, move the slider to your preferred speed.
- Click OK to save.

Option 3Change the Cursor Blink Rate Using Registry Editor (Advanced)
Warning: This method is for advanced users. Be careful when changing registry settings.
- Press Windows key + R, type
regedit, and press Enter to open the Registry Editor. - Use the panel on the left to go to this folder:
HKEY_CURRENT_USER\Control Panel\Desktop
- On the right side, find CursorBlinkRate and double-click it.
- Type a number between 200 (fast) and 1200 (slow) to set the blink rate in milliseconds.
- Type -1 if you want to stop the cursor from blinking completely.
- Click OK to save.
- Close the Registry Editor.
- Sign out and sign back in, or restart your computer for the change to take effect.

Summary
- The text cursor blink rate controls how fast the blinking line flashes while you type.
- The default blink speed is about 530 milliseconds but can be changed.
- You can change the blink rate using Settings (if your Windows version supports it), Control Panel, or Registry Editor (for advanced users).
- The blink rate can be set between 200 (fast) and 1300 milliseconds (slow), or set to -1 to stop blinking.
- Remember to sign out or restart your PC if you use the Registry Editor method.
Try adjusting the blink rate to what feels best for you while typing!
Was this guide helpful?

About the Author
Richard
Tech Writer, IT Professional
Richard, a writer for Geek Rewind, is a tech enthusiast who loves breaking down complex IT topics into simple, easy-to-understand ideas. With years of hands-on experience in system administration and enterprise IT operations, he’s developed a knack for offering practical tips and solutions. Richard aims to make technology more accessible and actionable. He's deeply committed to the Geek Rewind community, always ready to answer questions and engage in discussions.


No comments yet — be the first to share your thoughts!