How to Change Text Cursor Thickness in Windows 11
Changing text cursor thickness in Windows 11 makes it easier to see where you’re typing.
The text cursor is that blinking vertical line showing where your next letter will go. Windows 11 lets you make this line thicker, with options ranging from 1 pixel all the way up to 20 pixels wide.
Adjusting this setting is helpful if you find the standard cursor hard to spot, especially on large or high-resolution screens. It’s a simple tweak that can make typing feel much more comfortable.
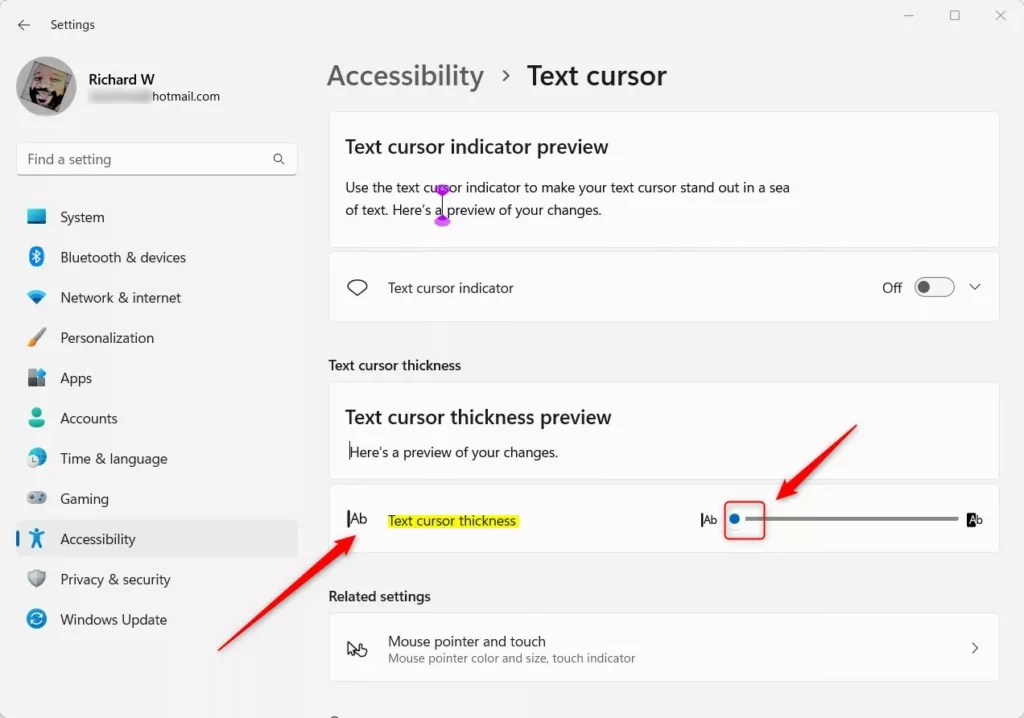
Go to Settings > Accessibility > Text cursor. Use the slider under “Text cursor thickness” to adjust the width from 1 to 20. This makes the blinking line easier to see while typing.
Why Adjust Text Cursor Thickness?
Making your text cursor thicker can really help if you find the default thin line hard to see, especially on modern screens.
Increasing the text cursor thickness makes the cursor a bold, easy-to-spot line. This improvement makes it much faster to locate your place in long documents or web forms.
How to Change Text Cursor Thickness in 🪟 Windows 11
The quickest way to change this is through the Windows Accessibility settings.
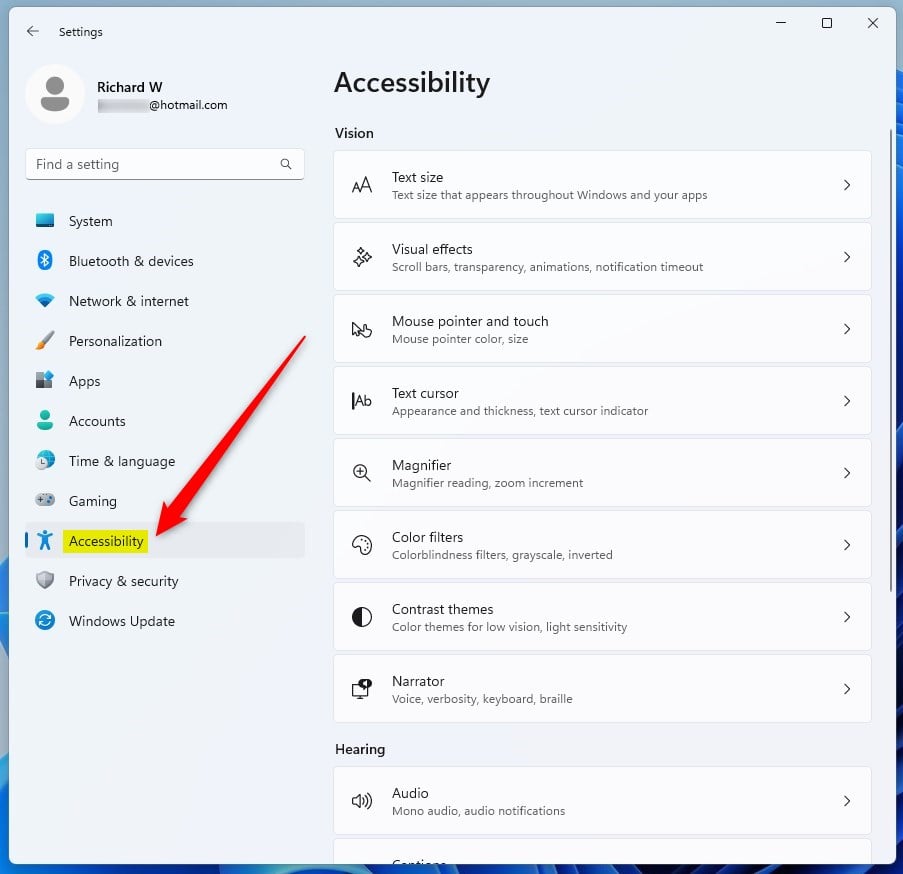
- Open the Settings app by pressing Windows Key + I.
- Click on Accessibility in the left menu.
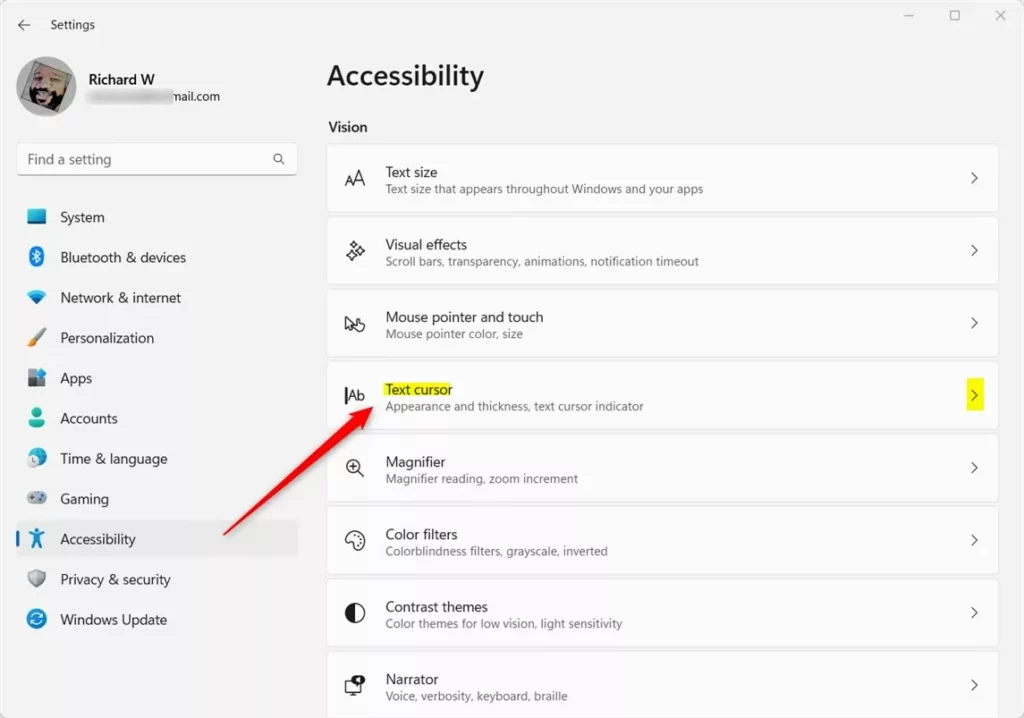
- Select the Text cursor tile on the right side.
- Use the slider under Text cursor thickness to make the line wider.
Pro Tip: Use the Text Cursor Indicator
Instead of just making the text cursor thicker, you can use the Text Cursor Indicator to add a colored circle around it.
Troubleshooting: Why is my cursor a thick block?
If your text cursor suddenly looks like a big, solid block, it’s likely because your accessibility settings are turned up too high or you’ve accidentally changed an app setting.
Advanced: Changing Cursor via Registry
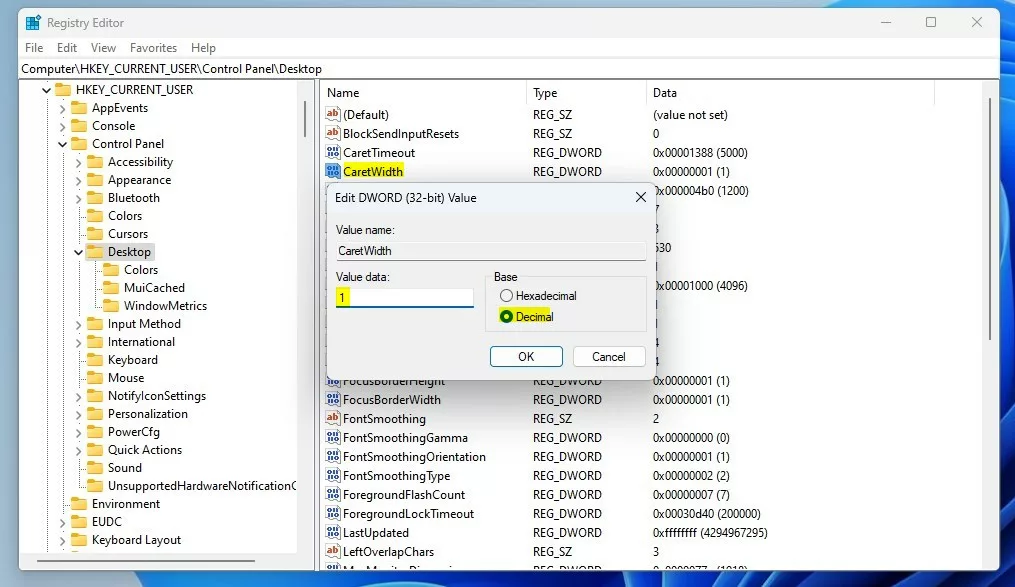
You can adjust text cursor thickness in Windows 11 by changing a setting in the Registry Editor. This advanced method lets you set the exact width for your text cursor, but you need to be careful when making changes in the registry.
- Press Windows Key + R, type
regedit, and hit Enter. - Navigate to:
HKEY_CURRENT_USER\Control Panel\Desktop
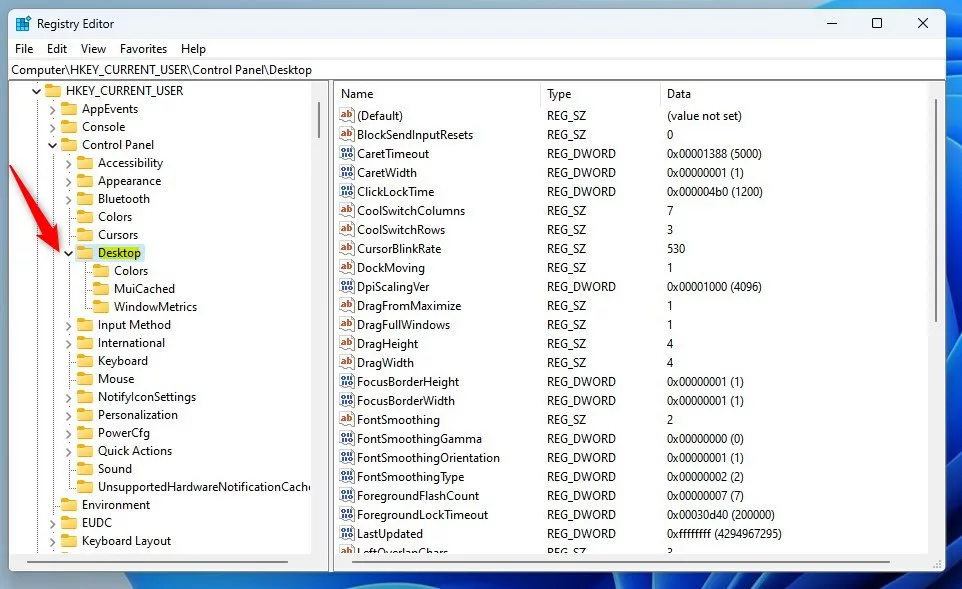
- Right-click in the empty space, select New > DWORD (32-bit) Value.
- Name it
CaretWidth. - Double-click it, set the Base to Decimal, and enter a value between 1 and 20.
Summary
Customizing your text cursor thickness or color in Windows makes typing easier and more comfortable.
What is the difference between the mouse pointer and the text cursor?
The mouse pointer is the arrow you move to click things, while the text cursor is the blinking vertical line that shows where your typing will appear.
How do I change the color of the text cursor?
You can change the text cursor color by turning on the Text Cursor Indicator in your Windows Accessibility settings and picking a new color.
Was this guide helpful?

About the Author
Richard
Tech Writer, IT Professional
Richard, a writer for Geek Rewind, is a tech enthusiast who loves breaking down complex IT topics into simple, easy-to-understand ideas. With years of hands-on experience in system administration and enterprise IT operations, he’s developed a knack for offering practical tips and solutions. Richard aims to make technology more accessible and actionable. He's deeply committed to the Geek Rewind community, always ready to answer questions and engage in discussions.


No comments yet — be the first to share your thoughts!