How to Change HDR or SDR Content Brightness for HDR Display in Windows 11

HDR content brightness in Windows 11 controls how bright standard dynamic range (SDR) apps look on a high dynamic range (HDR) display. Set it well and your desktop stops looking washed out or blindingly bright.
Windows 11 version 22H2 and newer have a dedicated slider in the display settings to balance this light level. You move it until photos, games, video and ordinary windows all look right on your monitor. It is a live setting, so you see the result as you drag.
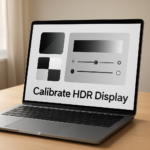
Open Settings with Win+I, go to System Display Brightness and color, then drag the SDR content brightness slider under “Brightness” to adjust how bright standard apps look on your HDR display. Changes take effect without restart.
Why Does This Matter?
Most of what you do on a PC is still SDR: browsers, documents, file windows and email. When you turn on HDR, Windows has to map all of that onto a display that is now working in a much wider brightness range. If the balance is off, the desktop looks flat and grey, or so bright it tires your eyes.
Getting the balance right makes photos, videos and everyday windows look natural without eye strain. It also leaves HDR movies and games free to use the brighter highlights they were made for.
HDR itself means brighter colors and a wider range of light. You get vivid hues while shadows and highlights keep their detail.
What Happens When HDR is On?
This is expected. Displays handle SDR and HDR signals differently, so standard content needs a manual brightness adjustment.
The result depends on your display brand and model. Each manufacturer processes these signals with its own hardware curves, so the same slider position can look different on two monitors. Treat any number you see online as a starting point and judge by eye.
How the Settings Work
The brightness slider changes the light level of standard apps so they sit comfortably alongside the brighter highlights of HDR video and games. Windows gives you one slider to set this balance by hand, so everything on screen looks consistent and comfortable.
The slider only appears when HDR is turned on for that display. If you can't find it, check that HDR is on and that Windows recognizes the display as HDR-capable. Also check that the monitor's own on-screen menu has not disabled its HDR mode.
For built-in HDR displays (like HDR laptops): The options change how bright HDR content looks compared to SDR content. A separate control manages standard content, or Windows handles the scaling automatically. Which one you see depends on the display and its drivers.
Brightness Tips
A few tips help you settle on a value:
- Raise the slider slightly when you work in a bright room, to cut through glare.
- Lower it at night, so blacks stay deep and rich.
- Check a dark scene and a bright page of text together. Dark scenes should not look grey, and bright highlights should not hurt your eyes.
- Make small changes and look at the screen for a minute before changing again. Your eyes adapt.
You can raise the level to push the contrast between bright and dark areas. The trade-off is lost detail in shadowy scenes.
More Information
If you still have problems, such as washed-out colors, grey blacks, or a display that looks dim after you turn on HDR, the resources below can help. Official Microsoft guides and community forums give step-by-step fixes. They also cover the case where your monitor or laptop screen does not seem to apply your custom brightness setting.
These resources explain how to configure HDR and walk through common troubleshooting steps.
After Enabling HDR in Windows, the Colors Are Washed Out
This one covers the case where images look dark and desaturated after you turn on HDR in Windows.
Steps to Adjust HDR or SDR Brightness
Changing the brightness takes a few clicks through the main display settings. You move one slider to set how bright standard apps look compared with HDR movies and games. The steps are the same on Windows 11 Home and Pro. No restart is needed.
- Open Settings by pressing
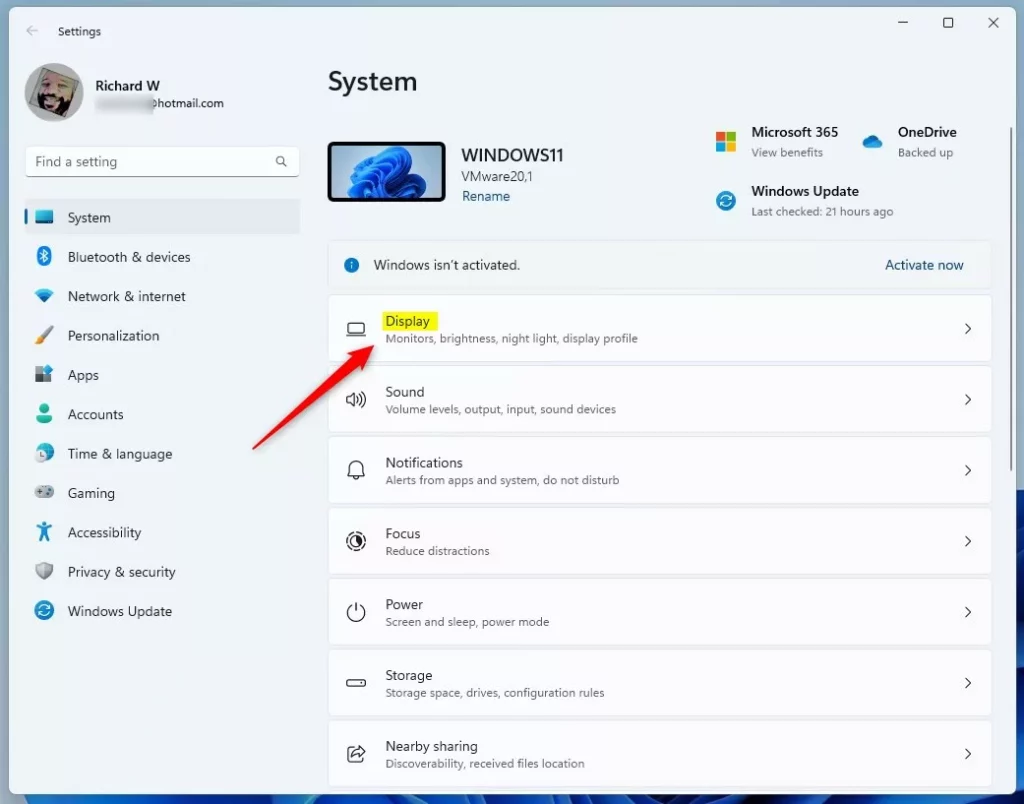
Win+I. - Click System on the left side, then click Display on the right side. You should see your display settings.
- Click HDR or Use HDR on the right side. The HDR page opens. If HDR is off, turn it on first, because the brightness slider does not appear without it.
- If you have multiple displays connected to your PC, choose the HDR-capable display you want to adjust in the Select a display to view or change its settings dropdown menu.
- If you have multiple displays connected to your PC, move the Settings window to the HDR display you're adjusting. That way you see the effect of each change on the right screen.
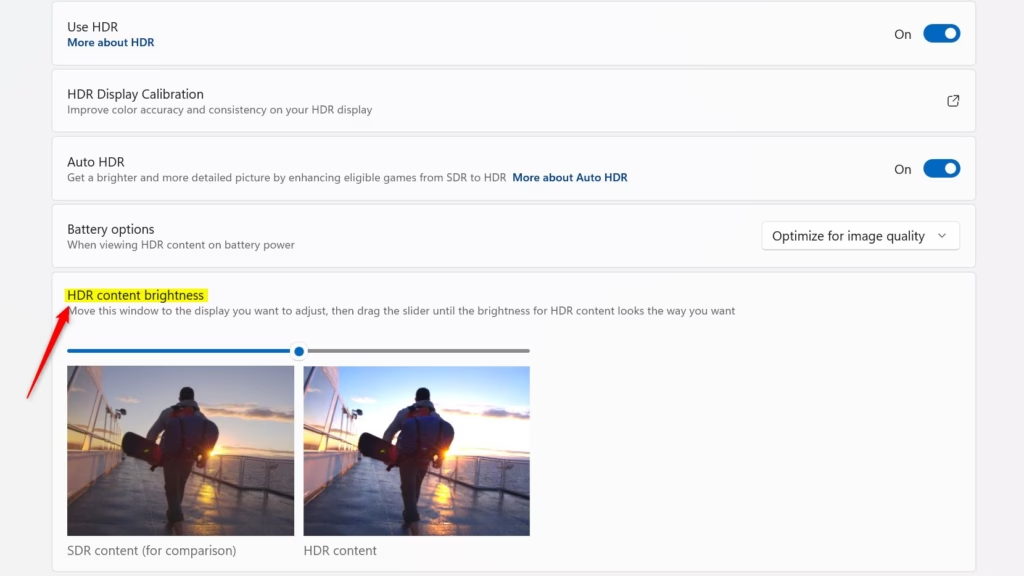
- Move the SDR content brightness (external HDR display) or HDR content brightness (built-in HDR display) slider to the brightness level that gives you the right balance between HDR and SDR content. The Settings window and any other SDR content on that display should get brighter or dimmer as you drag.
- When finished, close Settings. Your setting is saved automatically.
To undo the change, open the same page and drag the slider back. If the slider is missing or greyed out, HDR is probably off for that display, or the display is not reporting HDR support to Windows.
Your display is now calibrated. You can come back to the slider whenever the lighting in your room changes or you switch to a different monitor.
Summary
HDR content gives you better brightness, color and detail than standard SDR content. Adjusting the brightness by hand in Windows 11 keeps SDR content from looking dull while HDR stays on.
Was this guide helpful?

About the Author
Richard
Tech Writer, IT Professional
Richard is a writer at Geek Rewind who turns complex IT tasks into clear, step-by-step guides. He draws on years of hands-on experience in system administration and enterprise IT operations, focusing on Windows, Linux and WordPress: the problems people actually run into, and the fixes that work. His server and WordPress guides come from systems he runs himself. Richard builds and maintains the platform behind Geek Rewind, from its Ubuntu servers and Nginx configuration to its custom WordPress plugins. Many new tutorials start with readers' questions, and he's always glad to answer them in the comments.


No comments yet — be the first to share your thoughts!