How to Always keep these sites active when using Sleeping tabs in Microsoft Edge
Microsoft Edge’s “Always keep these sites active” list stops specific websites from going to sleep.
Sleeping Tabs is a handy feature in Microsoft Edge that helps your PC run faster by putting tabs you’re not using into a low-power mode. This list lets you choose sites that should never go to sleep.
When you add a website to this special list, Microsoft Edge will always keep that tab ready to go. You won’t have to wait for it to reload when you click back on it.
This is perfect for sites you use all the time, like your email or a work tool, so they’re always just a click away.
Add your preferred websites to the “Always Keep These Sites Active” list in Edge’s System and performance settings. This prevents those tabs from sleeping, ensuring they load instantly. Click “Add site,” enter the URL, and click “Add” to save it.
What Happens When You Do This?
Microsoft Edge’s ‘Always Keep These Sites Active’ list stops tabs from sleeping. Adding a website to this list ensures the website’s tab stays ready for immediate use, preventing tab sleep.
Steps to Keep Your Sites Active
- Open Edge Settings
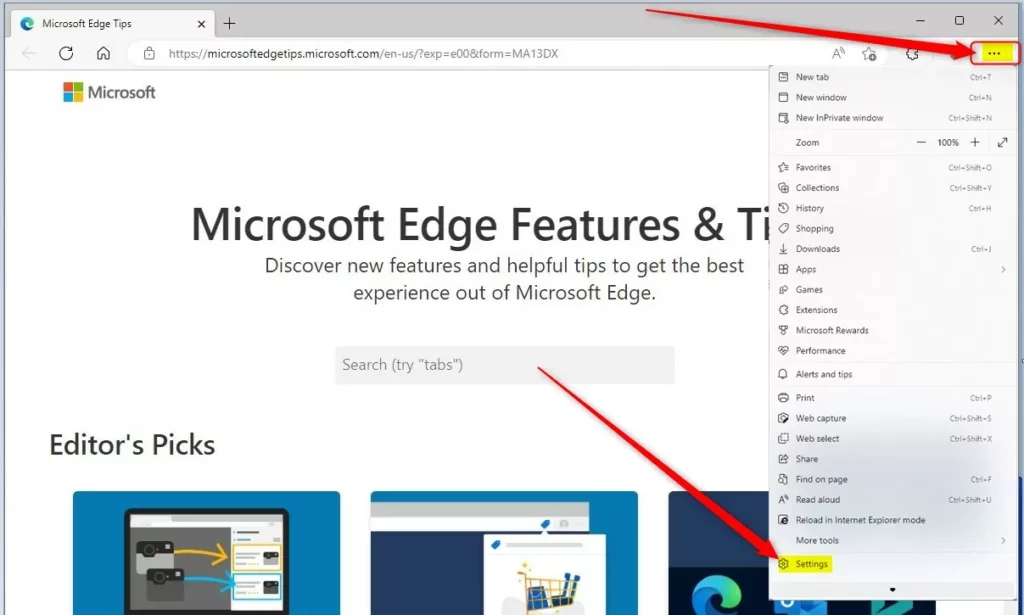
First, open Microsoft Edge. Click on the three dots...in the top right corner. This will open a menu. Then, click on Settings.
You can also typeedge://settings/systemedge://settingsinto the address bar and press Enter. This will take you straight to the right page. - Go to System and Performance
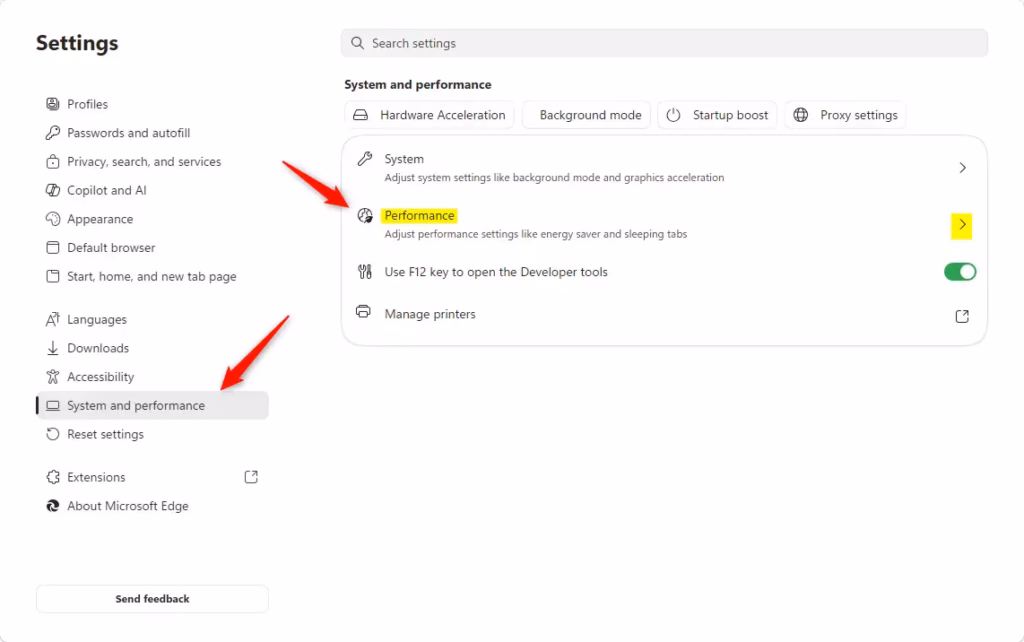
In the Settings menu, look for System and performance on the left side. Click on it. - Find the “Always Keep These Sites Active” Section
Under the System and performance settings, you will see a section called Performance. Click on it.
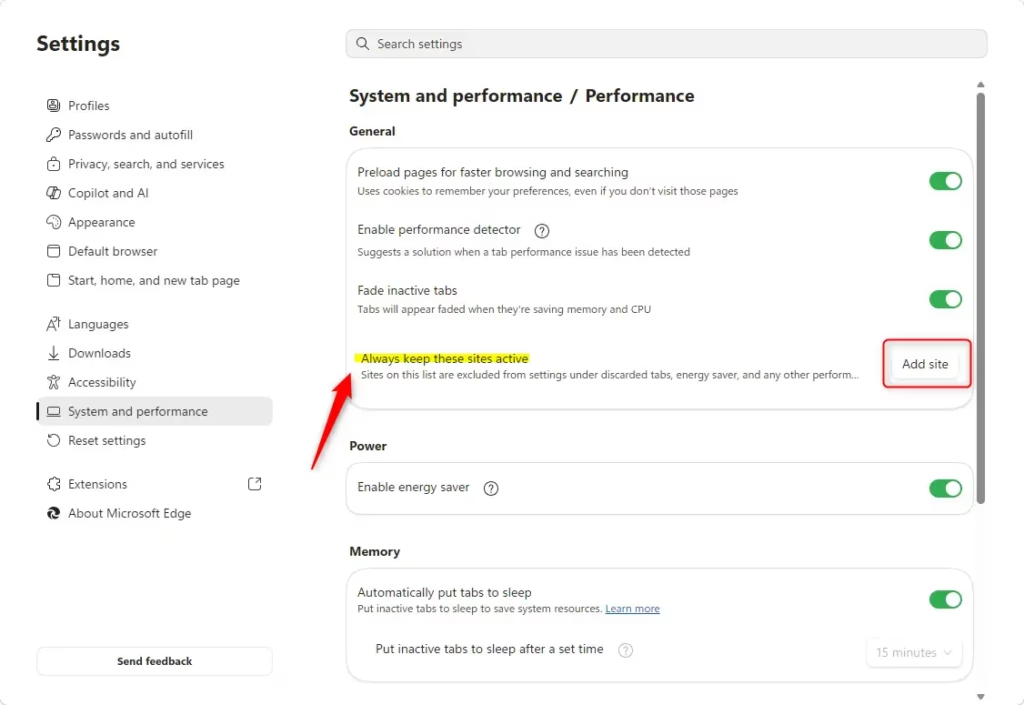
Scroll down until you see a section named Always keep these sites active. This is where you tell Edge which sites should never sleep. - Add a Site to Your List
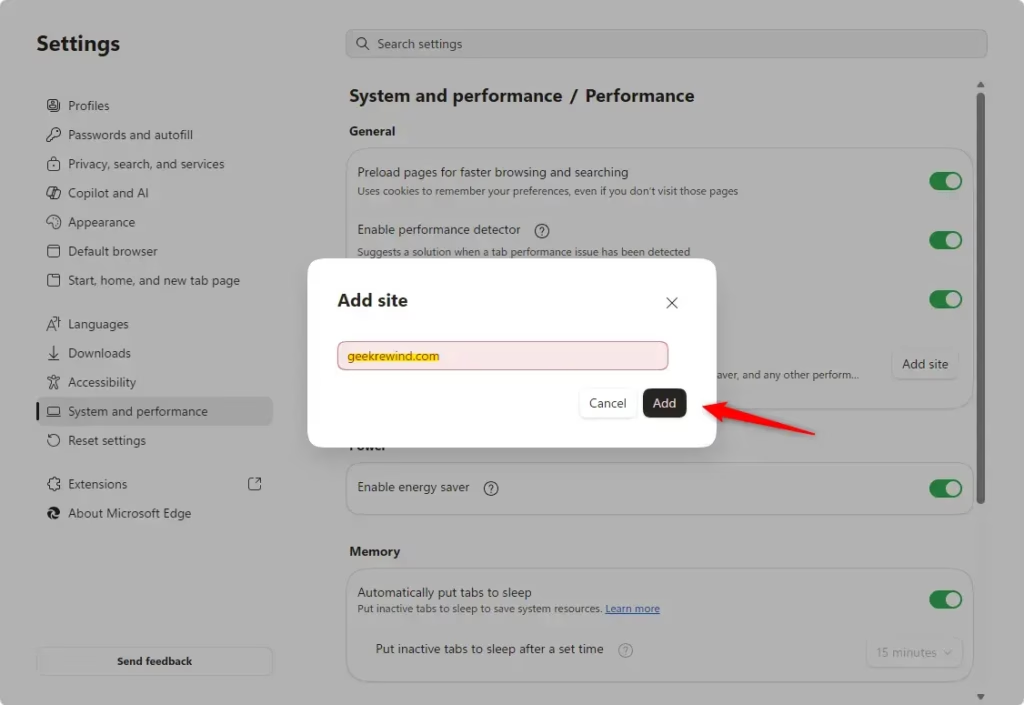
Click the Add site button. A small box will pop up.
Type the full web address (URL) of the site you want to keep active. For example, to keep your email always active, you might typehttps://mail.google.comhttps://mail.google.com/.
After typing the address, click the Add button next to it.
You can add more sites by repeating this step for each one. - Manage Your List
Changed your mind? No problem. On the same page where you added sites, you’ll see a list of all the sites you’ve chosen.
Next to each site, there are three dots.... Click these dots to see options. You can choose to Edit the web address or Remove the site from the list completely.
To keep specific websites active and prevent them from closing with sleeping tabs in Microsoft Edge, add those websites to a special list. This guide shows you exactly how to find the setting and add the websites you want to keep open, ensuring they remain active.
https://support.microsoft.com/en-us/edge/learn-about-performance-features-in-microsoft-edge
Summary
The ‘Always Keep These Sites Active’ list in Microsoft Edge prevents specific websites from sleeping. Adding important websites to this list ensures they remain ready and open instantly when you click them. This helps sites you use frequently stay active, preventing them from closing automatically after a period of inactivity.
How do I put inactive tabs to sleep in Edge?
Scroll down to the “Optimize Performance” section. Toggle the switch next to “Save resources with sleeping tabs” to enable the feature. You can also customize the inactivity period before a tab goes to sleep by clicking on the dropdown menu and selecting your preferred time.
Was this guide helpful?

About the Author
Richard
Tech Writer, IT Professional
Richard, a writer for Geek Rewind, is a tech enthusiast who loves breaking down complex IT topics into simple, easy-to-understand ideas. With years of hands-on experience in system administration and enterprise IT operations, he’s developed a knack for offering practical tips and solutions. Richard aims to make technology more accessible and actionable. He's deeply committed to the Geek Rewind community, always ready to answer questions and engage in discussions.


No comments yet — be the first to share your thoughts!