How to Change Mouse Pointer Image in Windows 11
Changing the mouse pointer image in Windows 11 lets you swap the default arrow for a new look. Your mouse pointer is the small arrow or icon that moves as you use your mouse, showing where you’re clicking.
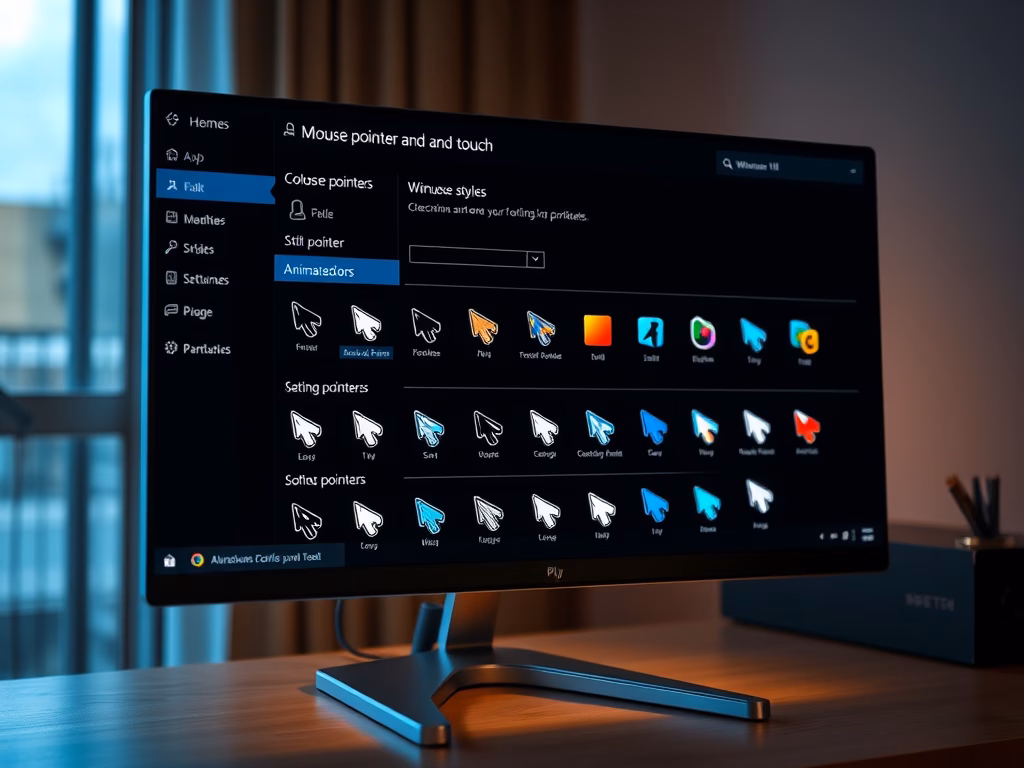
Windows 11 includes several built-in pointer schemes, and you can select a different one easily. You can even use your own custom images for the pointer.
Open Settings, navigate to Accessibility, then Mouse pointer and touch. Expand Customize pointer image to select a built-in style or click Browse to upload your own .ani or .cur file. Your pointer changes immediately.
Why Change Your Mouse Pointer?
A different pointer can make your computer feel more personal. It can also be easier to see on your screen if you pick a larger or brighter style.
What File Types Do Mouse Pointers Use?
Windows uses two types of pointer files:
- .ani — animated pointers that move or blink
- .cur — still pointer images that don’t move
Windows stores the default pointers in a folder called C:\Windows\Cursors. But you can use pointer files from anywhere on your computer.
How to Change Your Mouse Pointer Image
You can change your mouse pointer image in Windows 11 through the Settings app. Navigate to Accessibility, then find the Mouse pointer settings. This section allows you to pick a new look for your cursor, choose different pointer styles, and adjust pointer size to make them easier to see.
- Open the Settings app💡TipClick the Start menu (the Windows icon at the bottom left). Then click Settings. Or press the Windows key + I on your keyboard to open Settings faster.
- Go to Accessibility
Look at the left side of the Settings window. Click on Accessibility.
- Find Mouse pointer settings
On the right side, click on Mouse pointer and touch. This opens the pointer options.
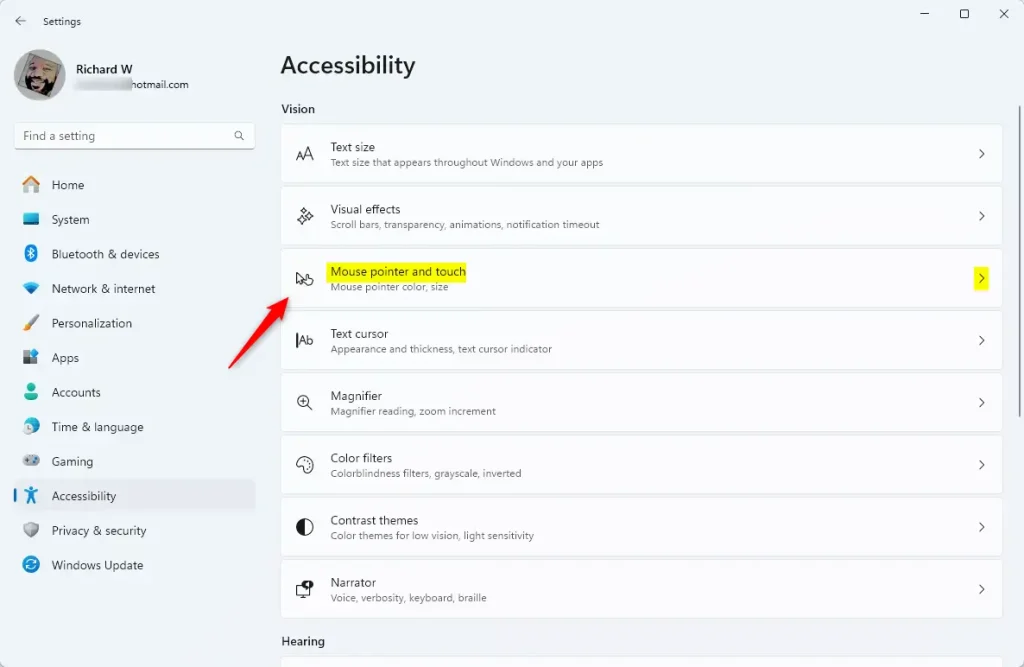
Windows 11 Mouse pointer and touch settings - Expand Customize pointer image
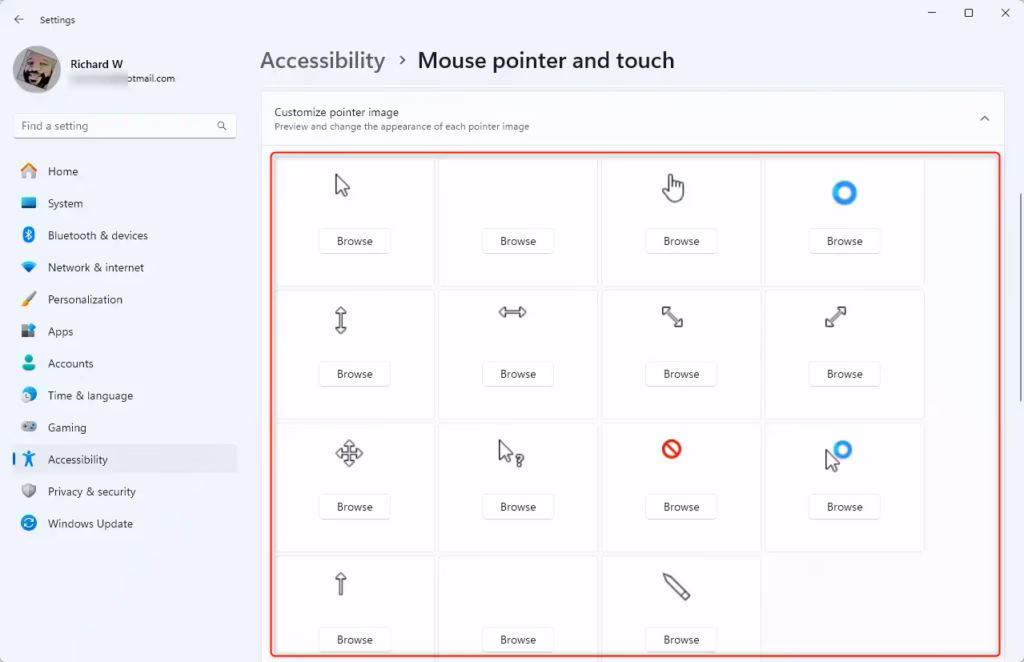
Scroll down. Click on Customize pointer image. You’ll see all the pointer images you can choose from.

On the Mouse pointer and touch settings pane, expand customize pointer image tile - Pick a pointer image
Look at all the pointer images. Move your mouse over each one. This shows you what it looks like and what it’s used for.
- Use your own pointer image (optional)⚠️WarningDo you want to use your own picture? Click the Browse button. Find and pick a .ani or .cur file from your computer.
Browse for custom mouse pointer image
Your new pointer starts working right away. You don’t need to restart Windows.
Summary
Changing your mouse pointer in Windows 11 is simple and lets you pick a new look. You can choose from built-in styles in Settings under Accessibility, then Mouse pointer and touch. You can also change the pointer size or use your own custom cursor files, which need to be .cur or .ani files.
- Windows 11 has built-in mouse pointers you can choose from
- You can also add your own custom pointer images
- Animated pointers use .ani files
- Still pointers use .cur files
- Find these settings in Settings > Accessibility > Mouse pointer and touch
- You can preview pointers by moving your mouse over them
- You can browse for custom files from your computer
- Your choice takes effect right away
Users can now customize their mouse pointer appearance in Windows 11. This personalization ensures the pointer matches user preferences for an improved computing experience. Further Windows 11 tips are available in a separate guide for additional user assistance.
Was this guide helpful?

About the Author
Richard
Tech Writer, IT Professional
Richard, a writer for Geek Rewind, is a tech enthusiast who loves breaking down complex IT topics into simple, easy-to-understand ideas. With years of hands-on experience in system administration and enterprise IT operations, he’s developed a knack for offering practical tips and solutions. Richard aims to make technology more accessible and actionable. He's deeply committed to the Geek Rewind community, always ready to answer questions and engage in discussions.


No comments yet — be the first to share your thoughts!