How to Change the Time on Your Windows 11 PC
You change the time on your Windows 11 PC by adjusting the date and time settings within the Settings app.
If your PC’s time is off, it can mess up your daily schedule and cause problems with apps that need accurate timestamps, like when you save files or when the system logs events.
Windows 11 offers both automatic time synchronization with internet time servers and manual adjustment options for precise control.
This guide will show you how to make sure your PC clock is always correct, whether you need to tweak it a little or set a whole new time zone.
Open Settings, go to Time & language, then Date & time. Turn off “Set time automatically” and click “Change” to manually set the correct date and time.
Why Does Your PC’s Time Matter?
Your computer’s clock does important work behind the scenes. It stamps the date and time on every file you create or change. It also helps your PC run scheduled tasks at the correct moment. If your time is wrong, your files may show incorrect dates.
Option 1Change Time Using Windows Settings
- Press
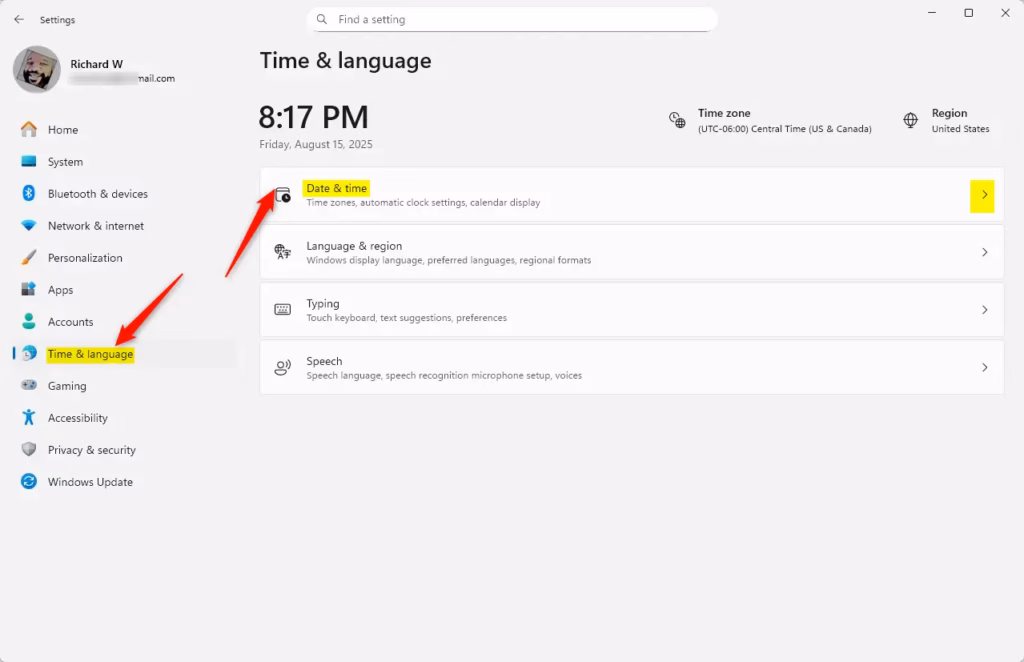
Win + Ion your keyboard to open Settings. - Click Time & language on the left side.
- Click Date & time on the right side.
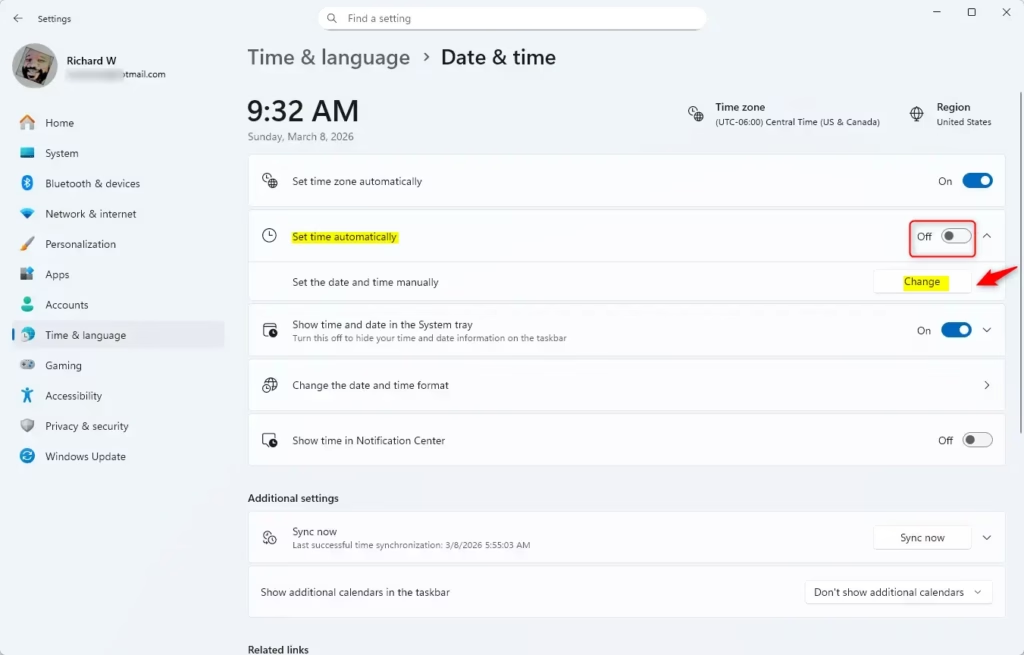
- Turn off Set time automatically if it’s turned on. This lets you make changes manually.
- Click the Change button under “Set the date and time manually.”
- Pick the correct date and time from the popup window.
- Click Change to save your new time.
- Close the Settings window.
You can easily change the time on your Windows 11 PC using the built-in Settings app, which is the most straightforward method for most users.
You can easily change the time on your Windows 11 PC using the built-in Settings app, which is the most straightforward method for most users.

You can easily change the time on your Windows 11 PC using the built-in Settings app, which is the most straightforward method for most users.
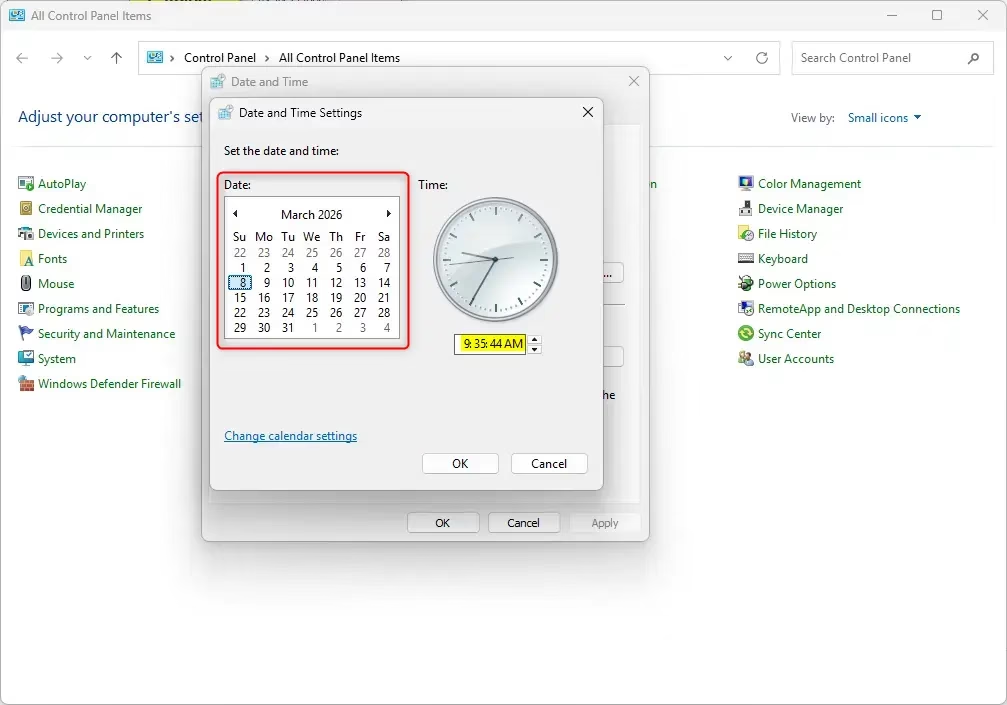
Option 2Change Time Using Control Panel
- Search for Control Panel in the Start menu and open it.
- Make sure the view is set to Large icons or Small icons.
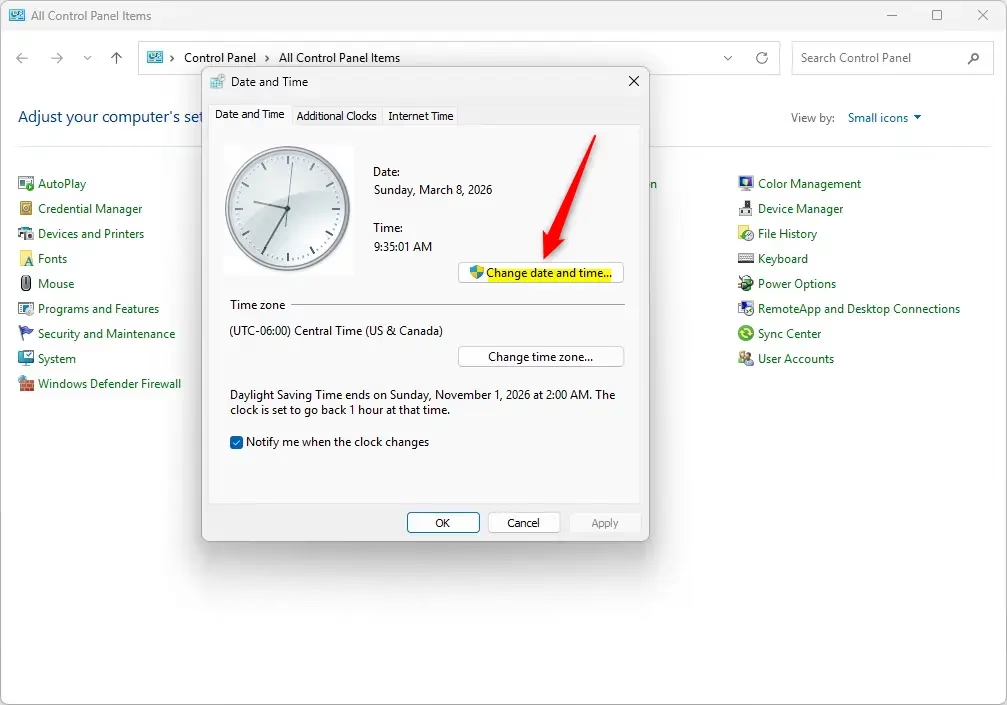
- Click Date and Time.
- In the Date and Time window, click Change date and time… button.
- Select the correct date and time from the calendar and clock.
- Click OK to save.
- Click OK again to close the window.
If you’re used to older versions of Windows, you can also change the time on your Windows 11 PC using the familiar Control Panel.
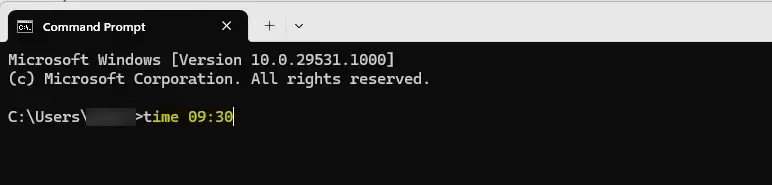
Option 3Change Time Using Command Prompt
For users who prefer typing commands, changing the time on your Windows 11 PC is quick and easy with the Command Prompt.
This method uses text commands to set your time. Follow these steps carefully:
- Right-click the Start button and select Terminal (Admin) or Command Prompt (Admin).
- Type this command and press Enter:
time HH:MM - Replace
HHwith the hour andMMwith the minutes. Use 24-hour format (for example, 14:30 for 2:30 PM).
Examples:
time 10:34– sets time to 10:34 AMtime 22:15– sets time to 10:15 PM
Close the terminal window when you’re done.
Option 4Change Time Using PowerShell
PowerShell offers another powerful command-line method to change the time on your Windows 11 PC, perfect for those who like working with text commands.
PowerShell is another way to set the time using commands:
- Right-click the Start button and select Terminal (Admin).
- From the dropdown menu at the top, select Windows PowerShell.
- Type this command and press Enter:
Set-Date -Date "HH:MM" - Replace
HHandMMwith the hour and minutes you want. You can add AM or PM if you like.
Examples:
Set-Date -Date "10:34 AM"Set-Date -Date "3:45 PM"
Close the terminal when finished.
Things to Remember
When you change the time on your Windows 11 PC, remember that most methods require administrator rights, and setting the correct time is important to avoid issues.- You need admin rights to change the time.
- Be careful when changing the time. Wrong time settings can cause problems with your files and tasks that run on a schedule.
- After changing the time, double-check it to make sure it’s correct.
- If you want to learn more about what time is, check out this Wikipedia page.
Summary
In summary, changing the time on your Windows 11 PC is straightforward with multiple methods available, including Settings, Control Panel, Command Prompt, and PowerShell. Whichever option you choose, remember to use administrator rights and double-check that the time is set correctly.
Was this guide helpful?

About the Author
Richard
Tech Writer, IT Professional
Richard, a writer for Geek Rewind, is a tech enthusiast who loves breaking down complex IT topics into simple, easy-to-understand ideas. With years of hands-on experience in system administration and enterprise IT operations, he’s developed a knack for offering practical tips and solutions. Richard aims to make technology more accessible and actionable. He's deeply committed to the Geek Rewind community, always ready to answer questions and engage in discussions.


No comments yet — be the first to share your thoughts!