Install Foswiki with Nginx on Ubuntu 24.04

Installing Foswiki with Nginx on Ubuntu 24.04 sets up Nginx to handle web traffic for your Foswiki site.
Nginx acts as a reverse proxy, which means it’s a server that receives visitor requests and sends them to Foswiki. Foswiki itself is a free, powerful tool for creating and managing wiki pages collaboratively.
This guide focuses on Ubuntu 24.04 LTS, a recent version of the operating system. Setting up Foswiki this way makes your wiki run smoothly and keeps it safe.
Install Foswiki on Ubuntu 24.04 by installing Nginx and Perl, downloading and extracting Foswiki to the web server’s root directory, and then configuring Nginx to serve the application. Ensure correct file permissions and run provided scripts for setup.
Install Nginx HTTP server on Ubuntu
Installing Nginx, the web server required for Foswiki on Ubuntu 24.04, is straightforward with terminal commands. This guide covers installing the Nginx HTTP server and preparing it to host your Foswiki site.
To do that, open your Ubuntu terminal and run the commands below to install the Nginx web server.
sudo apt update
sudo apt install nginx
After installing Nginx, you can use the commands below to start, stop, and enable it to launch automatically when your server starts.
sudo systemctl stop nginx
sudo systemctl start nginx
sudo systemctl enable nginx
Testing the Nginx web server is as simple as opening your web browser and navigating to your server’s localhost or IP address.
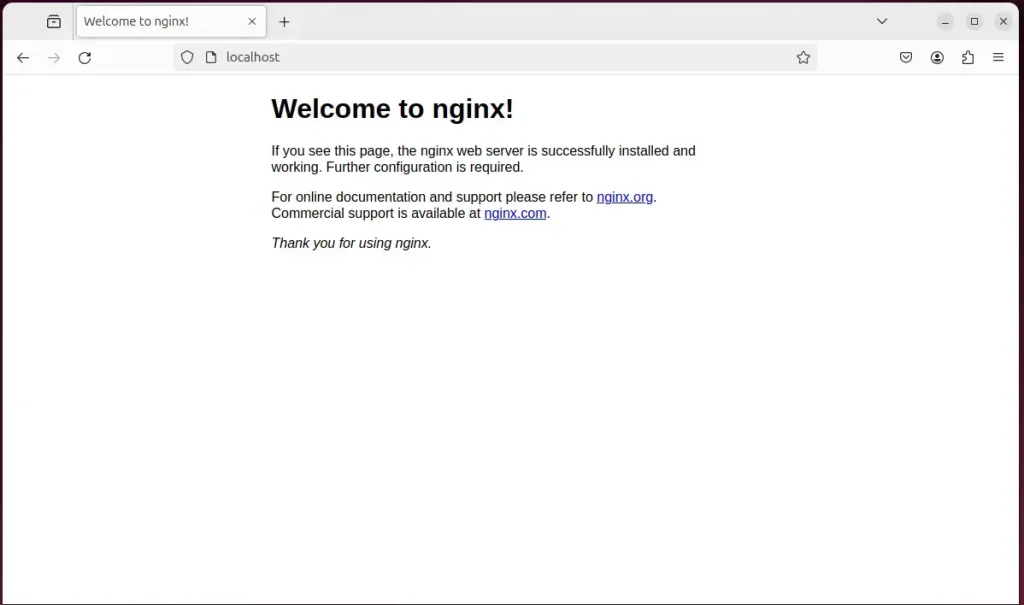
The “Welcome to nginx!” message confirms Nginx HTTP server installation success. This confirmation appears when you first access your server through a web browser after completing setup steps.
You can find additional help installing Nginx on Ubuntu in the link below.
Install Perl and Related Modules
Foswiki requires Perl to function, so installing it and essential related modules on your Ubuntu system is the next step. This section provides the commands to install Perl and key modules, such as libalgorithm-diff-perl and libarchive-tar-perl, which Foswiki requires.
sudo apt-get install rcs libalgorithm-diff-perl libarchive-tar-perl libauthen-sasl-perl libcgi-pm-perl libcgi-session-perl libcrypt-passwdmd5-perl libdigest-sha-perl libemail-address-xs-perl libemail-mime-perl libencode-perl liberror-perl libfile-copy-recursive-perl libhtml-parser-perl libhtml-tree-perl libio-socket-ip-perl libio-socket-ssl-perl libjson-perl liblocale-codes-perl liblocale-maketext-perl liblocale-maketext-lexicon-perl liblocale-msgfmt-perl libwww-perl liblwp-protocol-https-perl liburi-perl libversion-perl libfcgi-perl libfcgi-procmanager-perl fcgiwrap spawn-fcgi libfcgi-perl
Download Foswiki files
Downloading the Foswiki software to your Ubuntu machine is the next step to get your wiki running. The simplest way to obtain the latest version is to visit the official Foswiki download page, copy the link for the latest package, and then download and extract it onto your system.
To always install the latest version, check the Foswiki download page. Once you have the download link, download the archived package to your computer and then extract it.
First, navigate to the relevant directory and download the Foswiki files. Then, extract the content into the Foswiki folder within the Nginx root directory.
Finally, change the file permissions. This crucial step allows the Nginx web server to interact securely with your Foswiki files, safeguarding your installation.
Next, run the commands below to set the correct permissions for the Nginx root folder so the Foswiki application can work properly.
cd /tmp
wget https://github.com/foswiki/distro/releases/download/FoswikiRelease02x01x09/Foswiki-2.1.9.zip
unzip Foswiki-*.zip
sudo cp -rf Foswiki-2.1.9 /var/www/foswiki
sudo chown -R www-data:www-data /var/www/foswiki/
tools/fix_file_permissions.sh can repair the installation.You can fix the Foswiki bin scripts and ensure Foswiki is set up correctly by running the script below. This script makes sure that command files, like `configure`, work properly within your Foswiki installation.
cd /var/www/foswiki/tools
sudo -u www-data perl rewriteshebang.pl
When prompted, select ‘y’ to apply your changes.
You will copy Foswiki tool files from the Foswiki tools folder to the `/etc/` directory. Run the following commands to complete this copy action, ensuring all necessary configuration files are in the correct location for Foswiki to function.
sudo cp /var/www/foswiki/tools/foswiki.defaults /etc/default/foswiki
sudo cp /var/www/foswiki/tools/foswiki.init-script /etc/init.d/foswiki
Then, change the permissions and reload the services.
sudo chmod 755 /etc/init.d/foswiki
sudo service foswiki start
Once you have completed all the above steps, continue configuring the Nginx web server below to serve the Foswiki content.
Run the commands below to create a Nginx virtual host file for Foswiki.
sudo nano /etc/nginx/sites-available/foswiki.conf
Then, copy and paste the content block below into the Nginx server block.
server {
    listen       80;
    server_name  foswiki.example.com;

    set $foswiki_root "/var/www/foswiki";
    root $foswiki_root;

    location / {
        root $foswiki_root;
        rewrite ^/?$ http://foswiki.example.com/bin/view.pl/Main permanent;
    }

   location /bin/configure {
        allow 127.0.0.1;
        fastcgi_pass unix:/var/run/fcgiwrap.socket;
        fastcgi_split_path_info ^/foswiki(/bin/configure)(?:.pl)?(.*);
        fastcgi_param  SCRIPT_FILENAME  $foswiki_root$fastcgi_script_name;
        fastcgi_param  PATH_INFO $fastcgi_path_info;
        include fastcgi_params;
    }

   location /bin/ {
        fastcgi_pass unix:/var/run/fcgiwrap.socket;
        fastcgi_split_path_info  ^(/bin/w+)(.*);
        fastcgi_param  SCRIPT_FILENAME $foswiki_root/$fastcgi_script_name;
        fastcgi_param  PATH_INFO $fastcgi_path_info;
        fastcgi_param  SCRIPT_NAME $fastcgi_script_name;
        include fastcgi_params;
       }
}
Save the file.
Enable the Foswiki virtual host by running the `sudo a2ensite foswiki.conf` command, and then restart the Nginx server with `sudo systemctl restart nginx` to apply the changes.
sudo ln -s /etc/nginx/sites-available/foswiki.conf /etc/nginx/sites-enabled/
sudo systemctl restart nginx.service
Setup Let’s Encrypt SSL/TLS for Foswiki
Securing your Foswiki site with a free Let’s Encrypt SSL/TLS certificate is important when using Nginx on Ubuntu 24.04. This section guides you through setting up SSL for Nginx, which helps ensure your Foswiki installation is safe and trustworthy by encrypting data for all users.
Please read the post below for additional resources on installing and creating Let’s Encrypt SSL certificates for Nginx.
How to set up Let’s Encrypt SSL certificate for Nginx on Ubuntu Linux
Once you have restarted the Nginx web server, open your browser and browse to the server hostname or IP address you defined in the Nginx server block.
http://foswiki.example.com/bin/view
The Foswiki setup wizard should appear.
Click on the configure link to set up the app.

Begin configuring all the necessary settings for your site. Click the Save button in the upper right corner of the configuration page.
The login section at the top of the left-hand menu should show that you are still logged in as a temporary Admin user. Click on the “Log Out” link to exit that user.

Your Foswiki installation on Ubuntu 24.04 is now ready. With Foswiki set up, you can begin creating and editing pages, adding content and collaborating with others.
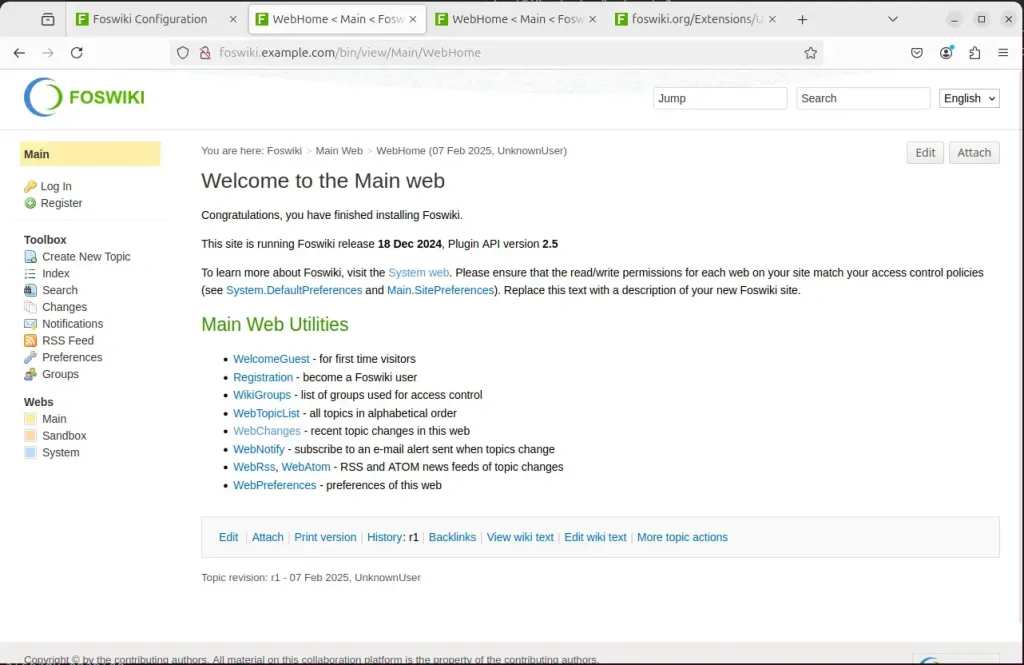
Foswiki should be ready to use.
Conclusion:
Installing Foswiki with Nginx support on Ubuntu 24.04 provides a robust collaboration environment. Here are the key takeaways:
- Foswiki Overview: A powerful open-source platform for collaborative content management.
- Nginx Benefits: Efficient handling of high traffic with minimal resource usage.
- Installation Process: Involves installing Nginx, Perl modules, and Foswiki files.
- Configuration Steps: Setting up Nginx virtual hosts to serve Foswiki effectively.
- Security Measures: Implementing SSL/TLS with Let’s Encrypt for secure access.
- User-Friendly Setup: The setup wizard guides you through the final configuration steps.
You can now use Foswiki as intended for team collaboration after completing these setup steps. Foswiki supports dynamic content creation and sharing for up to 50 concurrent users on a single instance.
Can nginx run on Ubuntu?
Nginx is available in Ubuntu’s default repositories. You can install it using the apt packaging system. First, update your local package index to access the most recent package listings, then install nginx: sudo apt update.
Was this guide helpful?

About the Author
Richard
Tech Writer, IT Professional
Richard, a writer for Geek Rewind, is a tech enthusiast who loves breaking down complex IT topics into simple, easy-to-understand ideas. With years of hands-on experience in system administration and enterprise IT operations, he’s developed a knack for offering practical tips and solutions. Richard aims to make technology more accessible and actionable. He's deeply committed to the Geek Rewind community, always ready to answer questions and engage in discussions.

@members ai slop