

This article explains using the “Copy as table” feature with the Snipping Tool to capture structure data as a table.
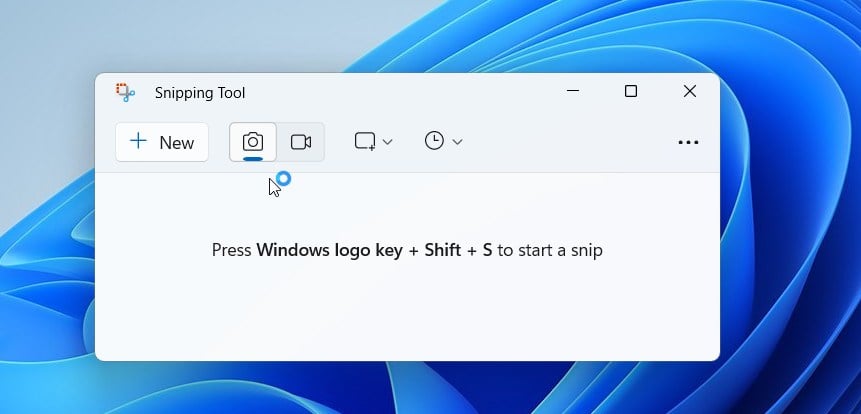
The Snipping Tool is a built-in screenshot tool in Windows that lets you capture screenshots of any part of your screen, including full-screen captures, individual windows, or user-defined capture areas.
With the Snipping Tool, you can redact text, disable screen capture and recording, including system audio and microphone when recording, disable automatically saving screenshots, and more.
With the Snipping Tool app version 11.2409.22.0, Microsoft added a new “Copy as table” feature that lets you capture structure data as a table.
You can use the “Copy as table” feature to easily copy and paste structured table data into an email, document, or spreadsheet.
Capture screenshot as a table with the Snipping Tool
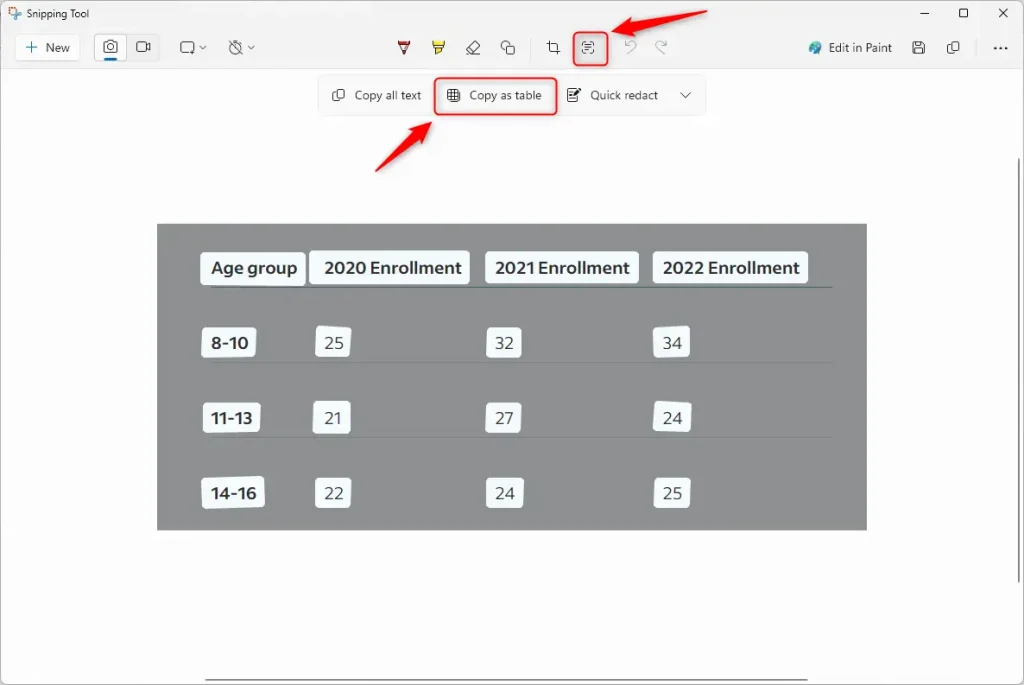
As mentioned, a new “Copy as table” feature has been added to the Snipping Tool on Windows.
Here’s how to do it.
First, open the Snipping Tool app and screenshot the image area with table content.
Drag and select the area you want to capture. Then, click the Text Actions button on the toolbar to show the screenshot image of the text captured.
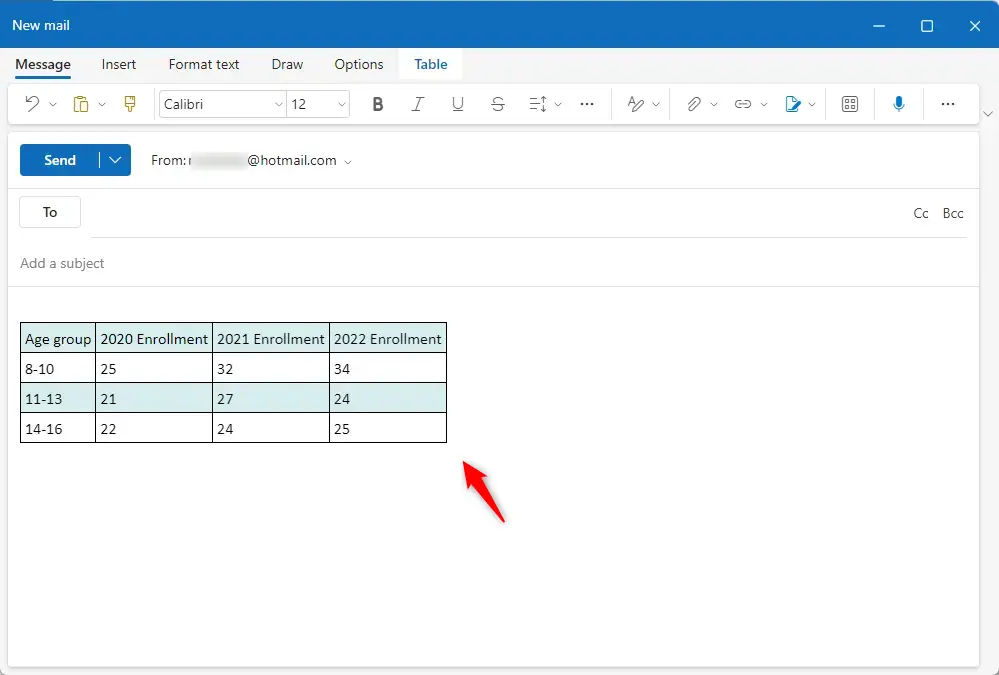
You can then paste the content (CTRL+V) as a table in your email or other documents.
That should do it!
Conclusion:
In summary, the Snipping Tool’s new “Copy as table” feature enhances your capture and use of structured data. Here are the key points to remember:
- The Snipping Tool allows you to capture screenshots of any part of your screen, including structured data as tables.
- The “Copy as table” feature enables easy copying and pasting of table data into emails, documents, or spreadsheets.
- You can effortlessly select the area of interest, use the Text Actions button, and paste the captured content with simple keyboard shortcuts.
- This tool is particularly useful for users who need to share or document data in a neatly organized format.
- Regular updates to the Snipping Tool ensure improved functionality and user experience.

Leave a Reply