How to Use the Copy as Table Feature in Snipping Tool

The Copy as table feature in Windows Snipping Tool turns parts of your screenshots into editable tables.
Snipping Tool is a Windows program that lets you take pictures of your screen. This special “Copy as table” option, found in version 11.2409.22.0, finds and copies data that’s arranged in rows and columns from those pictures.
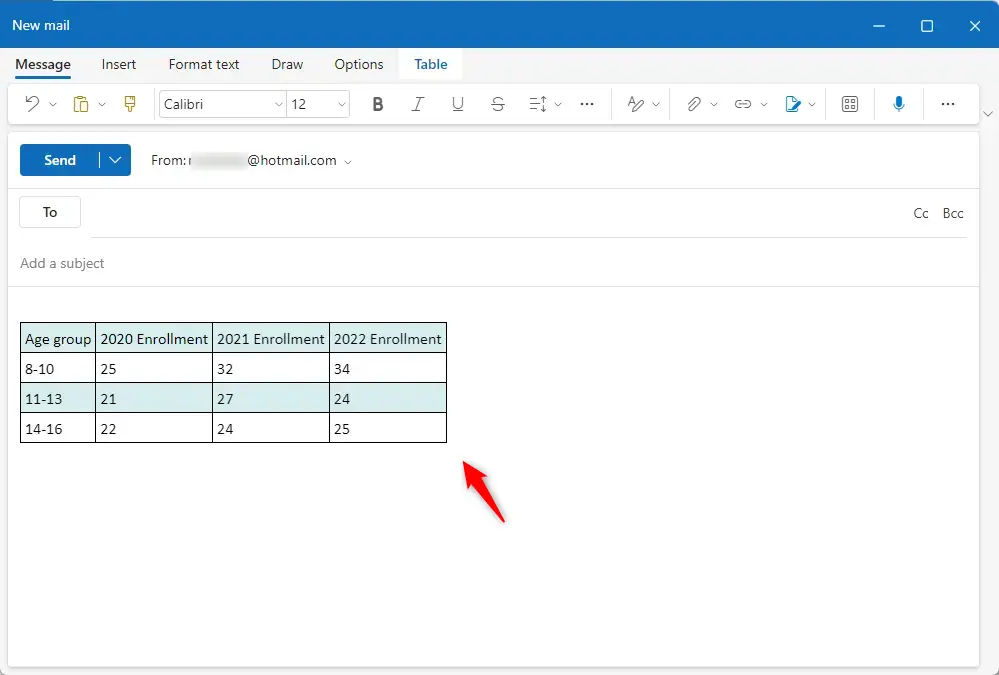
It makes it easy to grab data from charts, lists, or any visual table without typing it all out again. You can then paste this information straight into programs like Excel, Word, or your email.
Open Snipping Tool, take a screenshot of your table, and click “Text Actions.” Then, press Ctrl+C to copy the table data and paste it into your desired application.
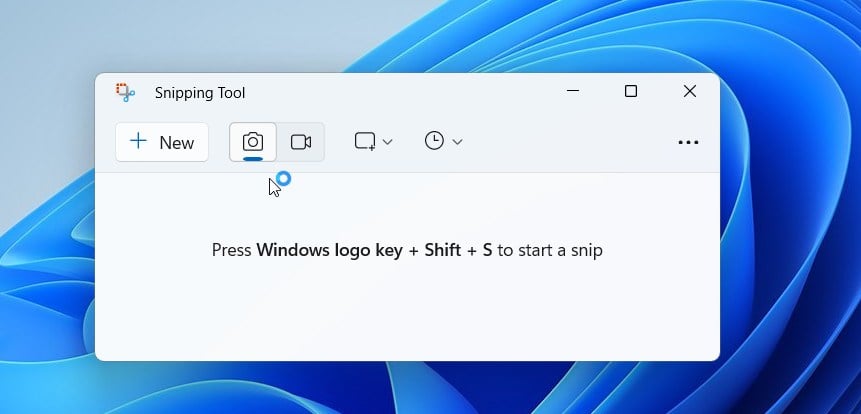
How to capture a screenshot as a table
The Snipping Tool’s ‘Copy as table’ feature lets you grab a picture of a table on your screen and turn it into actual data you can use in other apps. To capture a screenshot as a table, first open the Snipping Tool app and take a screenshot of the table you want. Then, drag your mouse to select the table area.
Follow these steps to use the new feature:
- Open the Snipping Tool app.
- Take a screenshot of the area that contains the table you want to copy.
- Drag your mouse to select the table area.
- Click the Text Actions button in the toolbar. This will identify the text in your image.
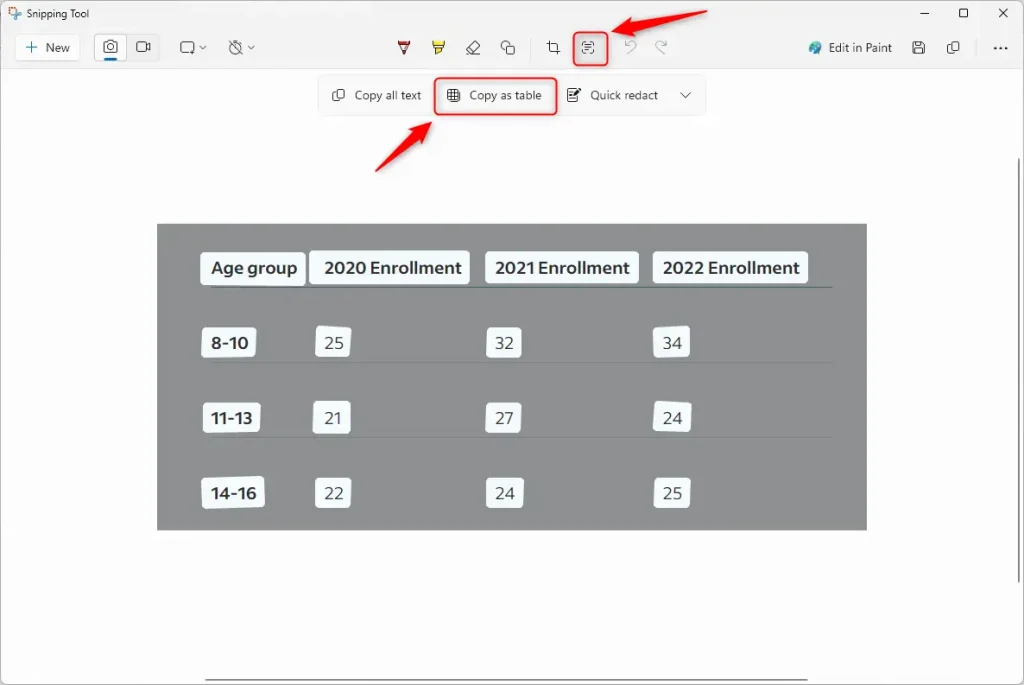
- Once the text is selected, you can use the keyboard shortcut
CTRL+Vto paste the data as a table into your document or email.
Summary
The Snipping Tool’s ‘Copy as table’ feature is a handy way to grab table data from a picture and put it into spreadsheets or documents. After taking your screenshot, use the Text Actions button to enable this feature. It’s a fast way to share information without retyping data manually.- The Snipping Tool lets you capture screen areas and turn them into organized data.
- The “Copy as table” feature allows you to move table data from an image directly into a spreadsheet or document.
- Use the Text Actions button after taking your screenshot to enable this feature.
- This is a fast way to share information without retyping data manually.
How do I copy and paste a table as an image?
To copy a table as a picture in Excel, select the cells or object you want, then choose ‘Copy as Picture’.
How do I copy a table from an image?
You can copy this table into a word processor like Microsoft Word or Google Docs.
Was this guide helpful?

About the Author
Richard
Tech Writer, IT Professional
Richard, a writer for Geek Rewind, is a tech enthusiast who loves breaking down complex IT topics into simple, easy-to-understand ideas. With years of hands-on experience in system administration and enterprise IT operations, he’s developed a knack for offering practical tips and solutions. Richard aims to make technology more accessible and actionable. He's deeply committed to the Geek Rewind community, always ready to answer questions and engage in discussions.


No comments yet — be the first to share your thoughts!