How to Setup PuTTY for SSH Key Authentication on Windows 11
PuTTY SSH key authentication on Windows 11 lets you log into servers without a password using a secure pair of digital keys.
This method replaces typing passwords with a unique public and private key pair for login verification. It’s much safer than passwords because it makes it harder for someone to gain unauthorized access to your computer.
To set this up, you will generate your SSH key pair using PuTTYgen, a tool included with PuTTY. This process creates a public key to place on the server and a private key you keep safe on your PC.
Generate an SSH key pair using PuTTYgen, save both keys, and copy the public key to your server. Then, configure PuTTY by navigating to Connection > SSH > Auth, browsing to your private key file, and saving the session.
How to download and install PuTTY on 🪟 Windows 11
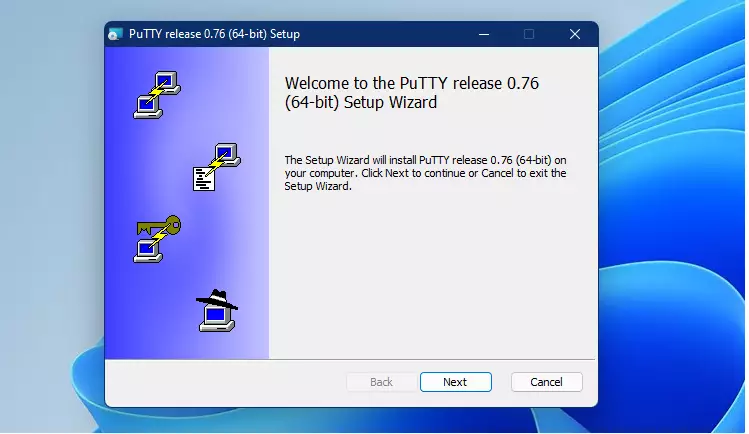
Downloading and installing PuTTY on Windows 11 is a simple process for connecting securely to other computers. To get started, visit the PuTTY download page and select the 64-bit installer, saving it to your Downloads folder. Once downloaded, open the file and follow the on-screen prompts to complete the installation.
Select the 64-bit installer and save it to your Downloads folder.

Open your Downloads folder and double-click the installer file to begin.
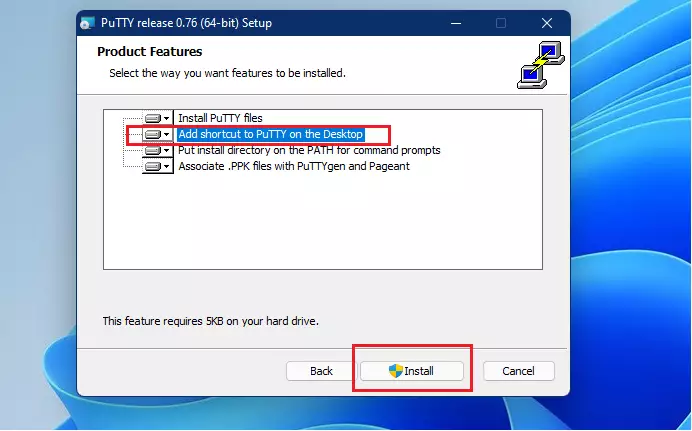
When you reach the options page, select “Add shortcut to PuTTY on the Desktop” and click Install. Note: This step requires admin privileges.
How to generate a PuTTY SSH key pair
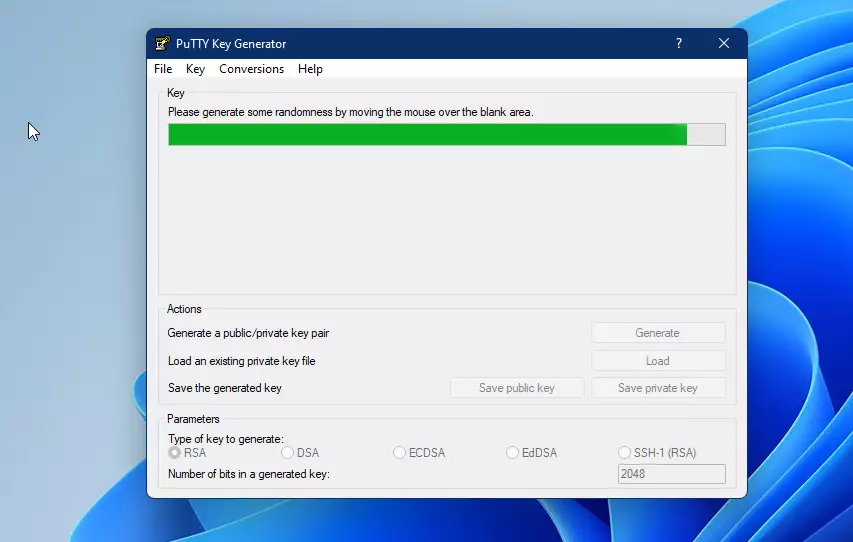
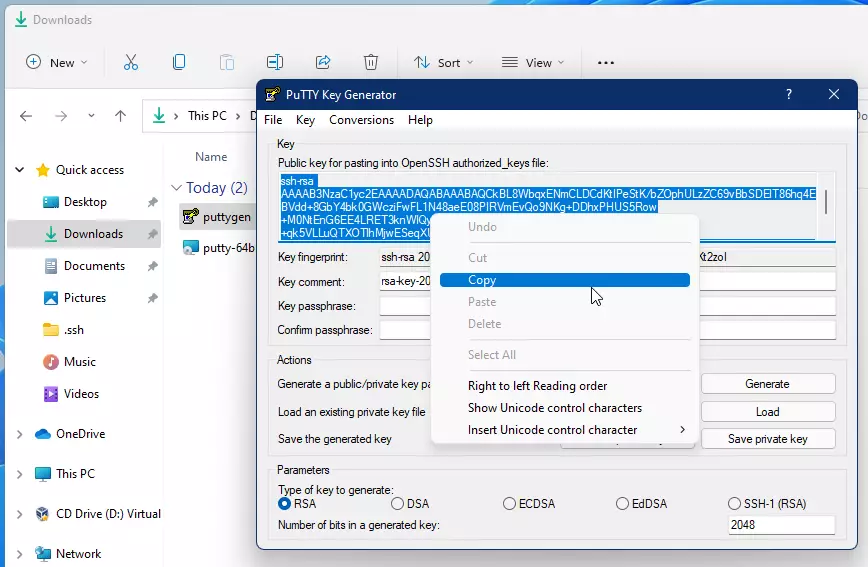
Generating a PuTTY SSH key pair is the crucial first step for setting up secure connections to your server. You’ll use the PuTTYgen tool, which comes with PuTTY, for this process. After opening PuTTYgen, click ‘Generate’ and move your mouse randomly in the empty space until the progress bar fills up to create your unique key pair.

Find the downloaded file in your Downloads folder and open it.
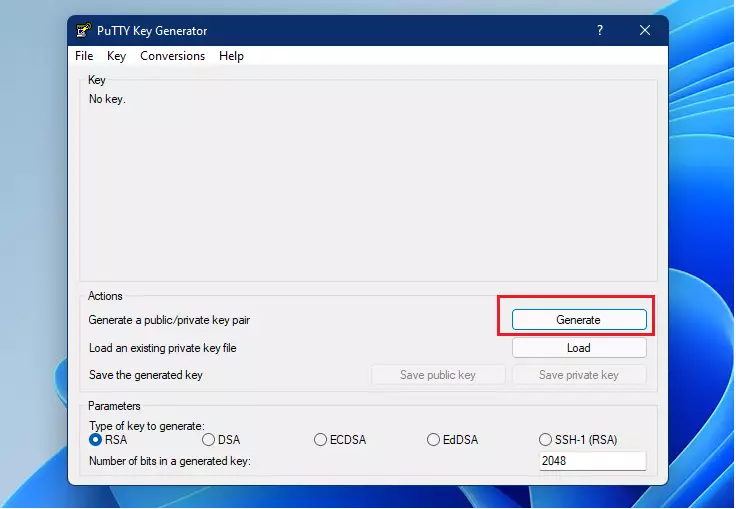
Click the ‘Generate’ button. Now, move your mouse cursor randomly around the empty space until the green progress bar fills up.
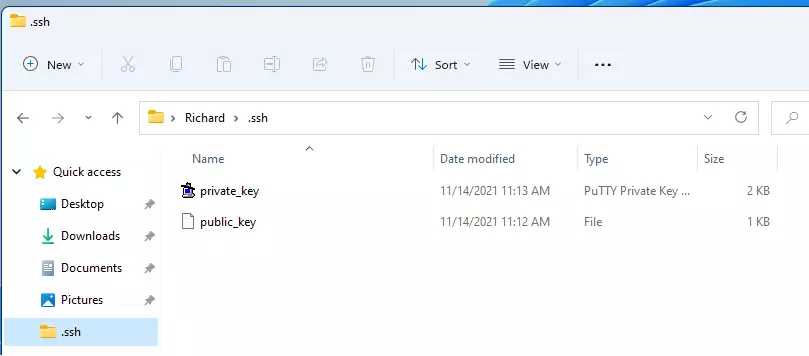
Once generated, SSH key pairs provide user identification. Adding a descriptive comment to each key pair aids recognition. Windows 11 users must save both the public and private key files safely, for example, in your home folder:
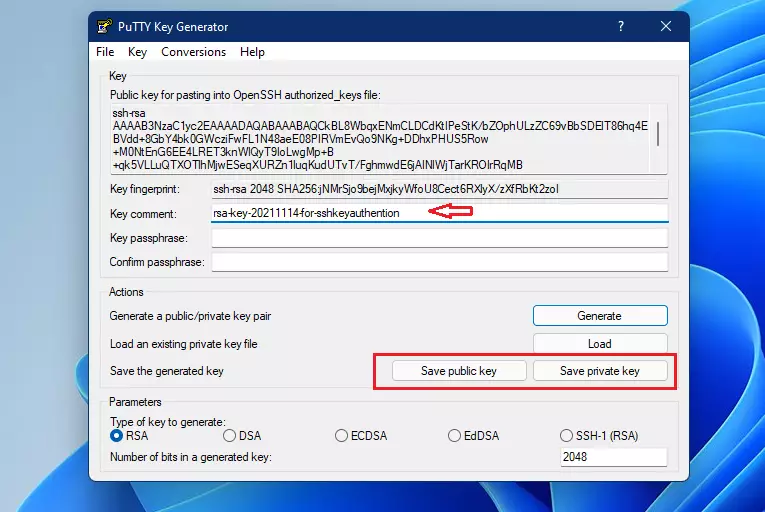
Your home folder is a good choice, like this: C:\Users\username\.ssh (Replace ‘username’ with your actual Windows account name).
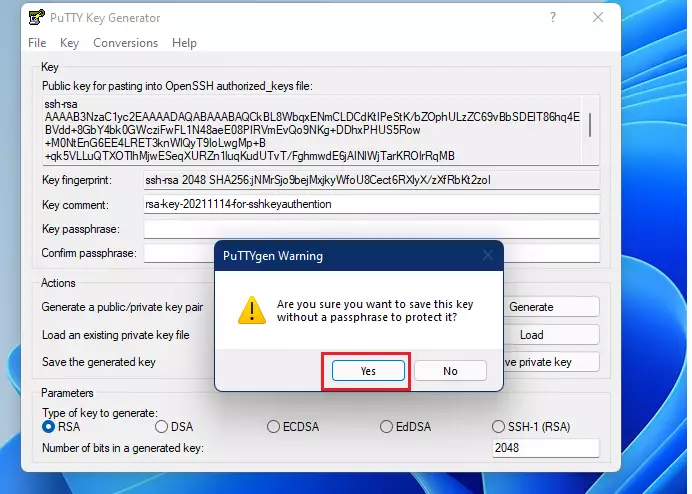
You might see a warning about not setting a passphrase when saving the Private Key. Click ‘Yes’ to continue.
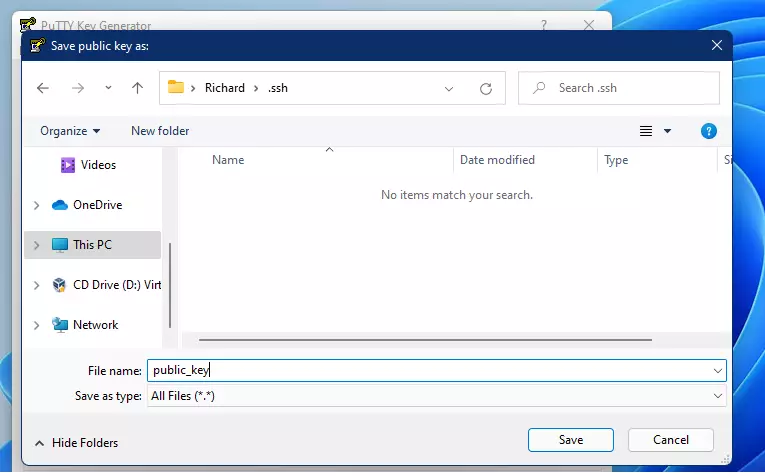
Ensure both files are saved in your chosen folder.
How to copy your public key to the server
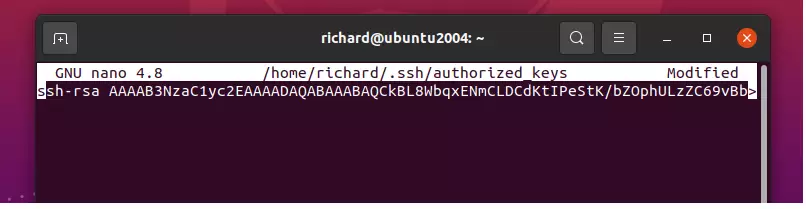
Copying your public key to the server is the next essential step after generating your SSH key pair, enabling password-free authentication. You’ll need to access your server, create a `.ssh` directory if it doesn’t exist, and then add your public key to the `authorized_keys` file. PuTTYgen provides the public key you need to copy and paste into this file for secure server access.
cd ~/
mkdir .ssh
nano ~/.ssh/authorized_keys
PuTTYgen’s public key provides secure server access. Copy the public key from the PuTTYgen application. Paste the copied public key into the `authorized_keys` file on the server. Saving the `authorized_keys` file establishes a password-free connection to the server.
How to turn off password login
Disabling password login on your server boosts security by requiring SSH key authentication. To implement this server security change, edit the SSH configuration file, typically found at `/etc/ssh/sshd_config`. Change the `PasswordAuthentication` and `ChallengeResponseAuthentication` lines to ‘no’. Save the SSH configuration file, then restart the SSH service for these changes to take effect.
On your server, open the configuration file:
sudo nano /etc/ssh/sshd_configFind these lines and make sure they look like this:
PasswordAuthentication no

ChallengeResponseAuthentication no

UsePAM no
Save the file and restart the SSH service:
sudo systemctl restart sshHow to set up PuTTY for your connection
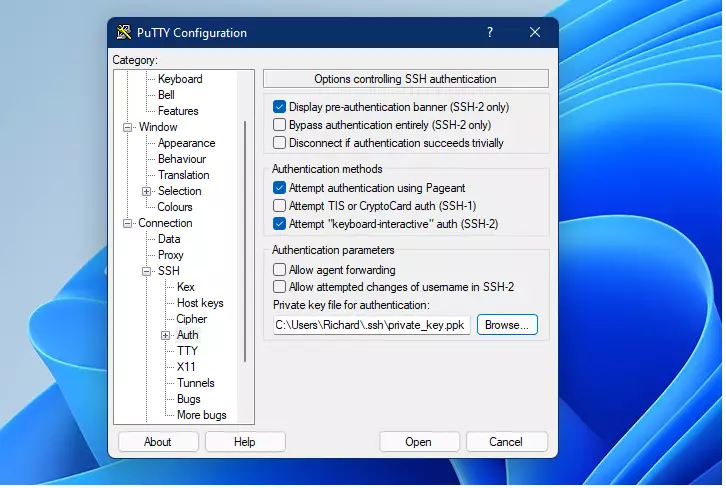
Setting up PuTTY to use your saved SSH key allows you to log in to your server securely without needing a password. In PuTTY, go to the Connection > SSH > Auth section and browse for your saved private key file. Then, return to the Session tab, enter your username and server IP address, give your session a name, and click ‘Save’ to store these settings for future easy access.
Go back to the Session tab. Type your username and server IP address (e.g., username@10.0.2.19). Give it a name and click Save.
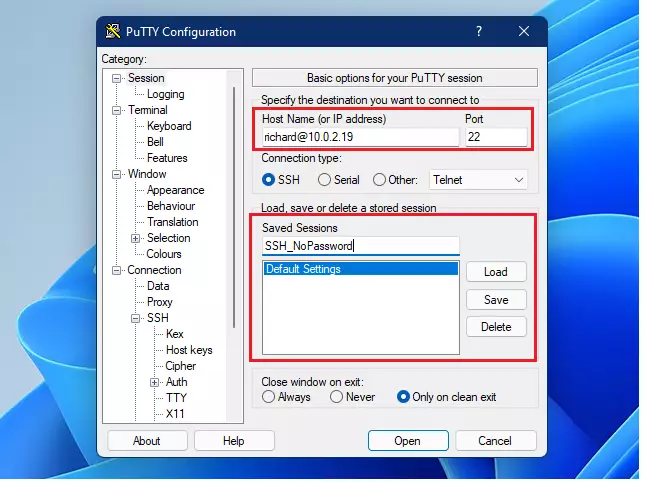
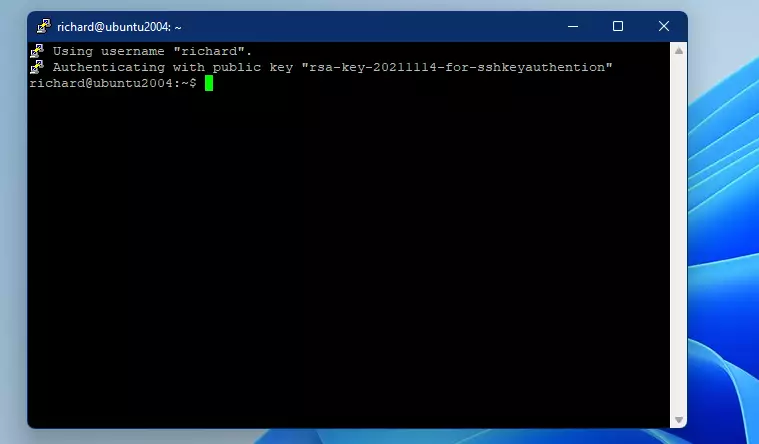
This saved session lets you log in securely without a password.
Summary
Setting up PuTTY with SSH keys makes your server connections more secure and faster. By following these steps, you have installed the necessary software, created a secure key pair, updated your server settings, and configured PuTTY for password-free access.
How do I authenticate a private key in PuTTY?
To use your private key in PuTTY, open PuTTY, go to Connection > SSH > Auth. Click 'Browse' next to 'Private key file for authentication' and select your saved private key file. Then, go to Session and save your settings.
How to do SSH key authentication?
SSH key authentication uses a public and a private key. The public key goes on the server, and your SSH client (like PuTTY) uses the private key to prove your identity instead of a password.
How to add PuTTY public key to Authorized_keys?
Copy your public key from PuTTYgen. Log into your server using PuTTY. Open the 'authorized_keys' file in a text editor. Paste the public key into this file and save it. This lets your private key connect without a password.
What is a PuTTY authentication agent?
A PuTTY authentication agent, like Pageant, holds your private keys securely in memory. This means you don't have to enter your key's passphrase every time you connect to a server, making logins quicker and easier.
Was this guide helpful?

About the Author
Richard
Tech Writer, IT Professional
Richard, a writer for Geek Rewind, is a tech enthusiast who loves breaking down complex IT topics into simple, easy-to-understand ideas. With years of hands-on experience in system administration and enterprise IT operations, he’s developed a knack for offering practical tips and solutions. Richard aims to make technology more accessible and actionable. He's deeply committed to the Geek Rewind community, always ready to answer questions and engage in discussions.


No comments yet — be the first to share your thoughts!