How to Set Up SSH Key Authentication in Windows 11

SSH key authentication in Windows 11 lets you log into remote servers securely without typing a password each time. The setup relies on a pair of digital keys—a public key and a private key—that work together to prove your identity.
Windows 11 includes a built-in tool to create these keys so you do not need to install extra software. This method keeps your remote connections safe from hackers and stops password guessing attempts.
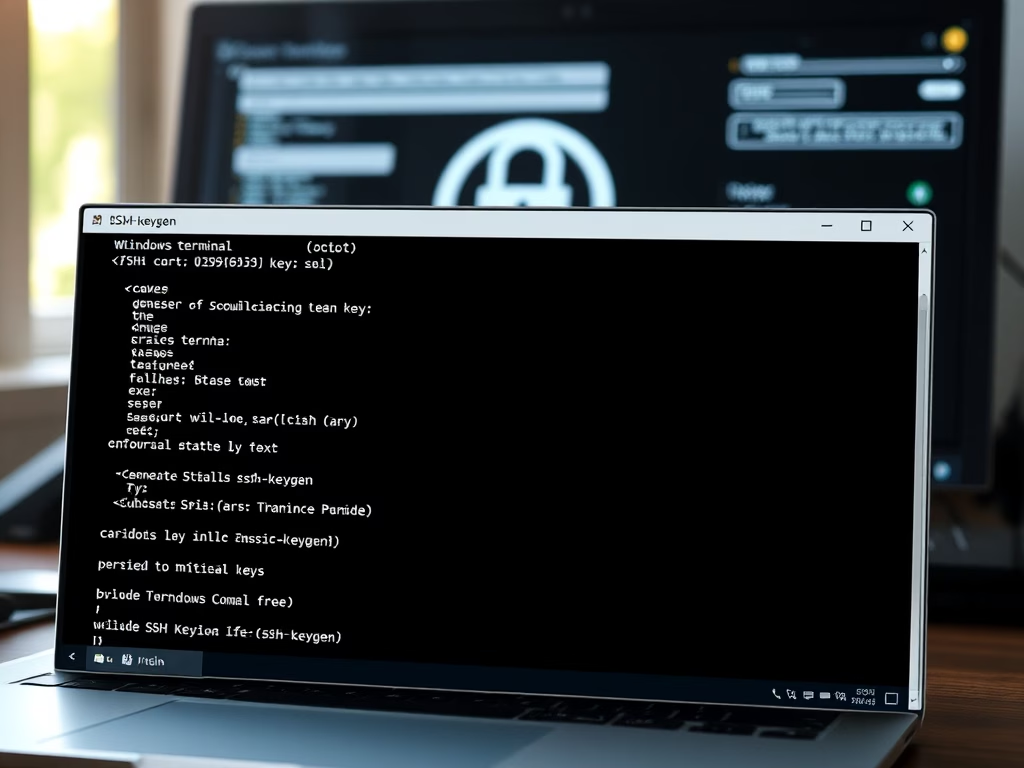
Open Windows Terminal and run ssh-keygen -t ed25519 -C “your-email@example.com” to generate your public and private keys. Press Enter to accept the default save location and optionally add a passphrase for extra security.
Why Use SSH Key Authentication?
SSH keys offer better security than passwords by using complex codes that resist guessing. This approach removes the need to remember or type passwords when connecting to servers, saving time while improving account security.
What You Need Before Starting
Windows 11 already includes the tools needed for SSH key authentication, so downloading extra software remains unnecessary.
Built-in OpenSSH means getting started happens right away without external programs.
How to Create SSH Keys in 🪟 Windows 11
Creating SSH keys marks the first step. Generating two keys yields a public key and a private key. Servers receive the public key, while the private key stays on your computer only.
Step 1Open Windows Terminal
Click the Windows Start button, type "Windows Terminal", and open the application.
Windows Terminal provides a more secure and user-friendly option compared to the older Command Prompt.
Step 2Generate Your SSH Key Pair
Generating an SSH key pair serves as the crucial first step for authentication, accomplished using a command in Windows Terminal.
The `ssh-keygen` command generates a new SSH key using the Ed25519 algorithm (a modern cryptographic method for securing connections). This currently stands as the most secure method for SSH keys, recommended by many services.
Older systems can use an alternative command to create a secure 4096-bit RSA key.
ssh-keygen -t rsa -b 4096 -C "your-email@example.com"
This command creates a 4096-bit RSA key, which also maintains strong security.

Step 3Choose Where to Save Your Key
The terminal prompts: "Enter a file in which to save the key."
Pressing Enter accepts the default location.
Keys save to a path like C:\Users\YourUsername\.ssh (substituting your actual Windows account name for `YourUsername`).
Step 4Add a Passphrase (Optional but Recommended)
Adding a passphrase to an SSH key pair in Windows 11 is optional, though recommended for extra security.
Type a strong password or leave the field blank and press Enter.
Adding a passphrase boosts security by locking your private key file so nobody else can use it, even if they manage to steal it. This protection remains crucial for securing server access.
Adding a passphrase requires typing it during every key usage.
Step 5Confirm Key Generation
Successful key generation in Windows 11 shows a confirmation message in Windows Terminal after running the command.
Your identification has been saved in /home/user/.ssh/id_ed25519.
Your public key has been saved in /home/user/.ssh/id_ed25519.pub.
The key fingerprint is: SHA256:xxxxxxxxxxxxxxxxxxxxx
Seeing this message means the key pair is ready for use.
Understanding Your SSH Folder Structure
SSH keys and associated files reside in a hidden folder named `.ssh` within the Windows 11 user profile.
Folder location: C:\Users\YourUsername\.ssh
Files inside:
id_ed25519- Your private key (keep this secret)id_ed25519.pub- Your public key (share this)authorized_keys- Keys allowed to log in (created later)config- Settings for SSH connections (optional)
Starting a folder name with a dot character (.) hides it by default in Windows 11, keeping SSH keys out of sight for better security.

File Permissions: Keep Your Keys Safe
Setting proper file permissions for SSH keys in Windows 11 protects the private key and keeps it hidden from other accounts.
- Private key (
id_ed25519) should be readable only by you (equivalent to 600) - Public key (
id_ed25519.pub) can be readable by anyone (equivalent to 644) - The
.sshfolder itself should be accessible only by you (equivalent to 700)
Incorrect permissions cause SSH to refuse key usage for security reasons.
OpenSSH on Windows 11 typically manages file permissions automatically for SSH key authentication, meaning users rarely need to alter file access settings manually. OpenSSH version 8.1 and later include these automatic permission checks.
How to Generate Multiple SSH Keys for Different Services
Using distinct SSH keys for different services enhances login security. Maintaining a separate SSH key for GitHub, another for work servers, and a third for personal servers ensures each key unlocks only its intended destination.
Creating a Second SSH Key
Creating a second SSH key pair in Windows 11 for work or personal projects requires running a specific command.
ssh-keygen -t ed25519 -C "work-email@company.com" -f "C:\Users\YourUsername\.ssh\id_ed25519_work"
Replace:
work-email@company.comwith your work emailYourUsernamewith your Windows account nameid_ed25519_workwith a name for this key
This generates a new SSH key pair distinct from existing keys. Windows 11 users can manage multiple key pairs for varied security needs, such as accessing different servers.
Telling SSH Which Key to Use
Configuring a `config` file inside the `.ssh` folder tells Windows 11 which SSH key to use for specific servers.
Host github.com
  HostName github.com
  User git
  IdentityFile C:\Users\YourUsername\.ssh\id_ed25519

Host work-server
  HostName work.example.com
  User workuser
  IdentityFile C:\Users\YourUsername\.ssh\id_ed25519_work
Replace the example paths and hostnames with actual information.
Save this file as `config` without any file extension inside the `.ssh` folder.
SSH key authentication automatically selects the correct private key file when a Windows 11 computer connects to a remote server. This setup uses a unique key pair, placing the public key on the server and the private key on the user's machine to verify identity without a password, increasing security and convenience.
Adding Your Key to the SSH Agent
The SSH Agent remembers keys so typing passphrases repeatedly becomes unnecessary.
Step 1Start the SSH Agent
Starting the SSH Agent begins by opening Windows Terminal as an administrator. Right-click the Start button and select "Run as Administrator."
⚠️ Note: Administrator privileges are required for this step. Type the following command and press Enter:
Set-Service -Name ssh-agent -StartupType Automatic
Pressing Enter runs the command.
Next, start the service using:
Start-Service ssh-agent
The SSH Agent service starts and retains memory of the keys.
Step 2Add Your Key to the Agent
Run the following command in the same Terminal window:
ssh-add C:\Users\YourUsername\.ssh\id_ed25519
Replace YourUsername with the actual Windows account name.
Type the passphrase when prompted if one was set earlier.
Storing the private key in the SSH agent eliminates the need to re-enter the passphrase during a computer session. Loading the key once enhances both security and user convenience by avoiding repeated manual input of sensitive information for SSH connections.
Copying Your Public Key to a Server
The SSH public key on the server confirms identity. Viewing this public key file like a physical key helps visualize how it grants server access by authorizing connections.
Method 1Using PowerShell (Easiest)
Adding an SSH public key to a remote server from Windows 11 works quickly using a PowerShell command.
type $env:USERPROFILE\.ssh\id_ed25519.pub | ssh user@192.168.1.100 "cat >> ~/.ssh/authorized_keys"
Replace:
userwith your username on the remote server192.168.1.100with the server's IP address
Provide the password when prompted.
The public key copies to the server and appends to the `authorized_keys` file, allowing the server to accept the key.
Method 2Manual Copy (If Method 1 Doesn't Work)
If the PowerShell method fails, copy your public key manually into the server's `authorized_keys` file. Grab the entire output from your terminal, which looks like a long, jumbled line. Log into your remote server using your standard password and run the following commands to set everything up:
type $env:USERPROFILE\.ssh\id_ed25519.pub
Copy the entire output, which appears as a long jumbled line.
Log into the server with SSH and a password:
ssh user@192.168.1.100
Create the `.ssh` folder on the remote server if it doesn't already exist.
mkdir -p ~/.ssh
Create the `authorized_keys` file and paste the public key into it:
echo "YOUR_PUBLIC_KEY_HERE" >> ~/.ssh/authorized_keys
Remember to replace `YOUR_PUBLIC_KEY_HERE` with the copied key.
Set the correct permissions for the file.
chmod 600 ~/.ssh/authorized_keys
chmod 700 ~/.ssh
Executing these commands ensures only the owner can read the `authorized_keys` file.
Understanding the authorized_keys File
The `authorized_keys` file on a server functions as a security list holding all public SSH keys permitted to log in.
Location on server: ~/.ssh/authorized_keys (usually in the home folder)
File format: Each public key occupies a single line and starts with "ssh-ed25519" or "ssh-rsa"
Authorized keys control login access and prevent unauthorized connections. This security measure safeguards the server by ensuring only listed keys can connect.
How to Disable Password Authentication
Disabling password logins provides extra security once keys function properly.
Testing verifies proper SSH key authentication before continuing. A successful test confirms the setup works, while skipping the test risks losing server access.
Step 1Log Into Your Server
Connect using SSH:
ssh user@192.168.1.100
A working key logs the user in without requesting a password.
Step 2Edit the SSH Configuration File
Open the SSH config file on the server using a text editor:
sudo nano /etc/ssh/sshd_config
⚠️ Requires Admin Privileges on the Remote Server
Type the password if prompted.
Step 3Find and Change These Lines
Locate these lines in the file (they may begin with a # symbol):
PasswordAuthentication yes
PubkeyAuthentication yes
PermitEmptyPasswords no
Change them to:
PasswordAuthentication no
PubkeyAuthentication yes
PermitEmptyPasswords no
This disables password logins while keeping SSH key authentication active.
Step 4Save and Restart SSH
Press Ctrl+X, then Y, and Enter to save changes in Nano.
Restart the SSH service:
sudo systemctl restart ssh
⚠️ Requires Admin Privileges on the Remote Server
SSH will now reject passwords and accept only key-based logins.
Creating an SSH Config File on 🪟 Windows 11
Config files simplify server connections by saving predefined settings.
Create Your Config File
Creating a `config` file inside the `.ssh` folder on Windows 11 lets users set up shortcuts and choose which SSH keys connect to different servers.
Host myserver
  HostName 192.168.1.100
  User myusername
  IdentityFile C:\Users\YourUsername\.ssh\id_ed25519
  Port 22

Host github
  HostName github.com
  User git
  IdentityFile C:\Users\YourUsername\.ssh\id_ed25519
Replace:
myserverwith a nickname for this server192.168.1.100with the server IPmyusernamewith your usernameYourUsernamewith your Windows account
Save the file as `config` (without a .txt extension) inside C:\Users\YourUsername\.ssh
Using Your Config File
Connect by typing a short shortcut:
ssh myserver
This avoids typing lengthy commands containing IP addresses and usernames.
Using config files saves time and reduces mistakes.
Troubleshooting SSH Key Authentication Problems
Problem: "Permission Denied (publickey)"
Troubleshooting SSH Key Authentication Problems. Problem: "Permission Denied (publickey)". Encountering a 'Permission Denied (publickey)' error when connecting via SSH in Windows 11 typically means the server cannot locate or verify the key.
How to fix it:
- Check that your public key is in the server's
~/.ssh/authorized_keysfile - Make sure file permissions are correct:
chmod 600 ~/.ssh/authorized_keys - Verify you're using the right key:
ssh -i C:\Users\YourUsername\.ssh\id_ed25519 user@192.168.1.100
Problem: "No Such File or Directory: .ssh"
What it means: The .ssh folder does not exist yet.
How to fix it:
Run the following on Windows:
mkdir $env:USERPROFILE\.ssh
Run the following on the remote server:
mkdir -p ~/.ssh
Problem: "Too Many Authentication Failures"
What it means: Too many incorrect keys or passwords were tried.
How to fix it:
- Wait a few minutes before trying again
- Specify which key to use:
ssh -i C:\Users\YourUsername\.ssh\id_ed25519 user@192.168.1.100 - Check your SSH config file for errors
How to set SSH key in 🪟 Windows 11?
Open PowerShell and type `ssh-keygen`. Accept the default file location by pressing Enter, then enter a strong passphrase to protect your private key and generate the key pair.
How to do SSH key authentication?
Generate an SSH key pair using `ssh-keygen` in PowerShell. Copy your public key (found in `C:\Users\YourUsername\.ssh\id_rsa.pub`) to the remote server. Then, log in using `ssh username@your_server_ip` without a password.
Is RSA or Ed25519 better?
Ed25519 is generally considered better. It's faster and more secure than RSA for most uses. Windows 11's `ssh-keygen` tool can create both types, but Ed25519 offers a good balance of speed and strong security.
Where is my SSH key in 🪟 Windows 11?
Your SSH keys are stored in a hidden folder in your user profile. You can find them in `C:\Users\YourUsername\.ssh\`. Look for `id_rsa` (private key) and `id_rsa.pub` (public key).
Was this guide helpful?

About the Author
Richard
Tech Writer, IT Professional
Richard, a writer for Geek Rewind, is a tech enthusiast who loves breaking down complex IT topics into simple, easy-to-understand ideas. With years of hands-on experience in system administration and enterprise IT operations, he’s developed a knack for offering practical tips and solutions. Richard aims to make technology more accessible and actionable. He's deeply committed to the Geek Rewind community, always ready to answer questions and engage in discussions.


Nice one. Thanks. It might be useful to add the -i option for ssh when ssh agent is disabled.
What if Windows is the server itself?