This article explains how to install and configure SSH with key login with no password or passwordless.
SSH supports various authentication methods. Using a public key is more secure and convenient than traditional password authentication.
If you want to connect to an SSH server remotely using key authentication or use GitHub to manage your code, you will need an SSH key pair.
In Ubuntu Linux and other Unix-like systems, generating and managing SSH keys and using key-based authentication is pretty easy.
Below is a post that shows you how to create an SSH key pair in Ubuntu Linux and use the public key to authenticate to an SSH server.
How to create an SSH key for key authentication
When using a Windows machine, the steps above might be slightly different. Windows 11 has a built-in OpenSSH package and commands that one can use to generate and manage keys from the Command Prompt, Windows Terminal, or PowerShell.
If you use the command line, you should use Windows Terminal, installed by default in Windows 11. Windows Terminal provides a better experience and features, and can run the Command Prompt, PowerShell, and the Windows Subsystem for Linux in one window.
How to create SSH keys in Windows 11
As mentioned above, one can create or generate SSH keys in Windows 11. If you want to use SSH or SSH key-based authentication, you must create a pair of SSH keys.
The steps below show you how to do that in Windows 11
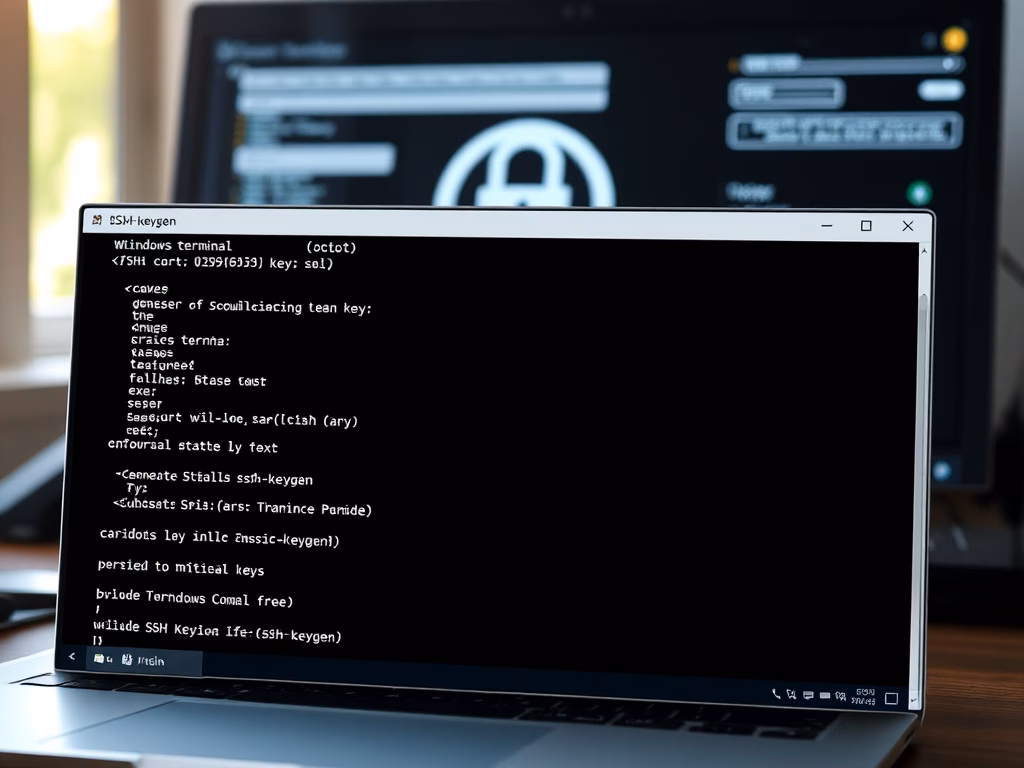
In Windows, to generate an SSH key, run the commands below and press Enter.
ssh-keygen
The command above will automatically create and generate a 2048-bit RSA key.
GitHub recommends generating an SSH key with the Ed25519 algorithm.
ssh-keygen -t ed25519 -C "your_email@example.com"
When you run the commands above, you’ll be prompted with the following lines asking to enter a location to save the file.
When prompted to “Enter a file in which to save the key,” press Enter to accept the default file location.
Generating public/private ed25519 key pair.
Enter file in which to save the key (C:\Users\Richard/.ssh/id_ed25519):
If you use the defaults, then it will save your keys in C:\User\<username>\.ssh
Next, you’ll be asked to enter a passphrase. You typically leave this empty and press Enter. However, you can secure your SSH key by entering a passphrase so that you’re prompted for the passphrase every time you want to use the key to authenticate.
Created directory 'C:\Users\Richard/.ssh'.
Enter passphrase (empty for no passphrase):
After that, you should see a screen similar to the one below. Your SSH key pair should be created and ready to use.
Generating public/private ed25519 key pair.
Enter file in which to save the key (C:\Users\Richard/.ssh/id_ed25519):
Created directory 'C:\Users\Richard/.ssh'.
Enter passphrase (empty for no passphrase):
Enter same passphrase again:
Your identification has been saved in C:\Users\Richard/.ssh/id_ed25519.
Your public key has been saved in C:\Users\Richard/.ssh/id_ed25519.pub.
The key fingerprint is:
SHA256:fXTi96BC8pHrLtqyBOrtKBeWvYSMigOKt9U898rd1Jo admin@example.com
The key's randomart image is:
+--[ED25519 256]--+
|                 |
|                 |
|            o .  |
|         . + o   |
| o +.   S = o o  |
|o *.o+   + + + o |
|*..o..= . + o . .|
|B.o+...=.+ + o   |
| =+oo o+++= E    |
+----[SHA256]-----+

Once the key generation process is complete, you can access the key pair at the location below.
C:\Users\<username>\.ssh
Replace <username> with your Windows account name.

How to copy your public key to the SSH server with Windows 11
You will want to copy your public key to the SSH server once you’ve generated your SSH key pair. On Unix-like systems, ssh-copy-id is a tool for copying SSH keys to the server.
However, Windows doesn’t have the ssh-copy-id tool installed. To get your public SSH key to the server and enable password-less login, you may have to use PowerShell to do the same in Windows 11.
To copy your SSH key to the server, open Windows Terminal, copy and paste the line below, and press Enter.
type $env:USERPROFILE\.ssh\id_rsa.pub | ssh {IP-ADDRESS} "cat >> .ssh/authorized_keys"
Replace {IP-ADDRESS} with the server IP address.
If you don’t already have a ~/.ssh/authorized_keys file at the destination location, run the Linux commands below to create one. Re-run the command above again to copy your key to the server.
touch ~/.ssh/authorized_keys
How to configure SSH for passwordless login
After you’ve copied your public key, the next step is to turn off password authentication.
Log on to the remote server with your password, then open the SSH configuration file by running the commands below.
sudo nano /etc/ssh/sshd_config
In the file, find the lines below and change the value to match these.
PasswordAuthentication no
ChallengeResponseAuthentication no
UsePAM no
Save the file and exit.
Restart the SSH server on the remote host.
sudo systemctl restart ssh
After that, password login should be disabled.
Next, simply type the command below to log you in without a password prompt.
ssh username@server_ip_address
That should do it!
Conclusion:
- Setting up SSH key-based authentication enhances security by eliminating the reliance on passwords.
- Key generation on both Ubuntu and Windows 11 is straightforward and can be done using built-in tools.
- It is advisable to use the Ed25519 algorithm for generating SSH keys for better security.
- Copying your public key to the SSH server is essential for enabling passwordless login.
- Configuring the SSH server to disable password authentication further strengthens your setup.
- Following these steps will allow for quick and secure access to your remote server without needing to enter a password.


Leave a Reply to DM Cancel reply