How to Rename a Printer in Windows 11
Renaming a printer in Windows 11 lets you give it a simple, custom name that’s easy to remember.
A printer name is simply the label Windows uses to show your printer in lists, like the one you see when you go to print a document. For example, instead of seeing “HP LaserJet Pro MFP M28w (Copy 1),” you could call it “Office Printer.”
This is super helpful if you have multiple printers connected to your PC. Giving each one a clear name, like “Home Printer” or “Color Laser,” helps you quickly pick the right one every time.
Windows 11 makes this change straightforward through its Settings app. You can change the name in just a few steps.
Open Settings, go to Bluetooth & devices, then Printers & scanners. Select your printer, click Printer properties, and change the name in the General tab. If shared, update the name in the Sharing tab as well.
Steps to Rename Your Printer in 🪟 Windows 11
You can rename your printer in Windows 11 by following a few simple steps in the Settings app. Changing the printer name makes it easier to pick the right one when you print. This guide shows you exactly how to rename your printer in Windows 11 quickly.
- Open Settings: Click the Start menu (the Windows icon at the bottom-left corner) and then select Settings. Or press the Windows key + I on your keyboard to open Settings quickly.
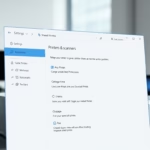
- Go to Printers & Scanners: In the Settings window, click Bluetooth & devices on the left side. Then click Printers & scanners on the right.
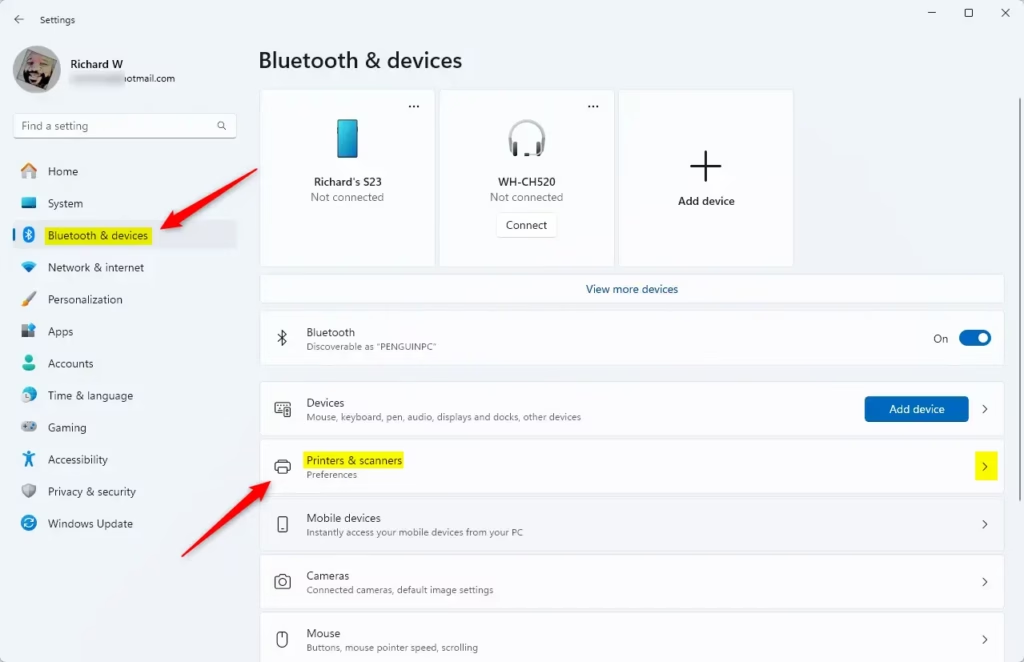
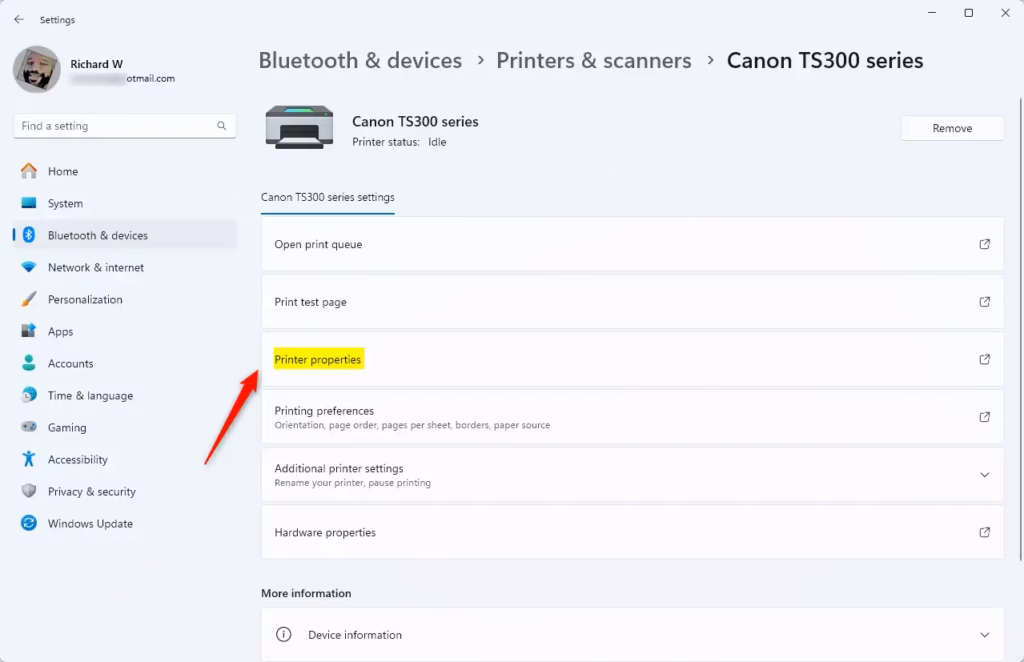
Windows 11 Printers and scanners settings tile in Settings app. - Select your printer: Click the printer you want to rename. This will open its details.

Select printer in Windows 11 - Open Printer Properties: In the printer details, click on Printer properties.
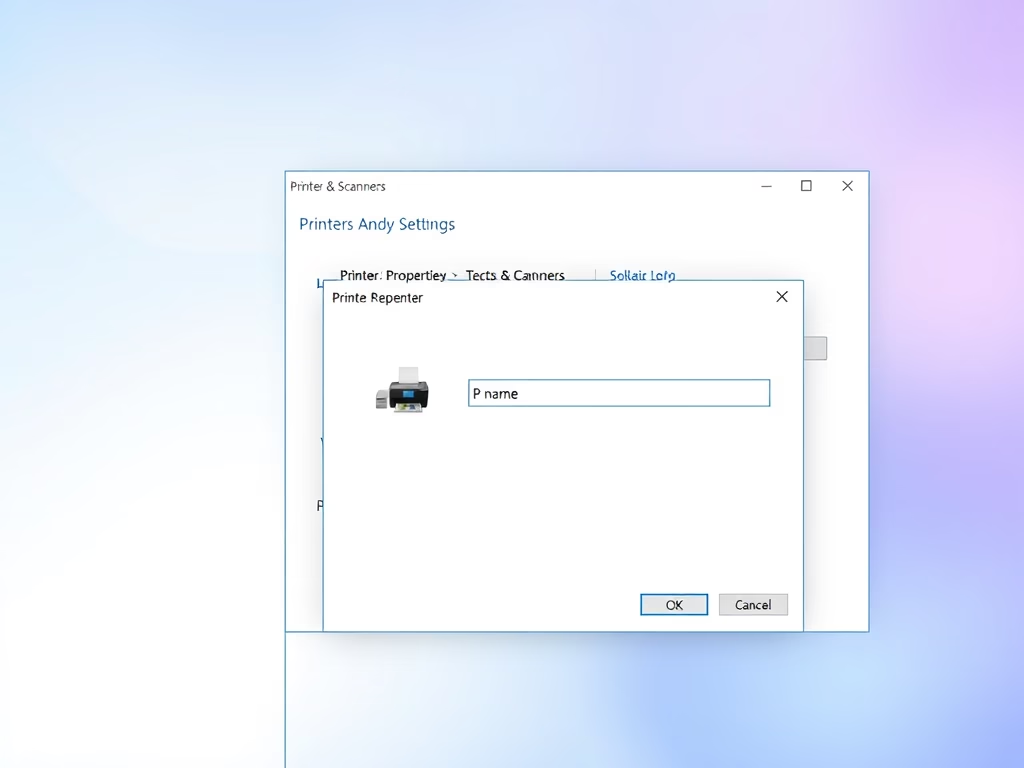
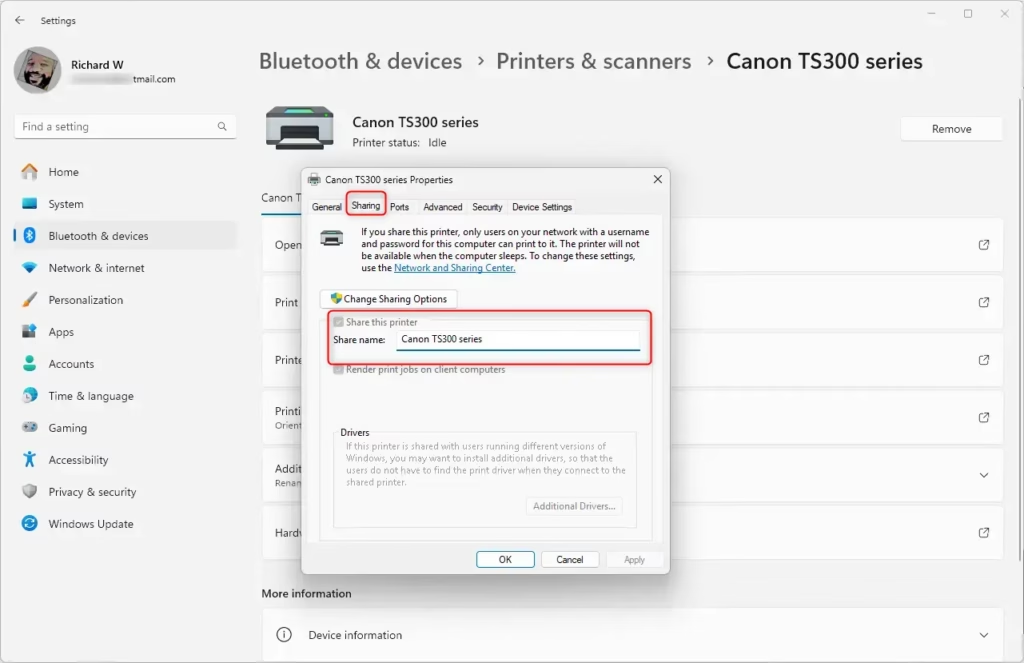
Printer properties option - Rename the printer: In the window that appears, make sure you are on the General tab. Then, click inside the box at the top where the printer’s name is shown. Delete the old name and type the new name you want.
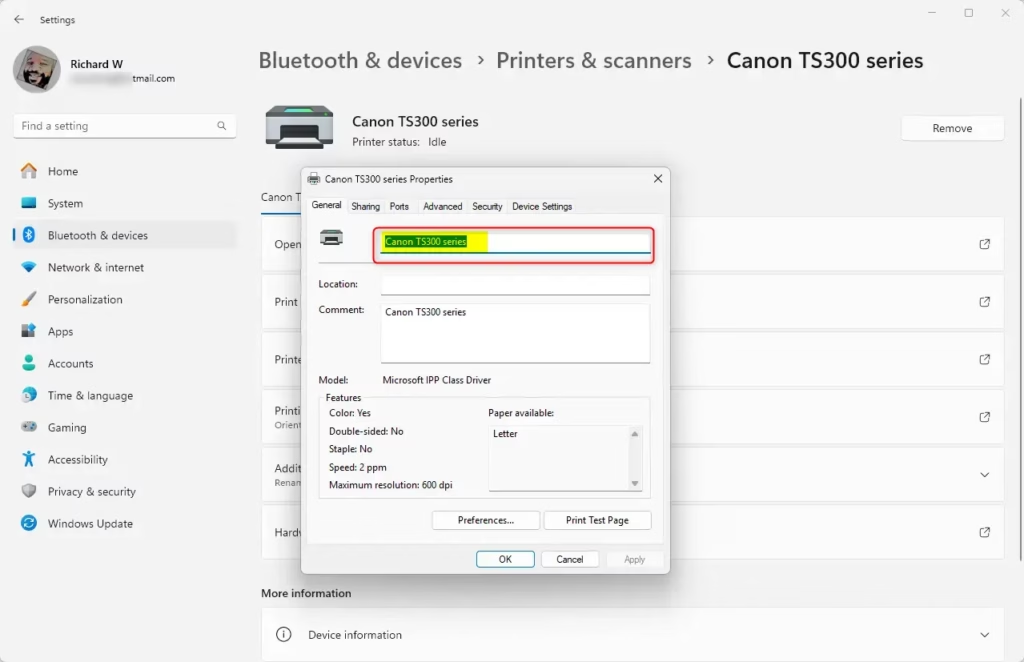
Rename printer in General tab
⚠️ Admin Privileges Required: You may need administrator permissions to change the printer name. - If your printer is shared: If other people use this printer on your network, click the Sharing tab and change the shared name to match your new printer name. This helps others find the printer easily.
Change shared printer name - When you’re done, click OK to save your new printer name and close the window.
A printer's new name appears in Windows 11's device list, which contains over 50 million devices, and when you select the printer for printing. Changing the printer name makes it simpler to find your specific printer, especially when managing many printing devices.
Why Rename Your Printer?
Giving your printer a custom name in Windows 11 makes it much simpler to manage, especially if you have multiple printers connected. A clear, descriptive name helps you quickly pick the correct one for printing documents, making your computer setup more organized and printing tasks faster.Summary
Renaming your printer in Windows 11 is a simple step that makes managing your devices much easier.
Can you rename your printer?
So to rename a printer on Windows 11 open start look for settings. Then open Bluetooth. And devices. And then on printers. And scanners open the printer.
How to rename a printer in the control panel?
And scanners. And then from here you find the printer that you're going to want to rename. So you can see here most printers are named with the brand. And model by default.
How do you rename your HP printer?
Password. Click wireless direct from the left column. Type the custom printer. Name. And then select. Apply. You can find additional helpful videos at hp.com/support.
How do I rename my default printer?
Side. Right click on the printer. You want to change the name of and select rename. Now you can type a new name and press Enter to save it in this way the printer name has been changed successfully.
Was this guide helpful?

About the Author
Richard
Tech Writer, IT Professional
Richard, a writer for Geek Rewind, is a tech enthusiast who loves breaking down complex IT topics into simple, easy-to-understand ideas. With years of hands-on experience in system administration and enterprise IT operations, he’s developed a knack for offering practical tips and solutions. Richard aims to make technology more accessible and actionable. He's deeply committed to the Geek Rewind community, always ready to answer questions and engage in discussions.

No comments yet — be the first to share your thoughts!