How to Install Zammad on Ubuntu 24.04

You install Zammad on Ubuntu 24.04 using Zammad's official repository with a command-line process, which ensures you get the latest stable version, Zammad 6.0.
Zammad is a powerful, open-source helpdesk and ticketing system designed to streamline your customer support operations. It centralizes communication and ticket management, making it easier for you to handle requests from various channels.
By installing Zammad on Ubuntu 24.04, you leverage a recent and stable Linux distribution, ensuring your helpdesk runs on modern software foundations. The process typically involves adding Zammad’s package repository and then using apt to install the latest stable version, such as Zammad 6.0 or newer.
Install Elasticsearch first by adding its APT repository and running sudo apt-get update && sudo apt-get install elasticsearch. Then, configure Elasticsearch by editing /etc/elasticsearch/elasticsearch.yml and enabling/starting the service with systemctl commands.
Install Elasticsearch
To install Zammad on Ubuntu 24.04, you first need to install Elasticsearch. This involves adding some important packages and setting up the correct software source for Elasticsearch. This prepares your system to install the necessary Elasticsearch components that Zammad needs to work.
Before adding the Elasticsearch repository, install these packages.
sudo apt-get install apt-transport-https curl
Then, download and add the GPG key for its APT package in the repository.
wget -qO - https://artifacts.elastic.co/GPG-KEY-elasticsearch | sudo gpg --dearmor -o /usr/share/keyrings/elasticsearch-keyring.gpg
Next, run the command below to add the Elasticsearch version 8 repository to Ubuntu.
echo "deb [signed-by=/usr/share/keyrings/elasticsearch-keyring.gpg] https://artifacts.elastic.co/packages/8.x/apt stable main" | sudo tee /etc/apt/sources.list.d/elastic-8.x.list
Finally, run the command below to install Elasticsearch from the APT repository.
sudo apt-get update && sudo apt-get install elasticsearch
When installing Elasticsearch, security features are enabled and configured by default. The password, certificate and keys are output to your terminal.
--------------------------- Security autoconfiguration information ------------------------------

Authentication and authorization are enabled.
TLS for the transport and HTTP layers is enabled and configured.

The generated password for the elastic built-in superuser is : x5cZ629H+clPySZLBAsQ

If this node should join an existing cluster, you can reconfigure this with
'/usr/share/elasticsearch/bin/elasticsearch-reconfigure-node --enrollment-token <token-here>'
after creating an enrollment token on your existing cluster.

You can complete the following actions at any time:

Reset the password of the elastic built-in superuser with
'/usr/share/elasticsearch/bin/elasticsearch-reset-password -u elastic'.

Generate an enrollment token for Kibana instances with
 '/usr/share/elasticsearch/bin/elasticsearch-create-enrollment-token -s kibana'.

Generate an enrollment token for Elasticsearch nodes with
'/usr/share/elasticsearch/bin/elasticsearch-create-enrollment-token -s node'.

-------------------------------------------------------------------------------------------------
You can reset the password for the elastic user with the elasticsearch-reset-password command.
/usr/share/elasticsearch/bin/elasticsearch-reset-password -u elastic
After installing Elasticsearch, please enable it by default and start it.
sudo systemctl daemon-reload
sudo systemctl enable elasticsearch.service
sudo systemctl enable elasticsearch.service
Configure Elasticsearch
After installing Elasticsearch, you need to configure its main settings file, which is found at /etc/elasticsearch/elasticsearch.yml. Editing this file lets you adjust how Elasticsearch runs on your system, helping to optimize it for your specific needs and ensure Zammad works correctly.
sudo nano /etc/elasticsearch/elasticsearch.yml
Optimize the config file to suit your environment.
# /etc/elasticsearch/elasticsearch.yml

# Tickets above this size (articles + attachments + metadata)
# may fail to be properly indexed (Default: 100mb).
#
# When Zammad sends tickets to Elasticsearch for indexing,
# it bundles together all the data on each individual ticket
# and issues a single HTTP request for it.
# Payloads exceeding this threshold will be truncated.
#
# Performance may suffer if it is set too high.
http.max_content_length: 400mb

# Allows the engine to generate larger (more complex) search queries.
# Elasticsearch will raise an error or deprecation notice if this value is too low,
# but setting it too high can overload system resources (Default: 1024).
#
# Available in version 6.6+ only.
indices.query.bool.max_clause_count: 2000
Save and exit.
Install Zammad
Once Elasticsearch is ready, you can install Zammad on your Ubuntu 24.04 system by adding its software source and GPG key. Running the correct command will add the Zammad repository, allowing you to install the application easily and start setting up your helpdesk.
First, add the Zammad GPG APT repository to Ubuntu by running the command below.
curl -fsSL https://dl.packager.io/srv/zammad/zammad/key |
   gpg --dearmor | sudo tee /etc/apt/keyrings/pkgr-zammad.gpg> /dev/null
Then, run the command below to add the Zammad APT repository to Ubuntu.
echo "deb [signed-by=/etc/apt/keyrings/pkgr-zammad.gpg] https://dl.packager.io/srv/deb/zammad/zammad/stable/ubuntu 24.04 main"|
   sudo tee /etc/apt/sources.list.d/zammad.list > /dev/null
Finally, install Zammad by running the command below.
sudo apt update
sudo apt install zammad
Once Zammad is installed, you can manage its services using the command below.
sudo systemctl stop zammad
sudo systemctl start zammad
sudo systemctl enable zammad
You can use Zammad at this point using the localhost name in your browser.
http://localhost
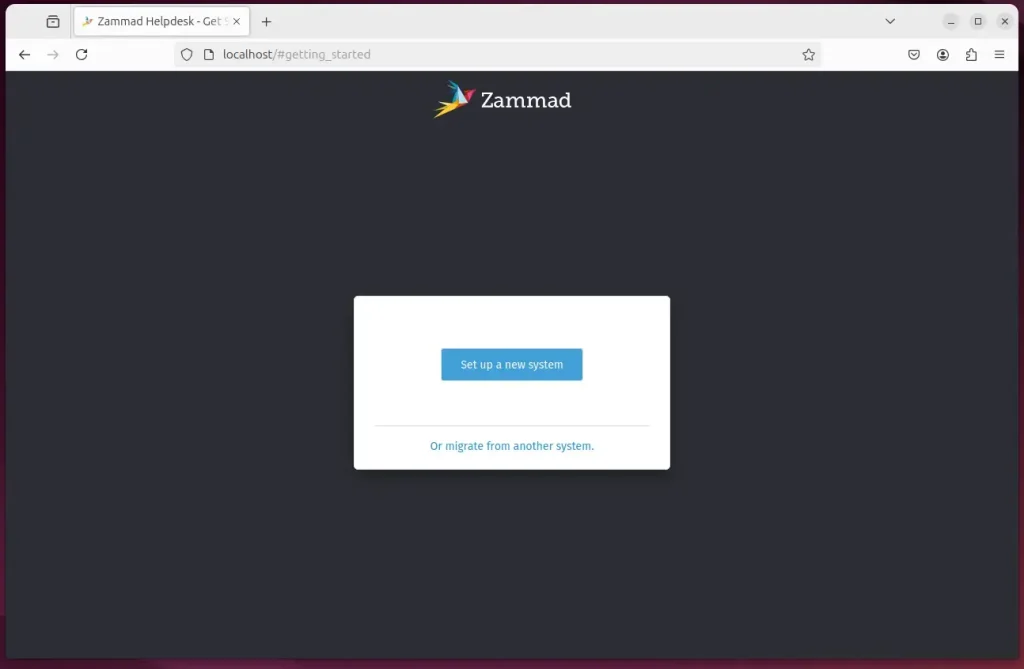
Set up a new system and create an admin account.
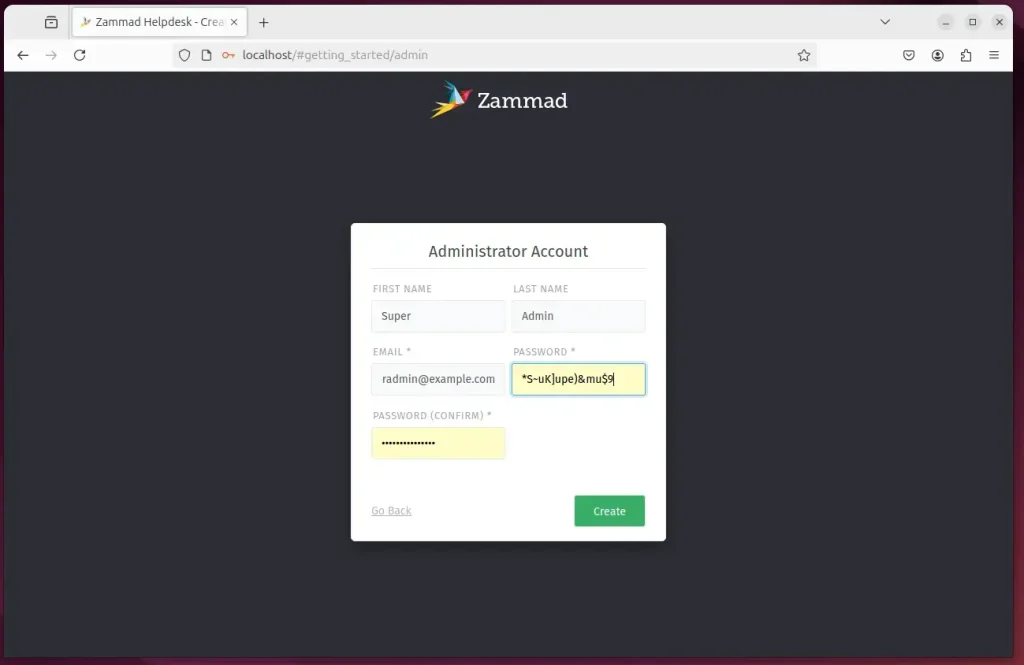
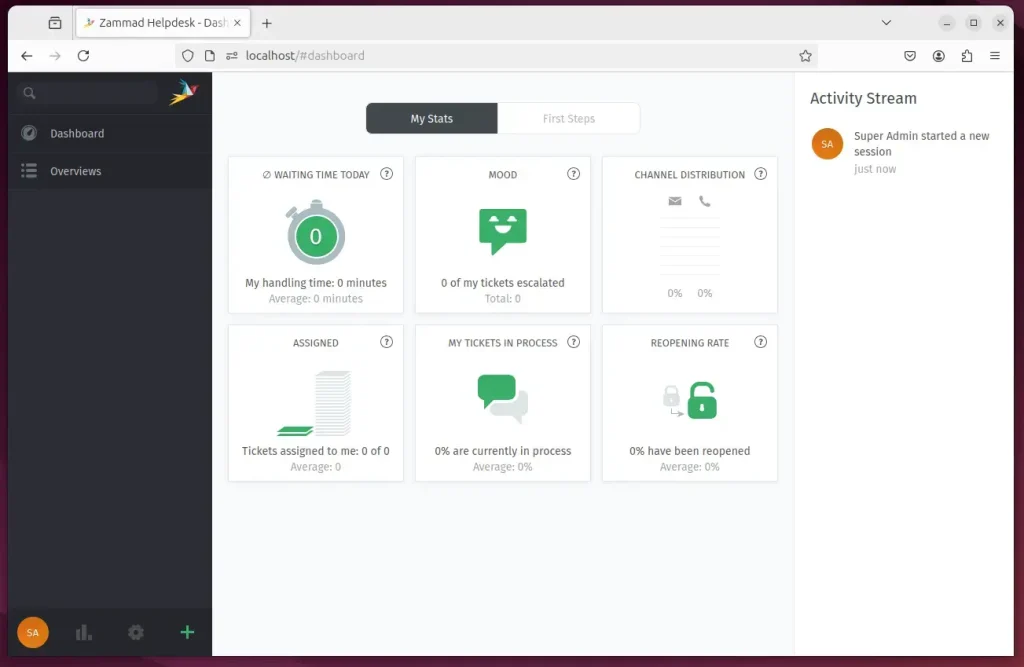
Log in and begin configuring Zammad.
Connect Zammad to Elasticsearch
Connecting Zammad to Elasticsearch is essential for its web interface to function properly. You will run a specific command to link Zammad with Elasticsearch version 8 or newer, using your account details to establish the necessary connection for Zammad to work.
Run the command below to connect Zammad to Elasticsearch version 8 and up. The command will configure Zammad with Elasticsearch using the account and password displayed when you install Elasticsearch above.
sudo zammad run rails r "Setting.set('es_url', 'https://localhost:9200')"
sudo zammad run rails r "Setting.set('es_user', 'elastic')"
sudo zammad run rails r "Setting.set('es_password', 'x5cZ629H+clPySZLBAsQ')"
Add Elasticsearch certificate to Zammad.
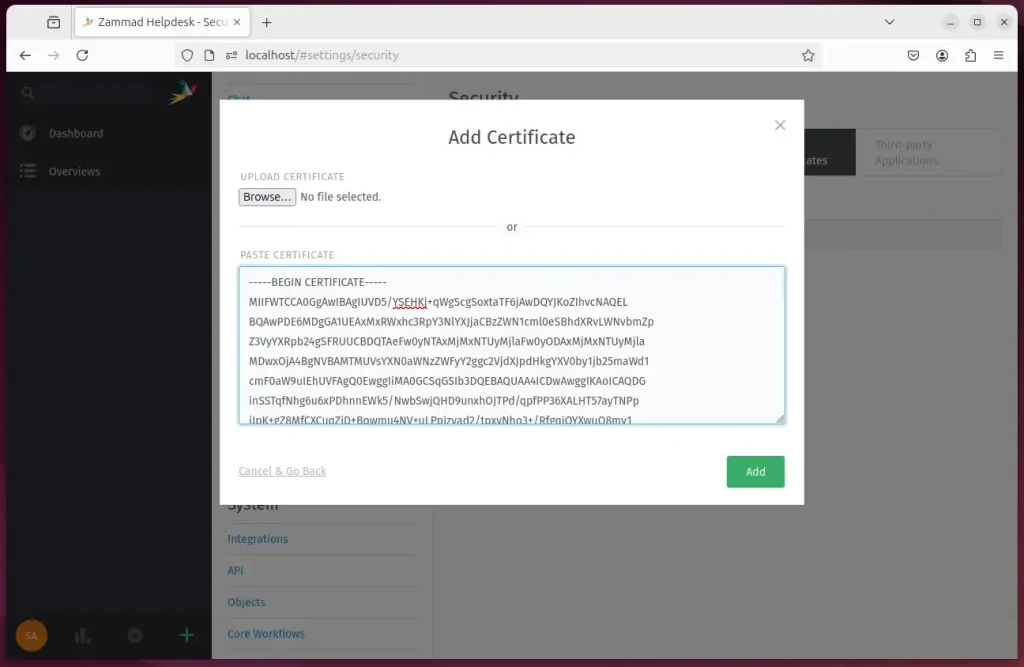
To ensure Zammad and Elasticsearch communicate securely, you must add the Elasticsearch security certificate to Zammad. The certificate file, located at /etc/elasticsearch/certs/http_ca.crt, needs its contents copied into Zammad’s settings for safe communication.
Run the command below to display the Elasticsearch certificate installed on the system.
sudo cat /etc/elasticsearch/certs/http_ca.crt
Copy the certificate content, go to Zammad’s admin panel, and add your copied certificate under SSL Certificates.
After that, rebuild the Elasticsearch index by running the command below.
sudo zammad run rake zammad:searchindex:rebuild
Use a Reverse Proxy Server
Using a reverse proxy server like Nginx or Apache can improve your Zammad experience on Ubuntu by helping manage traffic and boosting performance and security. Setting up a proxy is recommended for a better Zammad installation and a smoother user experience.
Below are two posts that show you how to set up a proxy server on Ubuntu Linux.
Set up Let’s Encrypt SSL Certificate
You can secure your Zammad service on Ubuntu by adding a free Let’s Encrypt SSL certificate, which allows safe access using your domain name. Guides are available for setting up this certificate with Apache or Nginx, ensuring your Zammad installation is secure.
- How to set up Let’s Encrypt SSL certificate with Apache on Ubuntu
- How to set up Let’s Encrypt SSL certificate with Nginx on Ubuntu
After setting up your environment, access the Zammad portal using the domain name created in the Nginx or Apache virtual host.
If not, use the server’s default hostname to access Zammad.
Conclusion
Installing and configuring the Zammad Community Ticketing System on Ubuntu 24.04 is a straightforward process that empowers organizations with efficient customer support capabilities. Here are the key takeaways:
- User-Friendly Interface: Zammad offers a seamless experience for support agents and customers, enhancing communication and ticket management.
- Stable Environment: Utilizing Ubuntu ensures Zammad runs on a secure and updated platform, promoting system stability.
- Elasticsearch Integration: The integration with Elasticsearch allows for efficient search and indexing of tickets, optimizing response times.
- Custom Configuration: Users can tailor the configuration of Elasticsearch to fit their specific environment and workload needs.
- SSL Security: Setting up a reverse proxy with SSL certificates enhances the security of the Zammad instance.
- Comprehensive Resources: Various guides are available for configuring proxy servers and SSL certificates, ensuring users have the necessary support throughout the setup process.
These installation steps prepare Zammad to improve your customer support services by organizing tickets and customer information.
Was this guide helpful?

About the Author
Richard
Tech Writer, IT Professional
Richard, a writer for Geek Rewind, is a tech enthusiast who loves breaking down complex IT topics into simple, easy-to-understand ideas. With years of hands-on experience in system administration and enterprise IT operations, he’s developed a knack for offering practical tips and solutions. Richard aims to make technology more accessible and actionable. He's deeply committed to the Geek Rewind community, always ready to answer questions and engage in discussions.


No comments yet — be the first to share your thoughts!